
Instagram Reels Specs and Format for Podcast Clips

Export podcast clips at 1080×1920 (9:16), MP4 / H.264, 30fps, under 90 seconds for full feed distribution. The one thing most people get wrong: keep your captions and your guest's face inside the center band, clear of the top ~200px (username row) and the bottom ~320px (caption text and audio bar, and more like ~480px once your written caption runs long), and inside the right edge by ~120px so the like/comment/share rail never sits on top of a word.
That margin discipline is the whole game on Reels. The platform crops your clip differently in the feed, the grid, and the Reels tab, and it stacks its own interface on top of the bottom-right corner. A clip that looked perfect in your editor can land with the punchline of your guest's line hidden behind the comment button. Build at the full frame; protect the safe zone.
This is a Reels-only field guide. Exact pixel margins, the trial-reels test that lets strangers vet a clip before your followers do, the cover-frame change that broke a lot of old advice in 2025, and the mistakes that quietly cap your reach.
What are the correct Instagram Reels specs for a podcast clip?
Use 1080×1920 pixels at a 9:16 aspect ratio, MP4 or MOV with the H.264 codec at 30fps, and keep the clip under 90 seconds if you want the widest feed distribution. The in-app length cap is now 3 minutes, and uploads can run longer on some accounts, but shorter clips still travel further.
Instagram raised the Reels limit from 90 seconds to 3 minutes in January 2025, with Adam Mosseri saying 90 seconds was too short for the stories creators wanted to tell (NearStream summary of the Mosseri announcement). The cap going up does not mean longer is better. Distribution still favors shorter clips, and a tight 30–60 second moment from your episode beats a rambling three-minute one almost every time.
Here are the specs that actually matter for a talking-head podcast clip.
| Spec | Value | Why it matters |
|---|---|---|
| Resolution | 1080×1920 | Native vertical; anything else gets letterboxed or upscaled |
| Aspect ratio | 9:16 | Fills the screen on the Reels tab and Explore |
| Format / codec | MP4 or MOV, H.264, 30fps | Instagram re-encodes; clean source = fewer artifacts |
| Length | Under 90s ideal (3 min cap) | Shorter clips get wider distribution |
| Max file size | Up to 4GB | Rarely a constraint for a 60-second clip |
Source: Digital Applied social media image sizes 2026. One caveat worth stating: Instagram nudges these numbers over time, and audio tracks are sometimes still capped at 90 seconds for licensing reasons even when the video can run longer.
Where exactly is the Reels safe zone for captions?
Keep captions, faces, and hook text inside a center band of about 1080×1350px in the 1080×1920 frame, then inset another ~120px from the right edge. Stay below the top ~200px (username and follow button) and above the bottom ~320px (caption and audio bar, which grows past 480px on long captions), clear of the right-side ~120px like/comment/share column.
This is where podcast clips fall apart on Reels specifically. Your editor shows you the full 1080×1920 canvas with nothing on top of it. Instagram does not. It overlays the username row across the top, the caption and audio bar across the bottom, and a vertical column of interaction buttons down the lower-right corner. Burn your captions into the dead-center band and they survive; let them drift low or right and the interface eats them.
A practical rule: the bottom is the most dangerous edge because the caption overlay grows taller when your written caption runs to three or more lines, SellerPic flags the bottom 25–30% of the frame as the true danger zone, which is ~480–576px on a 1920px-tall canvas, not the ~320px baseline. If you write long captions, push your burned-in text well above that. When in doubt, leave more margin than any single guide tells you to, the interface footprint is the one thing you cannot preview inside an editor.
How do you make podcast clips for Reels, step by step?
The fastest reliable path is the same one whether you cut by hand or with AI: find the moment, cut tight, caption inside the safe zone, set a real cover, and post under 90 seconds. Here is the order that wastes the least time.
- Pick a moment that stands alone. A clip needs a beginning, a tension, and a payoff inside 30–60 seconds. A hot take, a specific story, a number that surprises, a disagreement between host and guest. If a viewer needs three minutes of context to get it, it is not a clip.
- Cut the first 1–1.5 seconds of dead air. The opening frame is your hook. Start on the strongest words, "the thing nobody tells you about X is…", not on "so, yeah, anyway."
- Reframe to vertical with the speaker centered. A 16:9 podcast recording has to become 9:16. Keep the active speaker's face in the center band, not off to one side where the right rail clips it. If you are reframing AI-generated clips, our walkthrough on reframing podcast clips to vertical covers speaker tracking in detail.
- Burn captions inside the safe zone. Position the caption block in the vertical center, never the bottom third. Most social video is watched without sound, captions are how silent scrollers follow a talking-head clip (more on the real numbers below).
- Set a deliberate cover frame. Do not let Instagram grab a mid-blink frame. Choose a clean frame or upload a custom cover with 3–5 words of context, centered (the grid crop is covered below).
- Export at spec and post under 90 seconds. 1080×1920, MP4/H.264, 30fps. Write a caption with one clear line and a couple of relevant tags. Add the episode link in your bio or a pinned comment.

How do trial reels change the way you test podcast clips?
Trial reels let you post a clip that only non-followers see, gather views, likes, comments, and shares after about 24 hours, then either share the winners with your followers manually or let Instagram auto-promote strong performers based on their first 72 hours. Your profile grid and your existing audience stay untouched while you test.
This is genuinely useful for podcast clips, because you usually do not know which guest moment will travel. Instagram introduced trial reels on December 10, 2024 and rolled them out to eligible creators (Meta announcement; mechanics confirmed on Instagram's creators blog). A trial reel skips the normal follower ranking and goes straight into Instagram's recommendations, the same engine that powers the Reels and Explore feeds for strangers.
Two things to know before you lean on them. First, eligibility: trial reels need a public professional (Creator or Business) account, and Instagram's Help Center has gated them behind a follower minimum (around 1,000), if the toggle is missing, that is usually why, so check Instagram's current eligibility rules for your account. Second, they work best with new content. Re-uploading a clip already on your feed risks the duplicate being suppressed rather than boosted. Treat trial reels as a hook lab: post the same guest's strongest line cut three different ways, see which retention curve holds, then share the winner to your followers. The strongest signal to watch is watch-time retention; sends per reach (DM shares) is the high-value engagement Instagram increasingly rewards.
How do you pick a Reels cover frame for a talking-head clip?
Set a custom cover and keep the face and any text dead-center, because Instagram crops your cover differently on the grid than in the Reel itself. In 2025 the profile grid moved from square thumbnails to a taller 3:4 crop, and the in-feed thumbnail still renders at roughly 1:1, so center everything inside a 1080×1080 box and it survives every crop.
The old advice was "center inside a 1:1 square." That changed. The grid now previews at 3:4 (1080×1440) on most accounts, while the feed thumbnail still shows a 1:1 slice (~1010×1010), so the only safe choice is to keep your subject in the middle band that both crops share. To set it: open the Reel menu, tap Edit cover, then choose a frame or upload a custom image (Somake Reel size guide).
For talking-head podcast clips specifically:
- Use a custom cover, not a random frame. A clear, high-contrast still of your guest mid-expression beats a motion-blurred grab.
- Center the face and text. Assume the grid shows it at roughly 300×300px. If the text is unreadable at that size, it is too small.
- Keep cover text to 3–5 words. "Why he quit Google" reads at a glance; a full sentence turns to mush on the grid.
- Avoid the bottom ~320px of the cover, where Instagram lays its own caption and audio elements.
A consistent cover style across your clips makes your profile grid read as one show rather than a pile of random uploads, which matters when a new viewer lands on your profile from a clip and decides in two seconds whether to follow.
Common mistakes that quietly cap your Reels reach
Most podcast clips do not fail because the moment was weak. They fail on format. These are the five I see most.
- Captions in the bottom third. This is the big one. The bottom ~320px holds Instagram's caption text and audio bar, and that stack expands toward 480px when your written caption runs long, so your burned-in words get covered. Fix: move the caption block to the vertical center.
- No captions at all because "Reels play with sound on." This relies on a misread stat. The widely-repeated "85% watch on mute" figure is about Facebook and general social video, not Reels. But even the rosiest Reels-specific number cuts the other way: roughly 60% watch with sound on (Zebracat's Reels statistics roundup), which still leaves around four in ten viewers getting nothing without captions, and captions lift retention even for people who do have sound on. Caption every clip.
- Cross-posting a TikTok export untouched. A clip with a TikTok watermark or a bottom-third caption baked in for TikTok's UI lands flat on Reels, and Instagram tends to demote video that was obviously made for somewhere else. Re-export clean and reposition the captions. Our guides on posting podcast clips on YouTube Shorts and podcast clips on LinkedIn cover the same re-export discipline per platform.
- Letting Instagram pick the cover. The default frame is almost always a blink or a mid-word mouth shape. Always set a deliberate cover.
- Posting the full three minutes because you can. Distribution still favors clips under 90 seconds. Cut the long one into two tighter clips instead.
What tools make Reels clips faster?
You can cut Reels in Instagram's own editor, in CapCut, or in any AI clipping tool, the right choice depends on how many clips you ship a week. For one or two a week, the in-app editor is fine. For a steady cadence from every episode, an AI tool that finds moments and captions them saves the most clicks. Be honest about the limit: every AI clipper still needs human review on roughly 20–40% of its output, mostly for cut points and caption fixes.
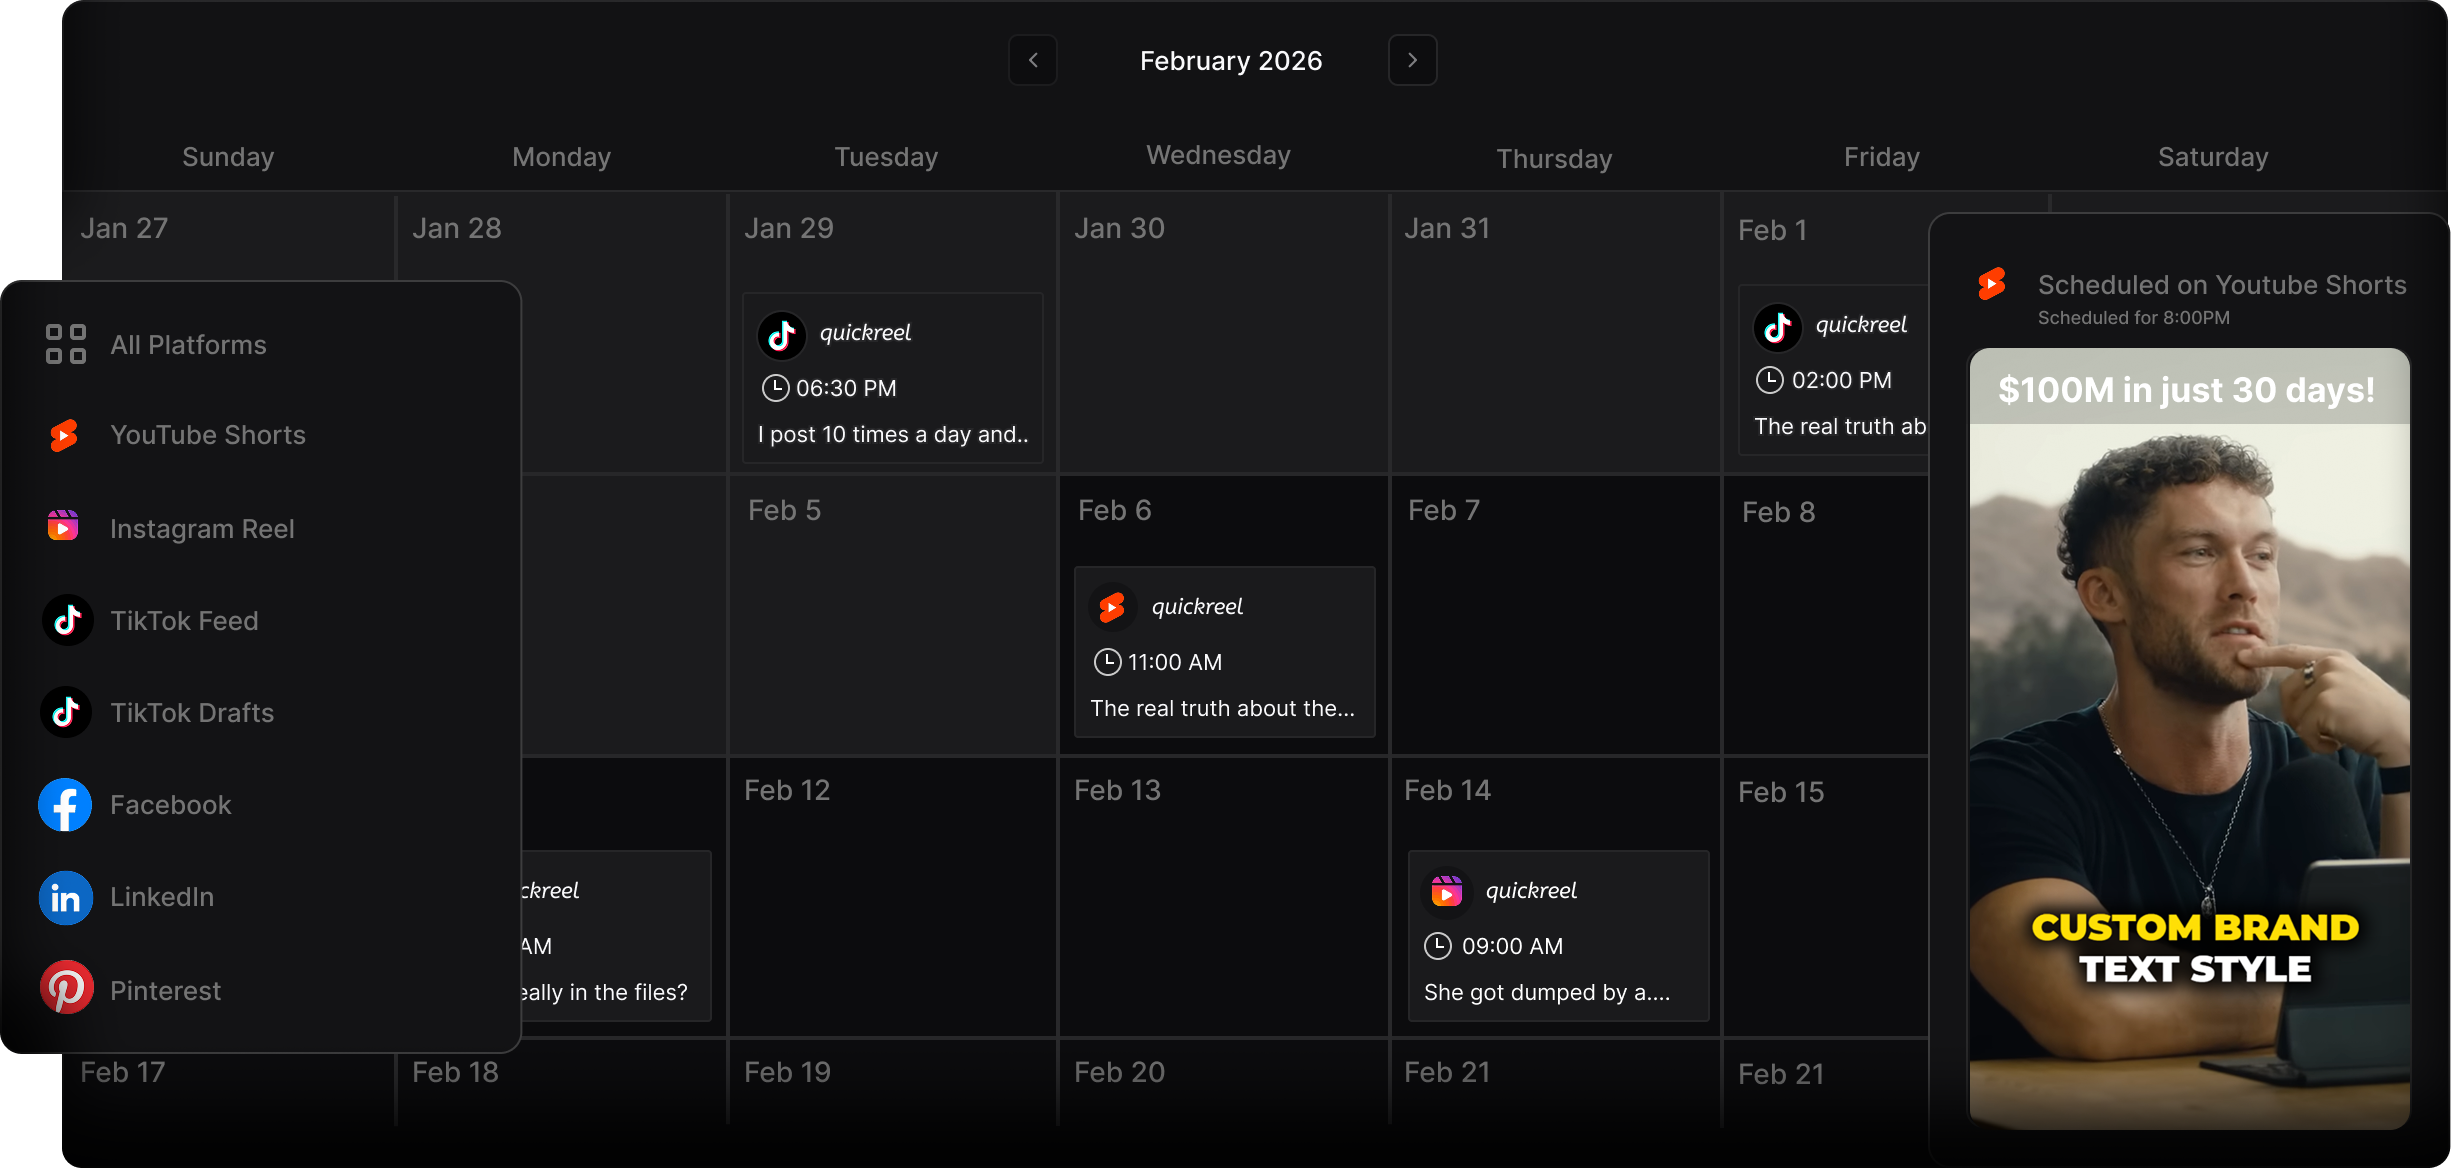
Where QuickReel fits: it takes a YouTube link or an upload, surfaces clip-worthy moments, auto-captions in 20+ languages with 12+ caption styles, reframes to 9:16, and schedules to your platforms. Paid plans run from $9 Starter to $17.40 Pro and up to $89 Ultimate, and you can start free and export a real clip before paying anything (QuickReel pricing, verified June 2026). The one thing no tool does for you on Reels is the safe-zone check, always preview on an actual phone, because the interface footprint never shows up in an editor. For how the moment-finding works under the hood, see how AI clip detection actually works and how to pick the best AI-suggested clips.
Whichever tool you use, clips earn their keep on discovery: 57% of listeners now rely on social media for podcast recommendations, the first time it has surpassed friends and family (InsideRadio), and 53% of new US weekly listeners now prefer to watch a podcast rather than only listen (Backlinko). Reels is where a lot of that watching-and-discovering happens.
Frequently asked questions
What size should podcast clips be for Instagram Reels? 1080×1920 pixels at a 9:16 aspect ratio, MP4 or MOV with H.264 at 30fps. Keep clips under 90 seconds for the widest distribution even though the cap is now 3 minutes. Keep faces and captions inside the center safe zone so the interface does not cover them.
How long can an Instagram Reel be in 2026? The in-app recording cap is 3 minutes (180 seconds) after Instagram raised it from 90 seconds in January 2025, and uploads can run longer on some accounts. For podcast clips, shorter still wins, clips under 90 seconds get wider feed distribution.
Where should captions go on a Reel so they are not covered? Place captions in the vertical center band, clear of the bottom ~320px where the caption text and audio bar sit, and at least ~120px in from the right edge to avoid the like/comment/share buttons. Long written captions push the bottom overlay toward 480px, so leave extra room.
Should I use trial reels for podcast clips? Yes, if you have a public Creator or Business account that meets Instagram's eligibility bar (it has gated trial reels behind a follower minimum of around 1,000) and you are testing a new hook or format. Trial reels show the clip only to non-followers, give you metrics in about 24 hours, and let you share winners to your followers afterward, without risking your grid.
Do I need to caption Reels if most people watch with sound on? Yes. Even on the sound-friendliest Reels estimate, around 60% with sound on, roughly four in ten viewers watch without it, and captions lift retention for everyone. The "85% on mute" stat people cite is about Facebook and general social video, not Reels specifically, but captioning every clip is still the right call.