
How to Make Clips From an Audio-Only Podcast Episode

To make clips from an audio-only episode, transcribe the file, pick a 20–45 second moment built around one quotable line, then wrap it in a visual treatment, a waveform, an animated background, or a single headshot, and burn in large captions. You have no footage to lean on, so the caption and the motion carry the clip. Choose the treatment first, then caption and post natively.
The missing piece in most "audio to clip" tutorials is the decision you make before you touch a caption: what does the viewer actually look at? A face clip answers that for you. An audio file gives you a blank frame and three real options, each with a different cost and a different ceiling. Pick the wrong one and you've spent an hour producing a clip nobody watches with the sound on, which, on a feed, is almost everyone.
Why audio-only clips work at all
Short clips drive a real slice of new audience even without footage. One studio puts clips at 20–40% of new audience and reach lifts of 2–5× for the shows it produces (Podcast Studio Glasgow), that's one production house's client range, not a platform-wide audit, but the direction holds for audio shows too. The format is how an audio-only podcast posts to Shorts, Reels, and TikTok at all.
The catch is that the bar is higher, not lower, when there's no face. Most social video plays silent: a widely cited estimate puts around 85% of Facebook video watched with the sound off (Digiday, 2016 publisher-reported data), treat it as directional, since it's a decade old and individual studies land anywhere from roughly 69% to 85%. The percentage drifts; the behavior doesn't. On a talking-head clip, muted viewing means the caption supports the face. On an audio clip, muted viewing means the caption and a bit of motion are the entire experience. That's the whole challenge, and the steps below are built around it.
Step 1: Transcribe once, then cut from the transcript
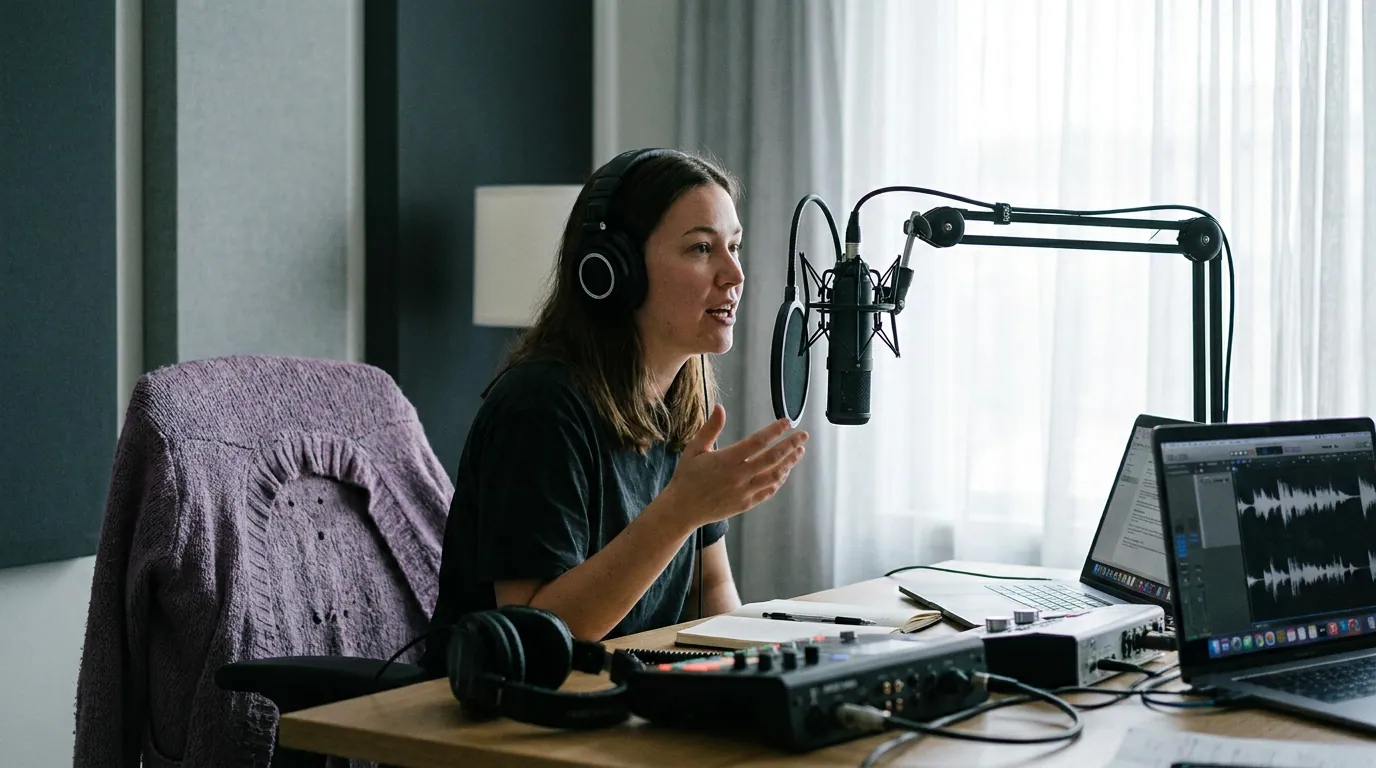
Run the full episode through transcription before you cut anything. AI transcription is reliably accurate on clean, single-speaker audio, the kind most solo and interview podcasts record, and working from a transcript lets you scan for the lines worth clipping instead of scrubbing a waveform blind. Transcribe the whole file once; pull every clip from that single source so your captions are already in hand.
This is also where AI clip detection earns its keep on audio. There's no body language or cutaway for a model to read, so detection works off the transcript, sentence boundaries, questions, emphasis, topic shifts. If you want the mechanics, how AI clip detection actually works covers what the model is reading. On audio-only files, expect to do a bit more of the picking yourself; the transcript is the map, not the answer.
Step 2: Pick the moment, not the minute
Audio clips live or die on the line. With no visual payoff, no laugh you can see, no reaction shot, choose a 20–45 second stretch built around a single quotable claim, a sharp question-and-answer, or one clean story beat. A meandering segment that plays fine inside an hour-long show falls apart as a standalone waveform.
Read your candidate moments cold, as text. If the first sentence doesn't make you want the second, it won't hold a scroller either. The first three seconds are where you win or lose attention, so front-load the hook, and it's worth getting right, because Spotify reports 42% of podcast listeners discover new shows through social media (castmagic, citing Spotify). A clip that doesn't survive its opening line never reaches that audience. For the full method of separating clippable moments from filler, see how to pick the best AI-suggested clips.
Step 3: Choose the visual treatment, the decision that defines the clip
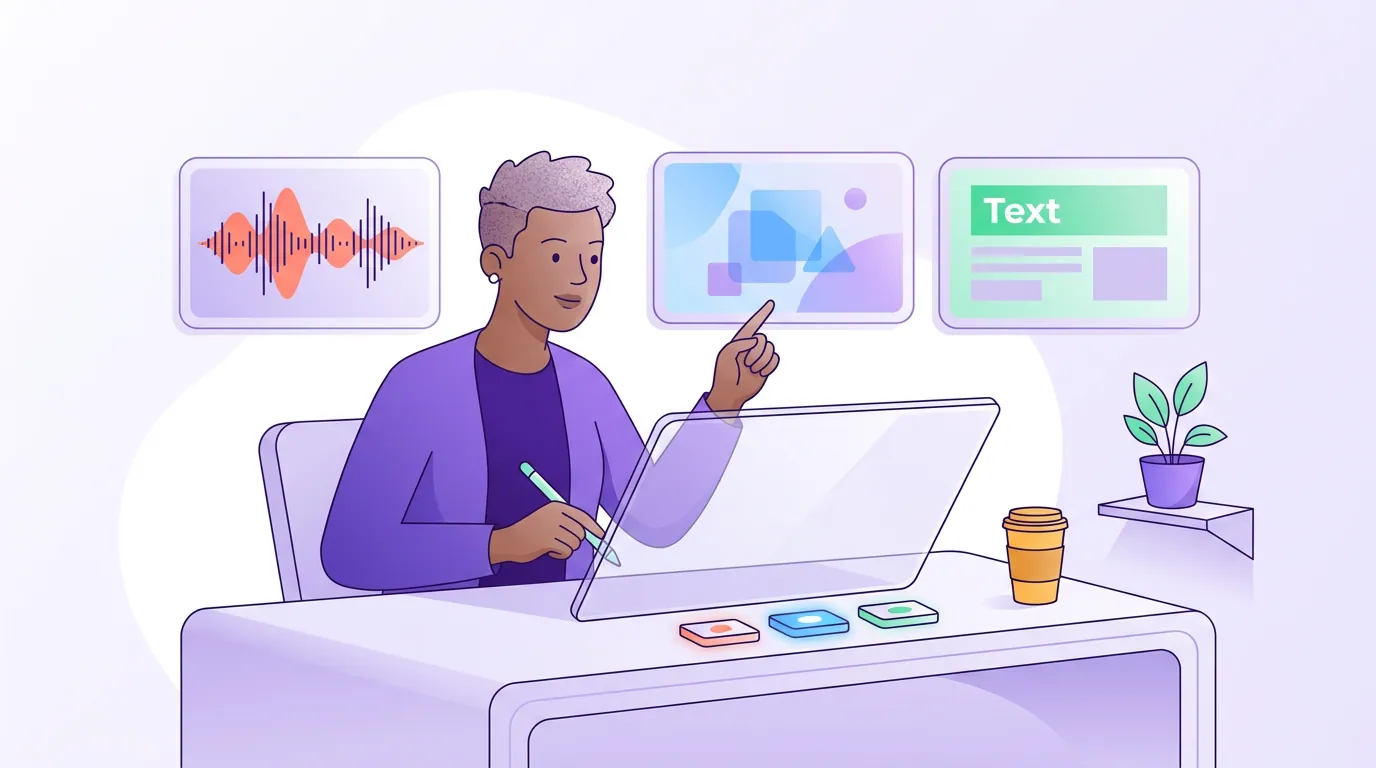
This is the step a face clip skips entirely, and it's where audio clips are won. You have three honest options. None is universally best; the right one depends on how much production effort you can spend and whether you have any usable image of the host.
The waveform is the fastest and the most honest signal that this is audio. A horizontal animated bar reacts to the sound and tells a scroller "press play, there's something to hear." It's the default for a daily show with no time to fuss. The downside: a waveform alone is the lowest-engagement frame of the three, because the motion is decorative, not meaningful. Lean hard on the caption and a fixed hook line to compensate. For caption-specific layout on this format, see adding captions to audiograms and waveform clips.
The animated background, a soft gradient drift, a subtle particle field, your brand colors moving slowly, buys you polish and brand consistency without needing any image of a person. It reads as designed rather than templated, and it lets the show's palette carry recognition across every clip. The cost is setup time and the risk of motion that distracts from the words. Keep it slow and low-contrast so the caption stays the hero.
The headshot with captions is the strongest option when you have one clean image of the host, a photo, a logo, a recurring illustrated avatar. A face, even a still one, anchors attention better than abstract motion; the brain locks onto it. Pair the static headshot with a reactive waveform strip and large captions and you get most of the benefit of a video clip at a fraction of the production. This is the one to reach for if you have the asset.
Step 4: Make a static frame hold attention
A face clip earns motion for free. An audio clip is mostly still, so you add the moving and load-bearing parts deliberately. Five elements do the work:
- One reactive motion source. A waveform, a slow gradient, or a subtle pulse on the headshot. Something on screen must move, or the eye reads "frozen image" and scrolls. One source is enough, competing motion just splits attention.
- A fixed hook line at the top. A face clip telegraphs its topic visually; yours can't. State the spiciest claim or the question in one static line so a silent scroller knows what they're about to hear before the captions start rolling.
- Large, centered captions. With no face to cover, push the rolling caption to the vertical center where the eye rests, and size it bigger than you would on a video clip. The text is the hero, so undersizing it wastes the frame.
- Word-level emphasis to replace the face. A talking head conveys a laugh or surprise; your captions have to. A keyword highlight or a word-by-word reveal does the emotional emphasis the face would have done, that styling is doing real work here, not decoration.
- Brand anchors. Cover art and your handle, kept clear of the bottom UI strip. They make the clip recognizable and route a new viewer back to the show.
Step 5: Caption, sync, and export native
Style the captions in a heavy sans-serif, large, with a solid background or outline so the text survives over a busy waveform. Sync them word-tight to the audio, word-level timing is non-negotiable when the words are the entire show, then review for any line that flashes too fast. Because there's nothing else to look at, viewers read every word on an audio clip, so a line that works on a face clip can be too quick here. Give the fastest ones an extra beat.
Burn the captions onto the pixels and export at 1080×1920 for native posting. For audio-only clips, hardcoded captions are clearly the right call: the caption is part of the design, not an optional track, so baking it in guarantees the clip looks right no matter what the viewer enables.
Common mistakes making audio clips
Treating it like a video clip with the picture missing. It isn't a clip with a hole; it's a different format. Compose the frame from scratch, visual, hook line, centered captions, rather than dropping audio under a blank background.
Picking a segment that needs the full episode for context. With no visual cue, an audio clip has to stand alone. If the moment only makes sense after ten minutes of setup, it won't survive as a 30-second standalone.
Letting decorative motion fight the caption. A frantic waveform or a fast-moving background pulls the eye off the words. Keep the motion slow and the caption the brightest, sharpest thing in frame.
Undersizing the caption. When the text is the hero, small text is a quiet hero. Fill the central zone so it reads at arm's length on a phone.
Skipping the muted playback check. Play it back on a phone with the sound off and read it cold. On an audio clip this isn't optional, muted is the default viewing mode, so a clip that fails on mute fails.
FAQ
Can you really make good clips from an audio-only podcast? Yes. Transcribe the episode, pick a tight 20–45 second moment built around one strong line, wrap it in a visual treatment, waveform, animated background, or a static headshot, and add large, word-synced captions. The caption and the motion replace the face. The bar is higher than a video clip, but audio-only shows post to Shorts, Reels, and TikTok this way every day.
What should be on screen if there's no video? One reactive motion source (a waveform, a slow gradient, or a pulsing headshot), a fixed hook line at the top, large centered captions, and your brand anchors, cover art and handle. Something must move so the eye doesn't read "frozen image," and the caption must be the brightest element in the frame.
Waveform, animated background, or headshot, which should I use? Use a headshot with captions if you have one clean image of the host; a still face anchors attention better than abstract motion. Use an animated background if brand polish matters and you have no host photo. Use a waveform when you need the fastest option for a high-volume show. All three depend on the caption.
How long should an audio clip be? Build it around a single quotable line and keep it tight, roughly 20–45 seconds. With no visual payoff to carry a slow stretch, a meandering segment that works inside a full episode falls flat as a standalone. Pick the moment, not the minute.
Do audio clips perform worse than video clips? Usually a little, because a face holds attention that a waveform can't. But audio clips still drive real discovery, and a headshot-plus-captions treatment closes much of the gap. If you record video for future episodes, clipping from a YouTube podcast video gives you more to work with, but never let "no camera" be the reason you don't post.
If you do start recording, the source format changes the workflow: see how to clip a Zoom podcast recording, make clips from a Riverside recording, or pull clips from a Microsoft Teams recording.