
Make Clips From a Zoom Podcast Recording

To make clips from a Zoom podcast recording: export the local recording (not just the cloud version), grab the separate per-participant audio files Zoom saves alongside the video, then feed the MP4 to a speaker-aware clipping tool that finds the strong moments and reframes the side-by-side grid into vertical. The setting that decides everything is chosen before you hit record, speaker view and per-participant tracks make clean clips; a locked gallery grid makes them hard.
Most of the pain with Zoom clips traces back to one thing: Zoom records a meeting, not a podcast. The defaults that make a call legible, the active-speaker box, the shared gallery grid, a single mixed audio track, are the opposite of what a clip editor wants. Below: what Zoom actually hands you, the one export setting to change before your next episode, and three concrete ways to turn a wide Zoom grid into a vertical clip people finish.
What Zoom gives you to work with
Zoom can produce several files from a single recording, and which ones you have changes everything downstream. A cloud recording gives you a rendered MP4 plus a single combined audio M4A and an auto-transcript, one mixed track, no way to split the voices. A local recording writes the MP4 and the audio to your own drive when the meeting ends, and it's the only mode that can also save separate audio per participant, one track per voice, in an Audio Record subfolder, if you turn that setting on in advance.
That last option is the difference between a clip you can polish and one you can't. With a single mixed track, when two people talk over each other you're stuck with the blend. With per-participant audio, each voice is on its own track, so you can duck one, fix a level, or cut cleanly on a word. Two catches worth saying plainly: it's a local-recording feature, a cloud recording will not give you split tracks, and you cannot turn it on after the fact. It has to be checked in your desktop Zoom Recording settings before you hit record.
Why it's worth clipping a Zoom episode at all
Clips are how most remote shows get found. Short-form clips drive an estimated 20–40% of new audience for video podcasts and can lift reach 2–5× (Podcast Studio Glasgow). A Zoom interview is a clip goldmine precisely because it's a conversation, the moments that travel are usually a guest saying something sharp, and you already have the video.
The pull is stronger now that people want to watch, not only listen. 53% of new US weekly podcast listeners say they prefer to watch a show, up from 30% in April 2022 (Backlinko). A Zoom recording is already video. The work is turning a wide, two-box call into a vertical clip that holds up in a feed where most video plays on mute.
The one setting to change before your next episode
Decide your Zoom layout and recording options before you record, because they cannot be re-derived later. The rule is short: if you want clean, clippable footage, record per-participant audio and capture active-speaker (a "speaker view" recording) rather than a locked gallery grid, or, best of all, record separate video files per person so a clip tool has the most freedom to reframe.
Here's the why, plainly. A gallery-view recording flattens everyone into one grid and bakes the box layout into the pixels. A clip tool can crop inside that grid but can't pull a single speaker out cleanly, so you're stuck reframing tiny boxes. An active-speaker recording fills the frame with whoever's talking, which is much easier to reframe to one person. Separate per-participant video is the gold standard, each person is a clean, full file, so a tool can stack them, cut to the active one, or split-screen them however the moment needs.
| Zoom recording type | How clippable | Why |
|---|---|---|
| Separate per-participant video | Best | Each person is a clean full file, reframe any way |
| Active-speaker (speaker view) | Good | One face fills the frame; easy to crop to vertical |
| Locked gallery grid | Hardest | Both boxes baked into the pixels; only crop-within |
The steps: Zoom recording to posted clips
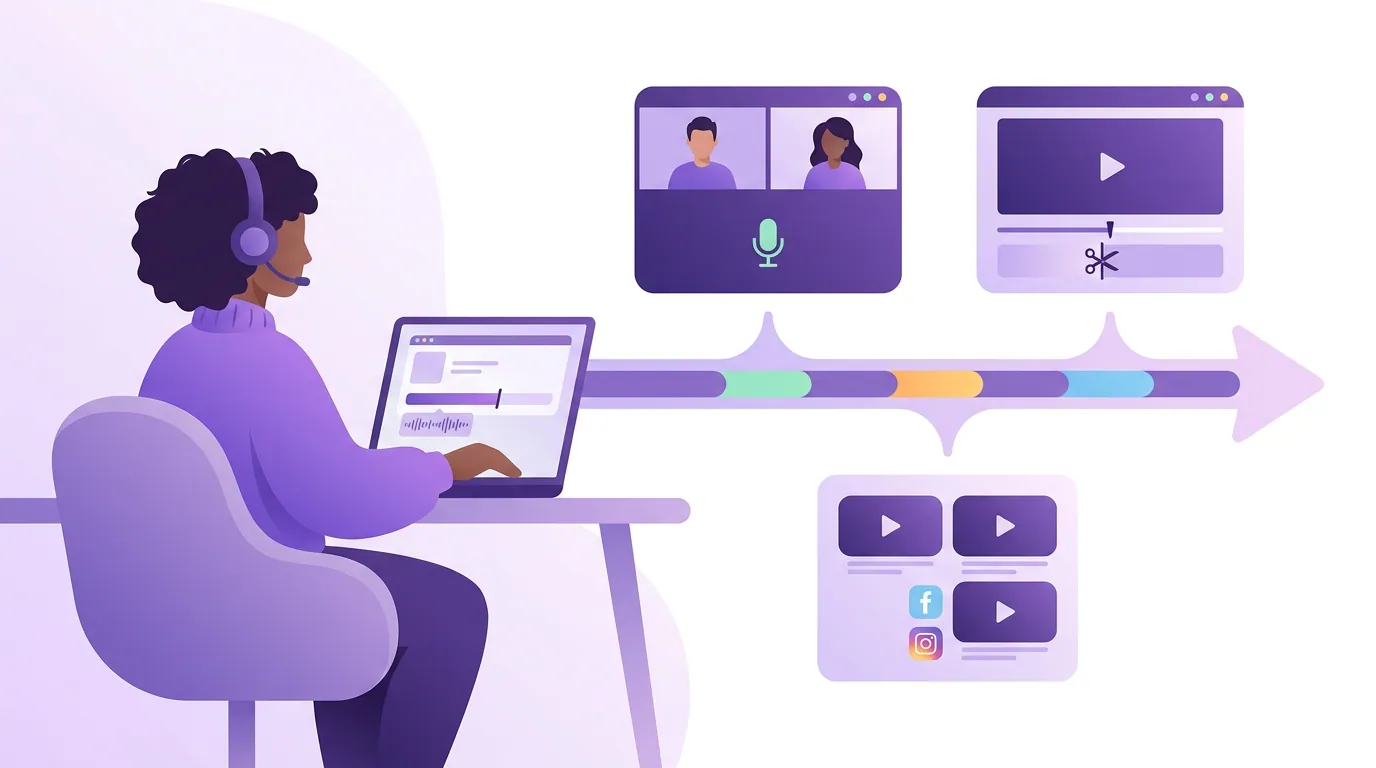
- Before you record, enable the right options. In your Zoom recording settings, turn on Record a separate audio file for each participant. If your plan allows it, also enable separate video per participant, or record in speaker view rather than a locked gallery. This is the only step you cannot redo later.
- Record locally when you can. A local recording gives you the full-quality MP4 and audio on your own drive, no waiting for the cloud render and no download cap. Cloud is fine too, just grab the highest-resolution file and the audio M4A.
- Pull all the files, not just the MP4. Download the rendered video and the VTT/transcript, and, if you recorded locally with the setting on, the per-participant audio tracks from the
Audio Recordsubfolder. The transcript speeds up moment-finding; the separate audio saves you when people talk over each other. - Find the moments. Skim the transcript for the strongest 30–90 seconds, a clean answer, a story with a turn, a disagreement. Or let a speaker-aware tool surface candidates and review its picks. A 20-minute Zoom call usually holds three to eight clip-worthy moments; don't force more.
- Reframe to vertical. Turn the wide grid into a 9:16 clip with one of the three layouts below. This is the step that separates a Zoom clip that looks native from one that looks like a screen recording.
- Caption and clean. Burn in captions, most social video is watched on mute, so a Zoom clip without captions loses most viewers in the first seconds. Trim dead air at the top, fix any level imbalance using the separate tracks, and check the first three seconds, which carry the most engagement (castmagic).
- Export and post. Render at 1080 × 1920, keep the important faces and text out of the platform UI zones, and schedule across Shorts, Reels, and TikTok.
Three ways to reframe a side-by-side Zoom grid
The hardest Zoom-specific problem is the grid: two (or more) people in equal boxes across a wide 16:9 frame. Center-cropping that to vertical leaves a sliver of each box and a lot of nothing. Instead, choose a real vertical layout. Three work.
Stacked puts both faces one above the other, each filling the frame width, the safe default for two co-hosts trading lines, because reactions stay visible. Active-speaker fills the frame with one face and cuts to whoever's talking, which works when the answers run long and you want the viewer locked on the speaker. Split-screen keeps two tall halves side by side; it reads as "a video call," which suits reaction-heavy banter but shrinks each face. If your recording was already a locked gallery grid, you're cropping inside those boxes, which is exactly why the export setting above matters. For a fuller breakdown of these layouts, see how to frame two speakers in one vertical clip.
Common Zoom-clip mistakes
- Ignoring the separate audio you recorded. When guests talk over each other, a mixed track gives you no way out. If you recorded locally with per-participant audio on, use those tracks, they're the fix for crosstalk, uneven levels, and a guest who recorded loud. (A cloud recording only ever gives you the one combined track, which is the case for enabling local capture next time.)
- Center-cropping the gallery grid. This is the signature Zoom-clip tell: two postage-stamp faces in a tall frame with grey gutters. Pick stacked, active-speaker, or split instead, never crop the raw grid as-is.
- Trusting Zoom's mixed audio quality. Zoom optimizes audio for calls, not broadcast. If a clip will live on its own, the separate tracks plus a quick level pass beat the call-grade mix. For audio-led moments, the lessons in making clips from an audio-only podcast apply here too.
- Forgetting captions. A Zoom clip is a talking-head clip, and talking-head clips die on mute without captions. Burn them in and keep them out of the platform UI zone.
- Posting the whole answer. A two-minute Zoom answer is a podcast segment, not a clip. Cut to the 30–60 seconds that stand alone, the setup, the turn, the line.
The tools: by hand vs speaker-aware
By hand, a Zoom clip is slow. You'd drop the MP4 into CapCut, Premiere, or DaVinci Resolve, manually mask and reposition each speaker out of the grid, keyframe the reframe whenever someone moves, sync the cleaner separate-audio track, then add captions. Budget 30–60 minutes per finished clip, more if you're cutting to the active speaker, because every cut is a manual call.
Speaker-aware tools collapse that. They detect who's talking, pull each face out of the grid, reframe to vertical, and auto-caption, so a wide Zoom recording becomes a batch of usable clips without keyframing. QuickReel does this, and so do alternatives like Opus Clip and Vizard. The honest framing: most modern tools detect roughly 80% of the same moments and reframe similarly well, the real difference is how few clicks sit between your recording and a posted clip, and how cleanly the tracking holds when a guest leans out of frame. Whichever you use, every AI clipper still needs 20–40% human review: confirm the right speaker is framed, the captions match, and nothing important sits under the platform's buttons. It's an accelerant, not a replacement editor. For the review pass, see how AI clip detection actually finds the talker and how to pick the best AI-suggested clips. The same workflow covers other call platforms, see making clips from a Microsoft Teams recording and clipping a podcast recorded in Riverside.
FAQ
How do I turn a Zoom recording into clips for social media? Export the local or cloud recording, download the per-participant audio Zoom saves alongside it, find the strongest 30–60-second moments in the transcript, then reframe the wide grid into a vertical 9:16 layout, stacked, active-speaker, or split, and burn in captions. A speaker-aware clip tool can do the moment-finding and reframing in one pass.
What's the best Zoom recording setting for clipping? Turn on "Record a separate audio file for each participant" before you record, and capture active-speaker or separate per-participant video rather than a locked gallery grid. Per-participant audio fixes crosstalk and levels; separate video lets a clip tool reframe each person cleanly instead of cropping inside fixed boxes.
Can I clip a Zoom recording if I only have the gallery-view file? Yes, but it's the hardest case. The two boxes are baked into the pixels, so you can only crop inside the grid, best results come from cropping tight to one box at a time and cutting between them, or stacking the two boxes. Next time, record in speaker view or per-participant video for more freedom.
Why does my Zoom clip look low quality? Two common causes: you used the cloud MP4 at a low resolution, or you center-cropped the wide grid so faces ended up tiny. Download the highest-resolution file, reframe with a real vertical layout instead of cropping the grid, and use the separate audio track rather than Zoom's call-optimized mix.
Do I need the transcript to make Zoom clips? No, but it's a shortcut. Zoom's auto-transcript lets you skim for the strongest moments instead of scrubbing the whole recording, and clipping tools use it for captions and moment detection. If you don't have it, a speaker-aware tool will transcribe the audio for you.
Related guides: making clips from a YouTube podcast video, making clips from an audio-only episode, and clipping a podcast recorded in Riverside.