
Clip Colors Look Off? Quick Color Fixes for Podcast Video

When a clip's color looks off, it's almost always one of three specific faults, and each has a single fix you can apply without knowing anything about color grading. Orange or sunburnt skin is a white-balance problem, drop the temperature. Flat, gray, lifeless footage is missing contrast, raise contrast and a touch of saturation. Mismatched shots in a two-camera clip means one camera was set differently, match the wrong one to the right one. Look at the skin and the background, decide which of the three you have, and make the one adjustment.
That's the whole method. You don't need a colorist, a calibrated monitor, or a paid grading suite to fix a podcast clip that looks wrong. The rest of this page is the triage in detail: how to tell the three faults apart in a few seconds, the exact slider to move for each, and the mistakes that quietly cause "off" color before you ever open an editor.
How do I know which color problem my clip has?
Look at two things: the skin tones and the background whites. If skin looks orange, red, or sickly green, you have a white-balance fault. If skin looks fine but the whole frame is dull and grayish, you have a contrast and saturation fault. If two camera angles in the same clip don't match each other, you have a camera-mismatch fault. Each maps to a different slider, so naming the fault first saves you from dragging every control at once.
The mistake most people make is treating "color looks off" as one vague problem and randomly nudging saturation, brightness, and tint until something looks better on their laptop, which then looks worse on a phone. Triage first. The frame tells you which of three buckets you're in.
This matters more on a clip than in the full episode because of how clips get watched. Short-form clips drive an estimated 20–40% of new audience for video podcasts and can lift reach 2–5× (Podcast Studio Glasgow). A clip is a first impression to strangers scrolling fast, and orange skin or muddy gray reads as "amateur" in the first half-second, before they've heard a word. Fixing the color is cheap insurance on every clip you already worked to make.
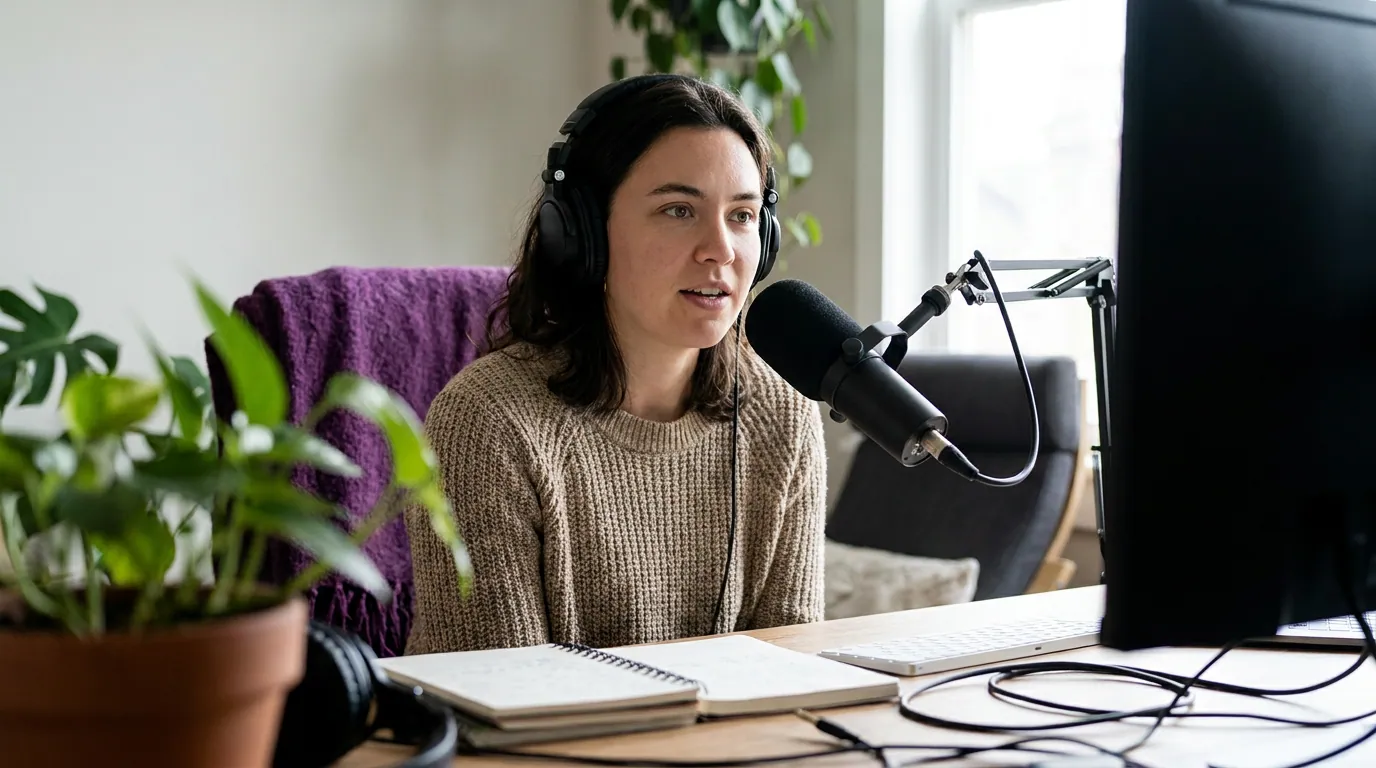
Fault 1: orange (or tinted) skin, fix the white balance
Orange, red, or greenish skin is a white-balance error: the camera guessed the color of your room's light wrong and corrected for the wrong thing. Warm desk lamps and tungsten bulbs push skin orange; cheap LED panels can push it green. The one fix is the temperature slider. Pull it toward blue (cooler) until skin looks like skin and a white wall or shirt in frame looks neutral white, not cream.
Here's the non-colorist version of getting it right. Find something in the frame you know is white or neutral gray, a white wall, a mug, a sheet of paper, the white of a shirt collar. Adjust temperature until that thing looks neutral, neither warm nor blue. Skin will fall into place automatically, because the same cast that orange-shifted the skin also tinted everything else. If skin is orange but the room reads fine, nudge tint (the green–magenta slider) a touch instead.
Two practical limits worth stating. You cannot recover skin from a severely clipped, blown-out warm shot, if the highlights on a cheek are pure white with no detail, no slider brings them back, and that's a re-record, not a fix. And a small amount of warmth is flattering; the goal is natural, not clinical blue. Stop when skin looks like the person, not when the numbers are "correct."
Fault 2: flat, dull, gray footage, add contrast, not brightness
Flat, lifeless, grayish footage with no real blacks or whites is a contrast problem, and the instinct to fix it with the brightness slider is exactly wrong, brightness just lifts the whole frame into a milkier gray. The fix is contrast (with a small saturation bump after). Raising contrast pushes shadows darker and highlights brighter, which is what makes a flat image read as crisp and intentional instead of washed out.
Why does podcast footage come out flat in the first place? Two common causes. Soft, even room lighting with no shadows produces a low-contrast image by design, pleasant in person, mushy on camera. And some cameras and phones record a deliberately "flat" or "log" picture profile that expects you to add contrast later; if you never do, it stays gray. Either way, the corrective is the same: nudge contrast up until shadows have some weight, then add maybe 5–10% saturation so colors don't look dead. Stop before skin goes plastic or shadows crush to pure black.
One honesty note. Adding contrast can't manufacture detail that the soft lighting never captured, it makes what's there read better, but it won't turn a flatly lit talking-head into a cinematic one. If "flat" is really "the lighting was boring," the durable fix is at the recording stage. And if the clip feels low-energy even after color, the problem might not be color at all, it might be pacing or framing, covered in the fixes that add movement to flat clips.
The chart above is the reason color deserves a 30-second pass on every clip. With sound off for most viewers, the image and the captions are the entire first impression, so a flat or orange frame is a real cost, not a cosmetic one.

Fault 3: two cameras that don't match, fix the worse one
When a clip cuts between two angles and the color jumps, one warmer, one cooler, one brighter, the cause is that the two cameras were set differently (different white balance, different picture profile, or auto-exposure drifting independently). The one fix is to pick the camera that looks right and match the other one to it. Don't try to meet in the middle; choose the better reference and pull the offender's temperature and contrast toward it until the cut stops jumping.
The fastest way to do this without color skills: park the playhead on a frame from your "good" camera, screenshot it or just memorize the skin tone, then adjust the "bad" camera's temperature and brightness on a matching frame until they look like the same room on the same day. You're matching, not grading, the bar is "the cut isn't jarring," not "broadcast perfect." Most jumps disappear with just temperature and a small exposure tweak.
The deeper fix is upstream: set both cameras to the same manual white balance (a fixed Kelvin number, not auto) and the same picture profile before you record. Auto white balance is the main villain here, it re-decides the color every time the light shifts, so two auto cameras will never agree. Lock it once and the mismatch never happens. This is the same category of problem as a clip framed wrong at capture; if your two-cam clip also has framing issues after the cut, see fixing a clip exported in the wrong aspect ratio.
The mistakes that cause "off" color before you edit
Half of color problems are decisions made before the editor opens. These are the ones worth changing at the source so you stop correcting the same thing every week.
- Leaving white balance on auto. Auto white balance drifts as light changes and disagrees between cameras. Set a fixed Kelvin value for your room and leave it. This single change prevents both orange-skin and camera-mismatch faults.
- Mixing light sources. A warm lamp plus cool window light puts two different color temperatures on one face, and no single slider corrects both halves. Pick one light type, close the blind or turn off the lamp.
- Grading on an uncalibrated laptop, then posting to phones. Laptop screens skew bright and cool; your "fixed" clip can look wrong on the device people actually watch on. Always re-check the corrected clip full-screen on a phone before you call it done.
- Over-saturating to "make it pop." Cranking saturation turns skin orange and clothing neon. A 5–10% bump is plenty; past that you've created a new color fault while fixing the old one.
- Re-exporting an already-compressed, already-graded clip. Editing a downloaded copy stacks compression and color shifts on top of each other. Start from the original recording, the same reason re-uploaded clips degrade, relevant if you're removing a watermark from a repurposed clip.
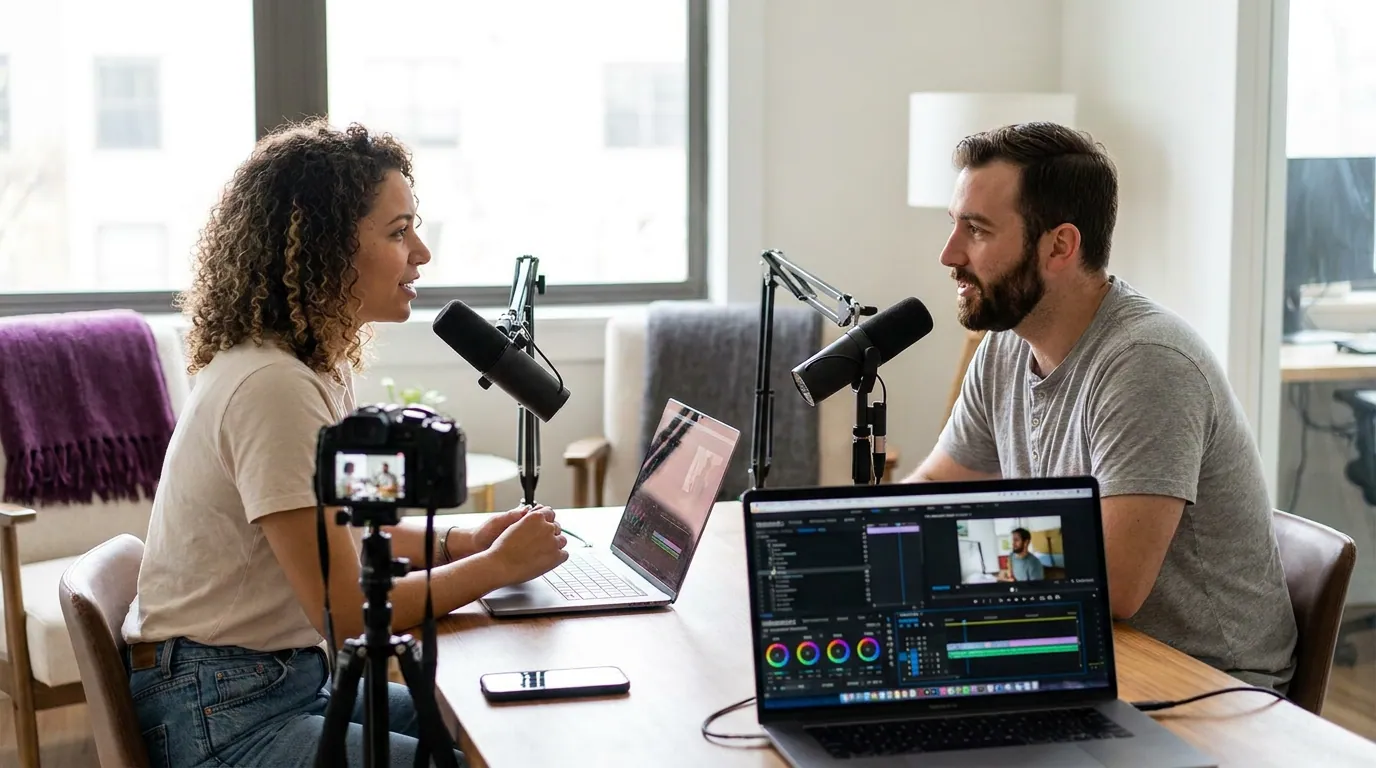
When "color" isn't really the problem
Sometimes a clip is color-correct and still feels off, and "the color looks weird" is just the nearest word for "something's wrong." If skin is natural and contrast is fine but the clip underperforms, the issue is usually the moment, the hook, or the framing, not the pixels. Rule those out with the diagnostic checklist for clips that get no views before re-grading. And if you're cutting clips with AI and a particular segment keeps coming out looking strange, it can trace back to which moment got selected and how it was reframed, worth understanding how AI clip detection actually works and how to pick the best AI-suggested clips before blaming the color.
FAQ
Why does my video color look off only after I post it? Two likely causes. The platform re-compresses every upload, which can shift color and contrast slightly, and you may have graded on a bright, cool laptop screen that doesn't match a phone. Re-check your corrected clip full-screen on the device you'll post from, and correct there rather than on the laptop.
How do I fix orange skin in a podcast clip without color-grading skills? Move the temperature slider toward blue until a known-white object in frame (a wall, a mug, a shirt) looks neutral white instead of cream. Skin corrects automatically because the same warm cast tinted everything. If only skin is off, nudge the green–magenta tint slider a little.
Why does my video look dull and gray? The footage is low-contrast, usually from soft even lighting or a flat camera picture profile. Raise the contrast slider, not brightness, brightness just makes it a milkier gray. Add a 5–10% saturation bump after so colors don't look dead. Stop before shadows crush to pure black.
How do I match two cameras that don't look the same in one clip? Pick the camera that looks right and pull the other one's temperature and exposure toward it on a matching frame until the cut stops jumping. Don't average them. Upstream, set both cameras to the same fixed white balance and picture profile before recording so they agree in the first place.
Should I fix color or captions first on a clip? Color first, because contrast and white balance affect how readable your captions are against the background. Once the picture is right, place captions so they sit on a clean area, most social video is watched on mute, so the picture and captions together are the entire first impression.
Related guides: fixing a clip exported in the wrong aspect ratio, nine fixes that add movement to flat clips, and the diagnostic checklist for podcast clips that get no views.