
Framing a Talking-Head Podcast: Exact Targets

Frame yourself from mid-chest up, put your eyes on the upper third of the frame, and leave about a head's-width of space above your hair. That single setup, a medium close-up with the eye line high and a sliver of headroom, covers 90% of talking-head podcast framing. Everything below tightens those numbers and shows you the failure modes.
The reason to get this right is downstream. More than half of new US weekly podcast listeners now prefer to watch a show, 53%, up from 30% in April 2022 (Backlinko, podcast stats), and YouTube reported more than a billion monthly podcast viewers worldwide in early 2025 (Variety). Your face on camera is the show now, not just the audio underneath it. Framing is the cheapest production lever you have: it costs nothing and a viewer registers a badly framed shot before you finish your first sentence.
How should you frame a seated podcast host?
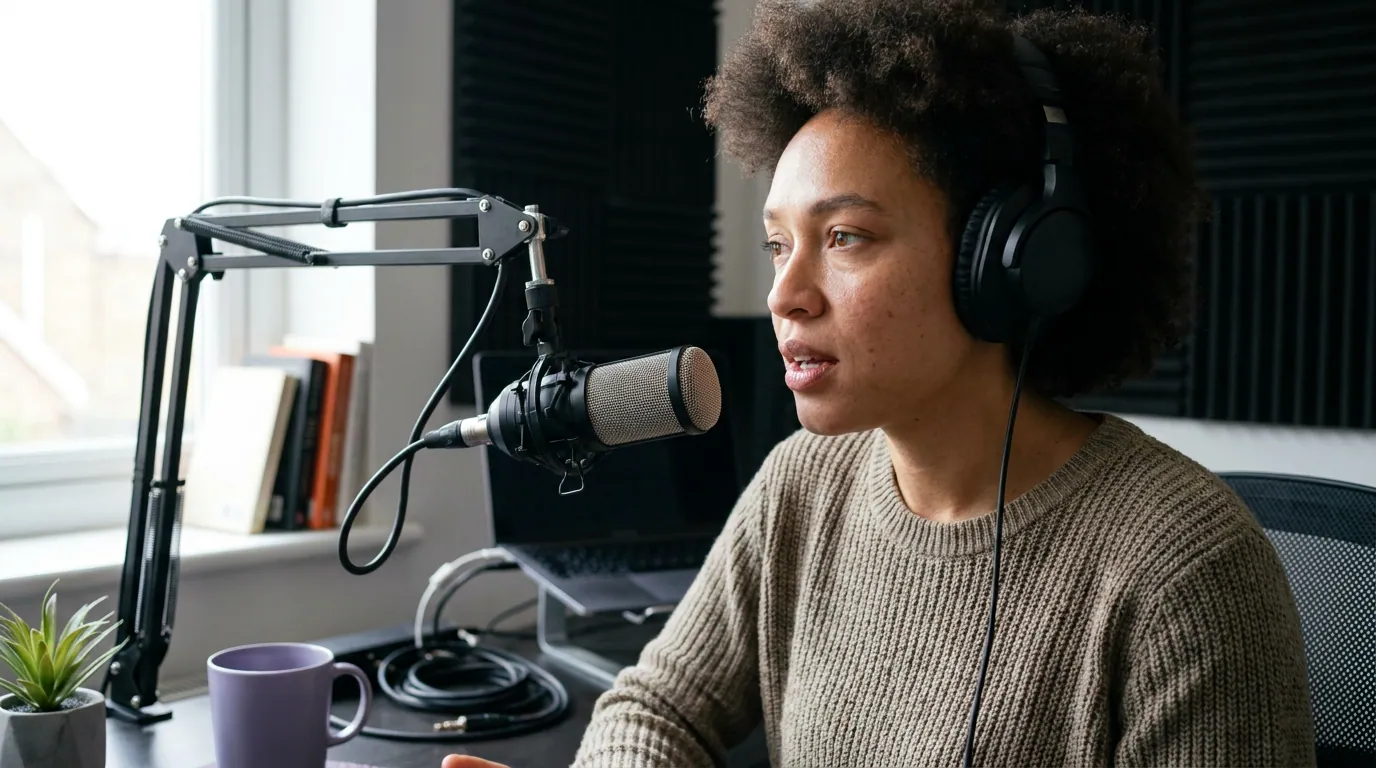
Use a medium close-up: crop the bottom of frame at mid-chest, fill 60–75% of the frame height with your head and shoulders, set your eyes on the rule-of-thirds upper horizontal line, and keep roughly a head's-width of headroom above your hair. If you turn slightly off-axis, leave more space on the side your face points toward.
That is four targets working together. Take them one at a time, because each one fixes a different specific ugliness, and the four are easy to dial in once you know the number you're aiming for.
1. Put your eyes on the upper third
The single move that fixes the most at once. Viewers read a face by its eyes, so the eyes, not the top of your head, not your chin, are what you compose around. Place them on or just above the upper horizontal rule-of-thirds line. Turn on your camera's grid overlay (every mirrorless body and most webcam apps have one) and physically raise or lower your chair until your pupils land on that line.
Get this wrong in the common direction and you bury your eyes in the vertical center of the frame, which leaves a slab of dead wall above your head and makes you look like you're sinking out of shot.
2. Fill 60–75% of the frame height
This is the crop that reads as a podcast rather than a security camera or a selfie. Your head, from chin to crown, should occupy roughly two-thirds of the frame's height. Below ~60% you're too far away and the shot feels detached; above ~75% you're crowding the lens and lose your shoulders, which kills the relaxed, seated register a conversation show wants.
Frame the bottom edge somewhere between mid-chest and the top of the sternum. Including the shoulders gives the composition a stable base; cropping at the neck makes a floating-head shot that feels tense.
3. Leave a head's-width of headroom, no more
Headroom is the gap between the top of your hair and the top of the frame. The target is small: roughly the width of your own head, often less for a tight talking-head. Beginners leave far too much because it feels safe, and the result is a host pinned to the bottom of the frame staring up out of it.
The fast fix is a two-way trade: if you have too much headroom, your eyes are below the upper-third line, so tilt down or raise your seat until both problems resolve at once. They're the same problem.
4. Add lead room when you turn
If you sit square to the lens, center yourself horizontally and you're done. The moment you angle your body or turn your face, which most hosts do, because dead-square framing feels like a hostage video, leave more space on the side your face points toward. That open space is lead room (also called nose room or looking room). Without it, your face crowds the edge of frame and the shot feels claustrophobic, like you're about to walk into the border.
Why does the rule of thirds matter for a static talking-head?
Because even a near-static shot has weight, and the rule of thirds puts that weight where the eye expects it. Centering your eyes vertically drops them into dead center, which reads as flat and snapshot-like; lifting them to the upper third creates the small asymmetry the eye finds composed. It is the difference between a webcam call and a show.
A second reason is purely practical and specific to podcasting: lower-third graphics and your guest's name card live in the bottom strip of frame. If your eyes are already on the upper third, that bottom strip is open space waiting for a name plate. Center your face and the graphics fight your chin. Frame for the layout you'll actually export, not just for the empty room.
Framing for the vertical clip, not just the wide shot
Here's the trap almost no first-timer plans for: the wide 16:9 you record is not the frame most new viewers will see. Social clips drive a large share of podcast discovery, and they're vertical. When a 16:9 shot is reframed to 9:16, the sides are cropped away and your carefully placed lead room can vanish, or, worse, the auto-crop locks onto the wrong half of the frame.
So compose with the eventual crop in mind. Sit closer to the lens than feels natural for the wide shot, keep your gestures inside an imaginary center column, and don't drift to the edge of the 16:9 frame, because that's exactly where the vertical crop will slice you off. We cover the recovery moves in how to make vertical clips from a horizontal podcast and the broader rig decisions in single vs multi-camera podcast setups. Good framing at record time means less fighting the crop later.
Common framing mistakes (and the fix)
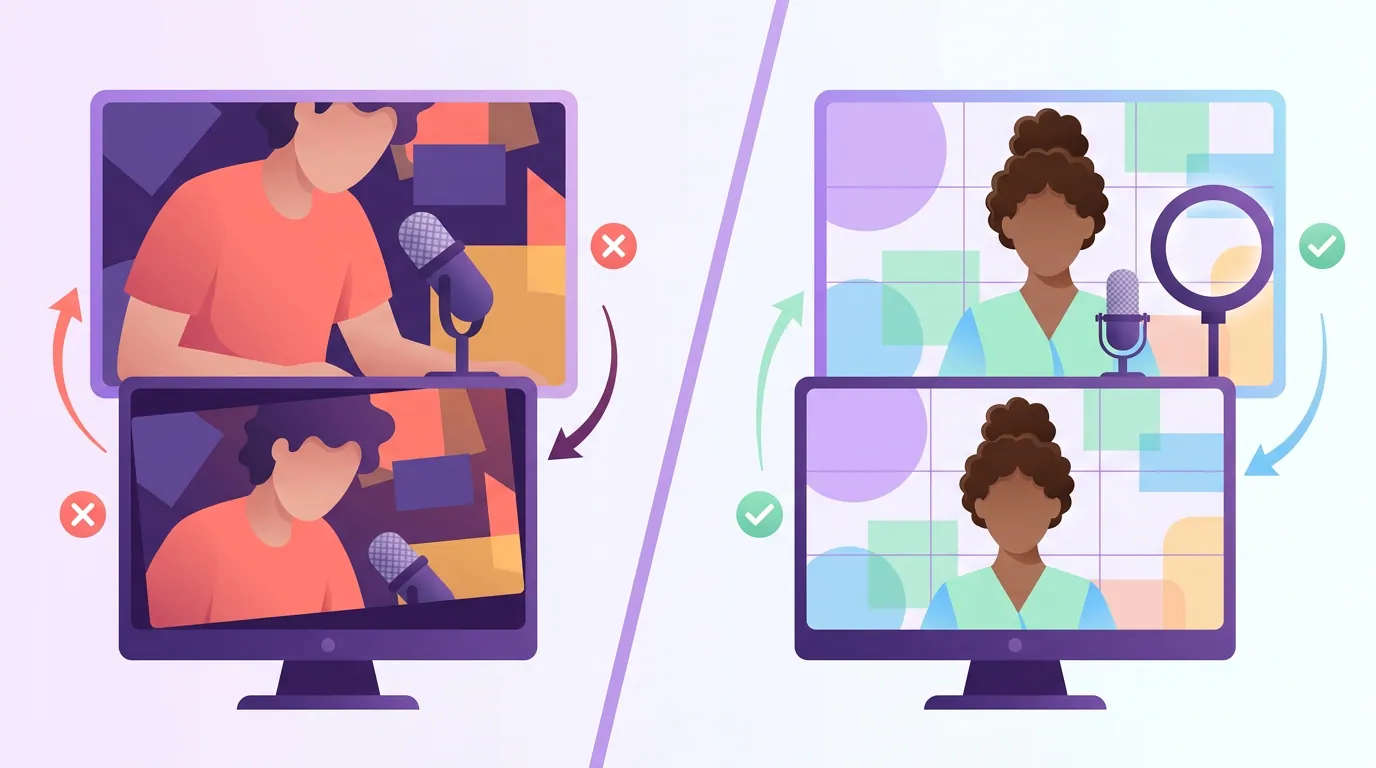
Most bad podcast framing is one of five errors, and each has a one-line fix.
- Camera too low, shooting up your nose. A webcam clipped to a laptop sits below eye level and gives an unflattering up-angle. Fix: raise the camera to your eye level or a hair above, on a stack of books or an arm. Pick a height in our first-time video podcast setup guide.
- Too much headroom. The default beginner error. Fix: tilt down until your eyes hit the upper-third line; the headroom corrects itself.
- Sitting too far back. Reads as cold and gives a viewer nothing to read. Fix: crop to mid-chest so your head fills two-thirds of the height.
- Dead-square and stiff. Fix: turn your chair 10–15° off-axis and add lead room on the side you face.
- A busy wall right behind your head. Distracting clutter and zero separation. Fix: move a few feet off the wall for depth, and read designing a podcast backdrop that doesn't distract. A back light helps too, see three-point lighting for a video podcast.
What gear do you need to get framing right?
Almost none. Framing is position, not purchase, it's free to fix on a webcam or a phone. All you need is something to put the lens at eye level and hold it there: a small tripod, a desk arm, or a stack of books. A more expensive sensor will not save a badly composed shot.
The framing logic is identical across price tiers, so a $60 webcam framed correctly beats a mirrorless pointed up your nose. If you are choosing a camera, see the best webcam for podcasting or the best camera for a video podcast by budget.
Frequently asked questions
Where exactly should my eyes be in the frame? On or just above the upper horizontal rule-of-thirds line, about a third of the way down from the top edge. Turn on your camera's grid overlay and raise or lower your seat until your pupils land on that line. Eyes, not the top of your head, are what you compose around.
How much headroom should a podcast host leave? Roughly a head's-width of space above your hair, often less for a tight talking-head. If you have more than that, your eyes have dropped below the upper third, tilt the camera down or raise your chair, and both problems fix at once.
Should I look at the camera or at my guest? At the lens when you're talking to the audience (intros, solo bits, direct address), and naturally at your guest during conversation. For a remote interview, putting the guest's video window directly under your webcam keeps your eye line close to the lens so you don't appear to be looking away.
Does framing change for a vertical clip? Yes. A 16:9 shot reframed to 9:16 crops the sides, so sit closer to the lens, keep your gestures and your face near the center column, and avoid drifting to the edges where the vertical crop will cut you off. Plan the clip frame while you record, not after.
Is the rule of thirds really necessary if I sit still? It still helps. Placing your eyes on the upper third instead of dead center adds the small asymmetry that reads as composed rather than snapshot-like, and it leaves the bottom strip of frame free for lower-third name graphics.