
Three-Point Lighting for Podcasts on a Budget

Three-point lighting is three jobs, not three identical lamps: a key to light you, a fill to soften the shadow the key throws, and a back light to peel you off the wall behind you. Buy for those jobs, not for a sealed kit, and a real three-point rig costs roughly $90 to $200, or fake it with two lights and a piece of white foam board.
That distinction is the whole article. Most "best lighting kit" lists hand you a sealed box and a price. This one breaks the rig into three roles, names the cheapest product that credibly fills each role at mid-2026 street prices, and tells you what to cut first when money is tight. Light moves your picture more than a camera upgrade does, and it is one of the few production gaps a viewer registers while scrolling.
What does each light in three-point lighting actually do?
Three lights, three jobs. The key is your main light: it sets exposure and the direction of shadow on your face. The fill sits opposite and brightens that shadow so your face doesn't read as half-lit. The back light sits behind you and throws a thin edge on your hair and shoulders to separate you from the background.
Get the roles in your head before you spend a dollar, because the cheap mistake is buying three of the same panel and aiming them like floodlights. That flattens your face and kills the depth the technique exists to create. Each light has a different power level, a different position, and a different reason to exist.
- Key, the bright one. Sits about 30–45° off to one side of the camera and slightly above eye level. Soft and diffused (through a softbox or against a wall) so the shadow edge on your face is gentle, not a hard line.
- Fill, the gentle one. Opposite the key, roughly half its brightness, often softer still. Its only job is to lift the shadow side so you look modeled, not menacing. This is the light you can fake or skip first.
- Back, the small one. Behind you, aimed at your head and shoulders, usually pointed down at ~45°. Low power. It does the most per watt of any light in the rig because the rim of separation is what makes a shot look "produced."
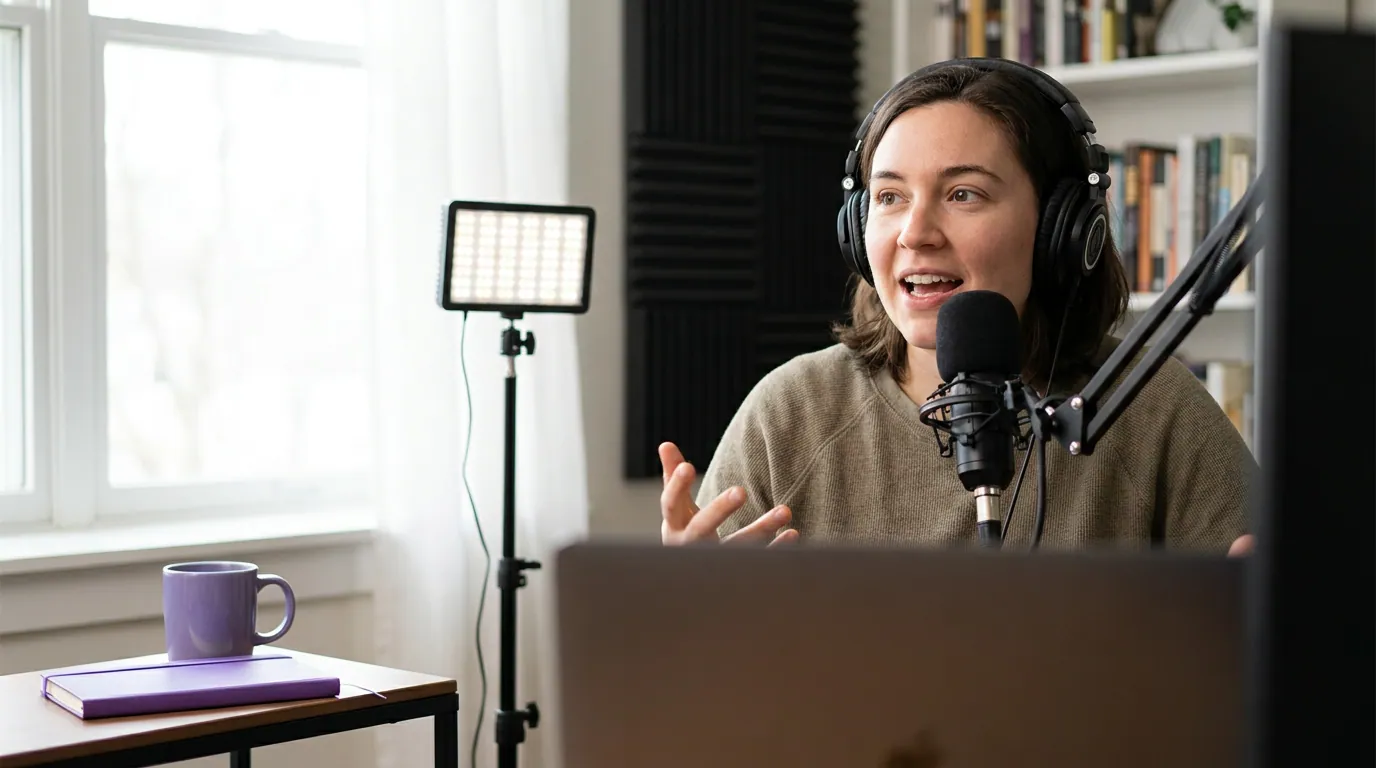
What's the cheapest way to fill each role?
The cheapest credible three-point rig in mid-2026 runs about $90 to $200. A two-panel bi-color LED kit covers two of the three roles at once; for the back light, a small clip-on or focusable mini-light does the job under $30. Below is one verified-priced pick per role, chosen for color accuracy (CRI 95+), not brand prestige.
Prices below are street prices checked the week of publication. Lighting prices move with sales, so treat these as the ballpark, not a quote, and always glance at the live listing before you buy.
| Role | Cheapest credible pick | Verified price (mid-2026) |
|---|---|---|
| Key + fill (two panels) | Neewer 660 Bi-Color 2-pack, stands + softboxes | ~$90 kit (Amazon) |
| Key (single, step-up) | Amaran Halo 60x bi-color COB | $119 (PetaPixel, Mar 2026) |
| Key (premium, app control) | Elgato Key Light Air | $129.99 (Elgato) |
| Back / rim | Small clip-on or mini LED | ~$20–30 (generic, CRI 95+) |
A few notes on the picks, because the table flattens real trade-offs:
- The Neewer 660 2-pack is the budget default for a reason. You get two bi-color panels (3200–5600K), softboxes, and stands for around $90. That covers your key and your fill in one purchase, which is why it shows up on nearly every podcast lighting list. The honest con: panel lights spread light wider and softer than COB lights, so they are less punchy and the stands are flimsier than a studio expects. For a talking-head podcast at a desk, neither matters much.
- The Amaran Halo 60x ($119) is a real step up if you want one strong key. It is a bi-color COB light (2700–6500K) that takes a Bowens-mount softbox, which means it gets genuinely soft and genuinely bright, better skin rendering and more control than a panel (PetaPixel, Mar 2026). The catch: $119 buys you the head only. Add a softbox and a stand and you are closer to $200 for one light.
- The Elgato Key Light Air ($129.99) sells convenience. 1400 lumens, 2900–7000K, and app/Stream Deck control with no physical knobs to bump (Elgato). Streamers love it. It is dimmer than the COB options and you pay a premium for the ecosystem, so buy it for the workflow, not the raw output. One catch to know in mid-2026: Elgato is phasing the Air out in favor of the USB-powered Key Light Neo, so stock is patchy and some retailers list it as discontinued, check the Neo if the Air is sold out near you.
- The back light is where you should spend the least. It sits out of frame, runs at low power, and only needs to drop a thin rim on your hair and shoulders. A $20–30 clip-on LED or a cheap focusable mini-light is plenty. Do not buy a third full panel for this job.
How do you fake three-point lighting with two lights?
You fake the fill. Put your one good light as the key at 45°, put your small light as the back behind you, and replace the fill with a bounce, a sheet of white foam board, a reflector, or even a bright wall on your shadow side. The bounce catches spill from your key and returns soft light to the dark half of your face, for about $5.
This works because fill is not about adding a source, it is about controlling the ratio between the lit side and the shadow side of your face. A bounce does that as well as a dim second light, and it never needs a power outlet, a stand, or color matching. Skip the fill as a fixture; keep it as a job.
Here is the order to spend, when money is tight:
- Buy the key first. One soft, color-accurate light at 45° beats three cheap floods every time. If you only ever own one light, own a good key with a softbox or diffuser.
- Add the back light second. This is the surprise. A $25 rim light behind you adds more perceived production value than a fill does, because separation from the background is what the eye reads as "real studio." Most budget rigs cut the back light first; cut the fill first instead.
- Bounce for fill, third. Foam board on the shadow side. Add a real fill fixture only once you have the key and back dialed in and you specifically want to control the shadow ratio more precisely.
What specs actually matter on a budget light?
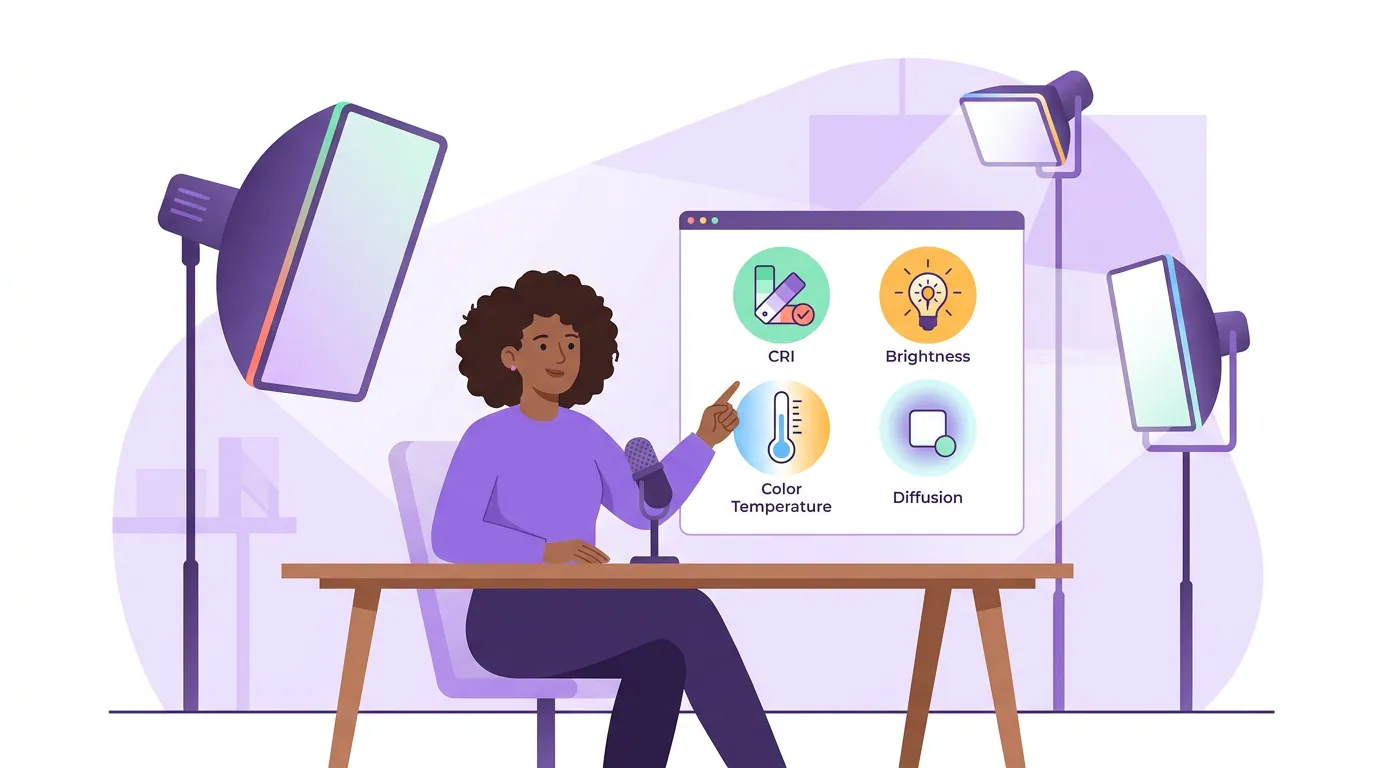
Two specs, mostly: color accuracy (CRI 95+) and adjustable color temperature (bi-color, ~3200–5600K). Everything else on the box, lux at one meter, RGB party modes, app control, is secondary for a talking-head podcast. A cheap light with a low or unprinted CRI will tint your skin green or sallow no matter how you place it, and that is the one flaw a viewer notices subconsciously.
- CRI 95+. Color Rendering Index measures how faithfully a light reproduces color versus daylight. Below ~90, skin tone suffers. Most decent budget panels now hit 95–97; if the listing doesn't print a CRI number, treat that as a red flag and move on.
- Bi-color (3200–5600K). Adjustable color temperature lets you match the daylight from a window or the warm bulbs in your room, so your face doesn't clash with the background. Single-temperature lights are cheaper but lock you into one look.
- Dimmable. Non-dimmable lights force you to move the fixture to control brightness, which wrecks your placement. Every light in your rig should dim from 0–100%.
- Flicker-free. Cheap LEDs can strobe on camera, especially at higher shutter speeds or frame rates. Look for a flicker-free claim, and test on your actual camera settings before you commit.
The budget you need is smaller than the listings imply. A hobby podcast runs roughly $100–$350 in one-time equipment overall, per Ausha's cost breakdown, and a role-complete three-point lighting rig fits inside that figure, not on top of it. You will spend more on a mic than on light, and that is the right order; see our best podcast mics by budget tier and the usb vs xlr decision for where that money goes.
How we picked these lights
Three rules drove every pick. First, CRI 95+ or it's out, skin tone is the one thing a viewer registers, so we treated unprinted or sub-90 CRI as disqualifying. Second, verified street price at publication, taken from the retailer or manufacturer page and linked inline, not a list-price guess. Third, does it earn its role, we asked whether a cheaper product could do the same job (the back light), and where spending more genuinely changes the picture (the key).
These are buying recommendations from spec sheets and verified prices, not a hands-on shootout of every unit; lighting performance also depends on your room, your distance, and your camera. The role framework, the spend order, and the two-light fake are the parts you can apply no matter which exact light you end up buying.
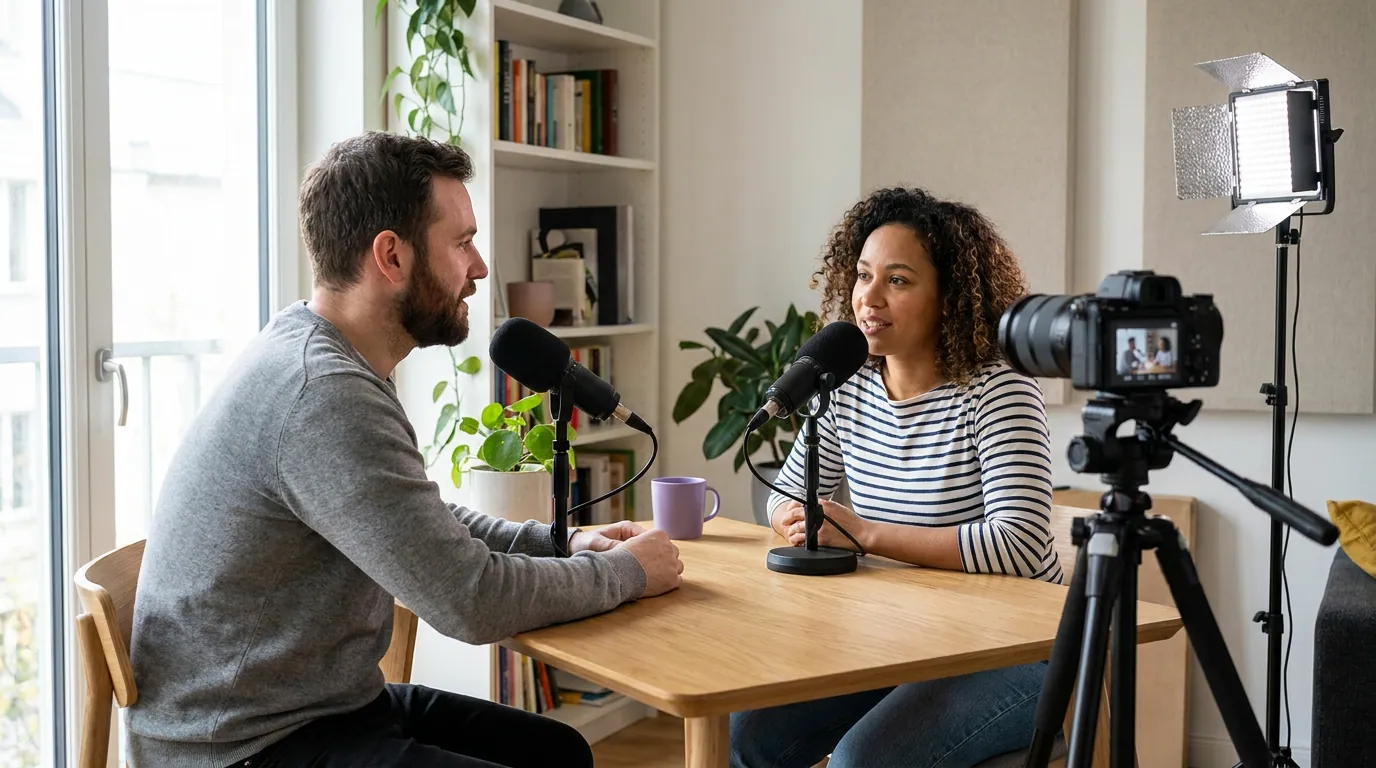
Why lighting matters for a video podcast
Lighting is the cheapest way to look intentional, and looking intentional matters because video is now the default way people meet a podcast. YouTube is the #1 US podcast platform at 42% of monthly listeners (vs Spotify 15%, Apple 7%), and 53% of new US weekly listeners say they prefer to watch a podcast, up from 30% in April 2022, per Backlinko's podcast stats. A scrolling viewer decides in a second or two whether your show looks like something worth their time, and even light reads instantly.
The honest caveat: lighting does not make a boring show interesting, and it does not generate reach on its own. A well-lit clip still has to say something worth watching, and the moment still has to travel. Treat lighting as the floor, the thing that stops a good clip from looking amateur, not as a growth lever by itself.
FAQ
Do I really need three lights for a podcast? No. One soft, color-accurate key light at 45° gets you 70% of the way there. Add a $25 back light for separation and you have a setup that reads as produced on camera. The fill is the role to skip or fake with a bounce board; a true three-fixture rig is a refinement, not a requirement.
Can I use a ring light instead? For a single-person webcam setup, a large ring light works as a passable key, it is soft and puts a catchlight in your eyes. The downsides: it lights you flat and head-on (no modeling shadow), the ring reflection shows in glasses, and it does nothing for separation. A side-placed softbox plus a back light looks more dimensional for the same money.
What about natural light from a window? A north-facing window is an excellent, free, soft key. Sit facing it at a slight angle and you have your key handled for $0. The problems are control and consistency: clouds change your exposure mid-record and the sun sets, so it is unreliable for a regular publishing schedule. Use it as your key when it cooperates, and own one LED so you are never blocked.
Where should the key light go, left or right? Either side works; pick based on your face and your set. Place the key on the side that throws the more flattering shadow (most people have a preferred side), or on the side away from your busiest background so the lit half of your face has clean space behind it. The 45° angle and slightly-above-eye-level height matter more than left vs right.
How much should a beginner spend on lighting total? Around $90–$120 for a role-complete rig: a Neewer 660 bi-color 2-pack (~$90, covers key and fill) plus a $20–30 back light. If you want one strong key instead, budget closer to $200 for a COB light with a softbox and stand. Put your bigger gear money into the mic first.
Once your set is dialed in, the next decisions are about what you say and how you structure it. See our repeatable episode structure template and the scripting vs outlining breakdown. And if you are still choosing gear, a hybrid USB/XLR mic or a solid budget mic under $100 is where your next dollar should go before a fourth light.