
How to Record Your First Podcast Episode


To record your first podcast episode, set up in the smallest soft-walled room you have, position the mic a fist-width from your mouth and just off-center, set your input so peaks land near −12 dBFS, wear headphones, and run a 60-second test before the real take. Most first-recording disasters are not bad performances, they are one of four technical errors caught too late.
The single thing that separates a usable first episode from a re-record is the test take. Record 30 to 60 seconds, talking the way you actually will, then listen back on headphones before you commit to the real thing. Five minutes of checking saves you the hour of re-recording an episode that clipped, drifted out of sync, or recorded nothing at all. This guide is built around catching those errors before they happen.
Why the first recording is mostly setup, not talent
Your delivery improves over the first ten episodes no matter what. The technical mistakes, though, are usually one-shot and unrecoverable, and they are what actually force people to start over. Only 16% of podcasts on Apple are active, meaning they have published an episode in the last 90 days, so the vast majority of shows go quiet (The Podcast Host, June 2026 industry stats). A demoralizing first session, where you finish recording only to find the file is unusable, is exactly the kind of friction that ends a show before it really starts.
So the goal of episode one is not a perfect performance. It is a clean, usable file you do not have to record twice. Get the room, the distance, the levels, and the backup right, and a slightly nervous take is still completely shippable. If you have not sketched the episode yet, do that first, a tight outline beats a rambling take, and our note on planning a podcast before you record keeps the session focused.
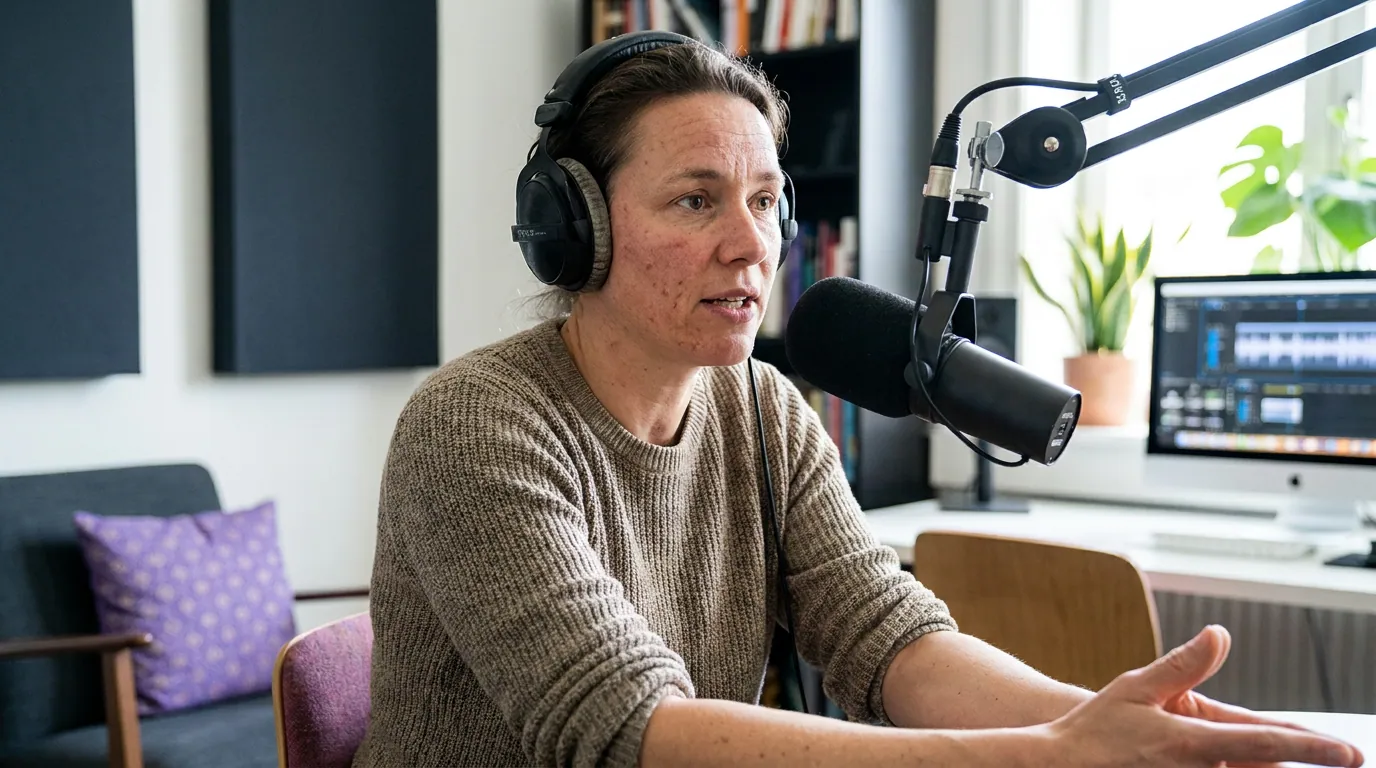
Step 1, Set up the room (this matters more than the mic)
The room beats the mic. The gap between a $150 and a $1,500 setup is smaller than the gap between bad mic technique in a noisy room and good technique in a treated one. You can fix the room for nothing, today.
- Pick the smallest soft room you have. A bedroom with a bed, curtains, and a rug beats a large living room with hard floors. Closets full of clothes are genuinely excellent, the hanging fabric kills reflections.
- Get away from hard parallel surfaces. Bare walls, windows, and tabletops bounce sound and create the boxy echo that no plugin removes cleanly. Face soft material, not a blank wall.
- Kill the obvious noise sources. Turn off the AC or fan, silence the fridge if you can, put your phone on airplane mode, and shut the window. A constant hum is fixable in editing; it is far better to never record it.
- Record at a quiet time of day. Traffic, neighbors, and HVAC cycles are all quieter at off-peak hours. Schedule around them.
You do not need acoustic panels for episode one. A soft, small space and a sensible mic distance solve 90% of what beginners hear as "amateur" sound.
Step 2, Set mic distance and angle
Position the mic about a fist-width (roughly 4 to 6 inches) from your mouth, angled slightly off-center so you are not breathing straight into the capsule. Closer than a fist gives you boomy, popping plosives; farther away pulls in room echo and forces you to crank the gain, which raises the noise floor.
A few specifics that fix the most common beginner sound:
- Use a pop filter or foam windscreen to tame the bursts of air on "p" and "b" sounds. A $10 foam cover is enough.
- Stay consistent. The biggest distance mistake is drifting, leaning in, then back, so your volume swings across the take. Pick a distance and hold it. A boom arm helps because it keeps the mic in the same spot.
- If you are using a dynamic mic (the usual recommendation for untreated rooms), get closer rather than farther, they are designed for it and reject more room. The deeper version of this lives in our mic technique and placement guide. And if you are still choosing hardware, start with the best podcast mic under $100.
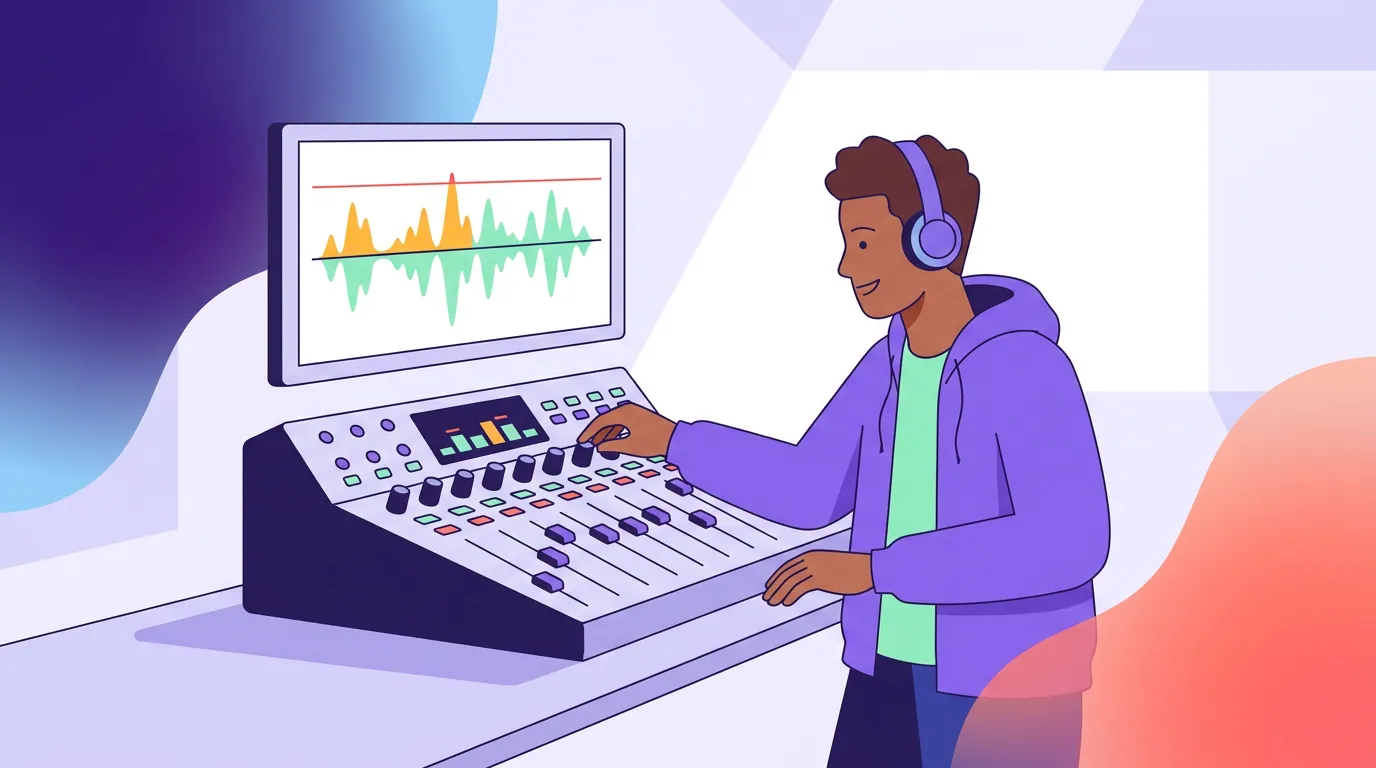
Step 3, Set levels so you never clip
Set your recording input so that your loudest moments, your laugh, your emphatic point, peak around −12 dBFS, with headroom to spare below 0. The single error you cannot fix in editing is clipping: when the signal hits 0 dBFS, the waveform is squared off and the audio is permanently distorted. You can always make quiet audio louder later. You can never un-clip a peak.
To set it before you record:
- Open your recorder's input meter. Audacity, GarageBand, Riverside, and your phone's recording apps all show one.
- Talk at your loudest realistic volume, not your test-mumble, your actual emphatic moment.
- Turn the gain down until those loud peaks sit near −12 dBFS. When in doubt, record a little quiet. Quiet is fixable; clipped is not.
- Leave it alone during the take. Do not ride the gain mid-episode.
If you record two people on one mic, the louder talker sets the level, set gain for them, then have the quieter person lean in a touch closer.
Step 4, Run the 60-second pre-roll check
This is the step beginners skip and regret. Before the real take, record a short test, then stop and listen back on headphones. The pre-roll check exists to catch the four errors below while they are still free to fix.
When you listen to the test, you are checking four things: Is it clipping? Is the room quiet enough? Is every microphone actually capturing? And do you have a second copy if the main file dies? Get a clean test, then record for real.
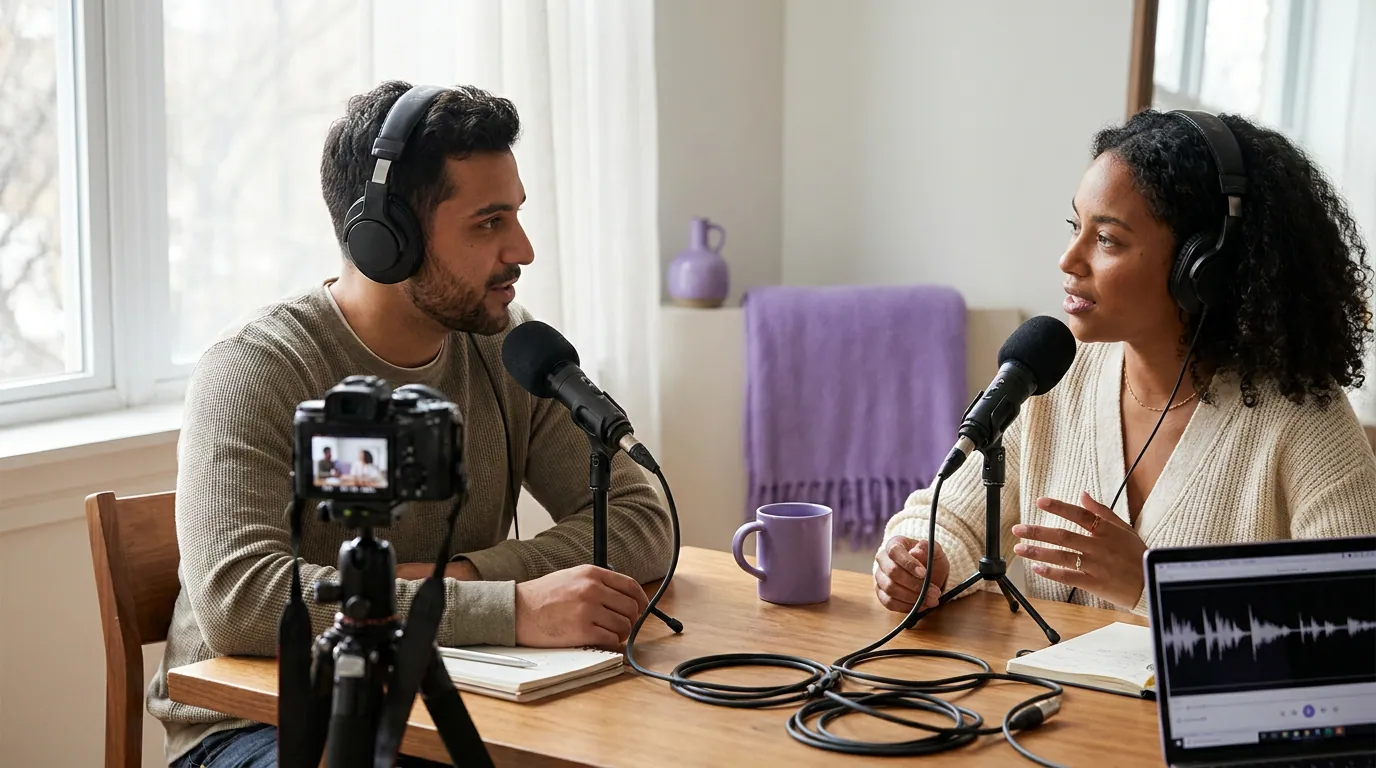
The four mistakes that force a full re-record
These are the ones that make people start over. Each is preventable in the pre-roll check.
- Clipping you did not notice. You set levels too hot, your big laugh hit 0 dBFS, and the distortion is baked in. Fix: set peaks to −12 dBFS and watch the meter on your test take. If the red light ever flashes, turn down and re-test.
- Double-ender desync (remote recordings). A "double-ender" records each person's audio locally for quality, then you sync the two files in editing. If one side's clock drifts or someone restarts mid-call, the tracks slide out of sync and lip movement no longer matches the words. Fix: have everyone clap once at the start so you have a visible sync point, and use a tool that records locally and aligns automatically. Our remote recording guide covers the platforms that handle this for you.
- No backup track. The app crashed, the file corrupted, or the recorder silently failed, and there is no second copy. This is the most painful one because the conversation is gone. Fix: always run a redundant recording. On a remote call, have each guest hit record locally too. In a room, leave your phone recording a voice memo as a safety net. A throwaway backup has saved more first episodes than any plugin.
- Headphone bleed and not wearing headphones at all. If you monitor on speakers, the speaker sound leaks back into the mic and creates echo or feedback you cannot remove. And if you do not monitor at all, you will not hear the buzz, the clipping, or the dead mic until it is too late. Fix: wear closed-back headphones the whole time, and keep the volume moderate so it does not bleed into the capsule.
Common smaller mistakes (fixable, but annoying)
- Recording in a hard, echoey room. No software fixes reverb well. Move to a soft, small space first. Free.
- Drifting off the mic. Inconsistent distance means swinging volume. Hold your position; a boom arm helps.
- Skipping the loudness step. Export at a consistent loudness (−16 LUFS is the spoken-word standard) so your show is as loud as the others in the feed.
- Over-editing the first episode. A clean cut and even volume is most of what listeners notice. Trim, level, export, publish. The full launch sequence is in our step-by-step plan to launch your first podcast.
- Waiting for "real" gear. A quiet room and good distance with a modest mic beats expensive gear in an echoey kitchen. If budget is the blocker, you can do all of this on a free podcast stack.
FAQ
What levels should I record a podcast at?
Set your input so your loudest peaks land around −12 dBFS, leaving headroom below 0. Quiet audio can be raised in editing; clipped audio, anything that touches 0 dBFS, is permanently distorted and unrecoverable. When unsure, record a little conservative and boost later.
How far should the mic be from my mouth?
About a fist-width, roughly 4 to 6 inches, angled slightly off-center so you are not breathing straight into the capsule. Closer makes plosives pop and the sound boomy; farther pulls in room echo and forces higher gain, which raises background noise. Hold the distance steady through the take.
Do I really need headphones to record my first episode?
Yes. Headphones are how you catch clipping, buzz, a dead mic, or room noise while you can still fix them. Recording without monitoring is how people discover an unusable file only after the episode is over. Use closed-back headphones at a moderate volume so the sound does not bleed into the mic.
What is the most common mistake that ruins a first recording?
Clipping and missing backups are the two that force a re-record. Clipping happens when levels are set too hot and a loud moment distorts permanently. A missing backup means a crash or corrupted file erases the whole conversation. Both are prevented by a 60-second test take and a redundant second recording.
How long should my first podcast episode be?
Long enough to be useful, short enough to finish. Most first-time hosts do better aiming for a tight 20 to 30 minutes than a rambling hour. Outline the episode first so you are not padding. Consistency and a clean recording matter far more than length for episode one.