
How to Record a Podcast With Remote Guests


To record a podcast remotely, record each person's audio locally on their own device, a "double-ender", instead of capturing the compressed call. Use a browser platform that records both sides automatically, brief your guest in five lines before they sit down, and keep a separate phone or local recorder running as a fallback. Then sync the clean tracks.
Everything else is detail, and most of the detail lives on the guest's side, not yours. You can have the best microphone on the market and still ship a bad episode, because an interview is only as good as its worst track, and the worst track is almost always the guest's. So the real skill in remote recording is not your setup. It's getting a usable recording out of someone who has never thought about their audio in their life, over an internet connection you don't control.
This is the playbook: the one decision that frames everything, the pre-call checklist that fixes the guest's track before it exists, the fallback that saves a botched take, and the exact words to send a non-technical guest.
What does it mean to record a podcast remotely?
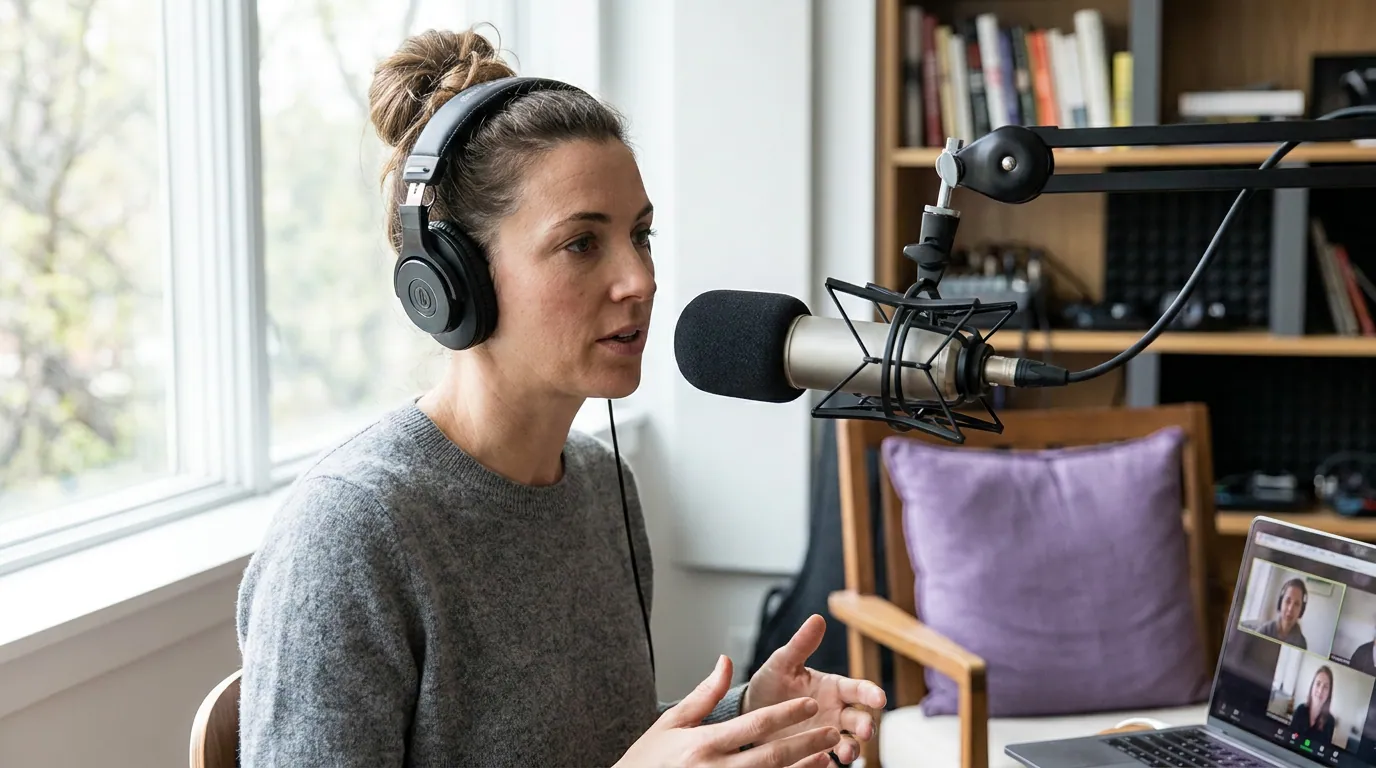
Recording remotely means you and your guest are in different places, talking over the internet while audio (and usually video) is captured. The catch is what gets captured. The conversation runs over a live call, Zoom, Meet, a browser studio, but the recording should be two separate, full-quality tracks saved on each person's own device, then combined later.
That gap between "the call" and "the recording" is the whole game. Live calls compress audio hard and drop quality the second someone's Wi-Fi hiccups. A local recording keeps running at full fidelity no matter what the connection does, because it never left the device. Remote-recording platforms exist to make that easy: the guest clicks a link, talks, and their machine quietly saves a clean track that uploads when you're done.
Step 1: Pick your recording method, double-ender or call capture
A double-ender records each participant locally and syncs the clean tracks afterward; recording the call captures the compressed live stream straight from Zoom or Meet. Use the double-ender for anything you're keeping. Use call capture only when the guest genuinely can't open a recorder. The decision rule above settles it in one question.
The reason the double-ender wins is resilience. When the guest's connection stutters, a recorded call inherits every glitch, robotic syllables, dropped words, that underwater warble. A double-ender doesn't, because the audio is being written to the guest's own disk the whole time; the wobbly internet only affects what you hear live, not what gets saved. You sort out the live awkwardness in the moment ("sorry, you cut out, say that again"), and the saved track is clean anyway.
Three browser platforms are built around this exact workflow, and they behave similarly enough that the choice rarely changes your audio:
| Method | Best for | The honest trade-off |
|---|---|---|
| Double-ender (browser studio) | Any episode you'll publish | Guest must open a link and stay in the tab; slightly more upload time |
| Double-ender (separate local apps) | Pro guests with their own gear | Each side records solo, then you collect and align files manually |
| Call capture (Zoom/Meet/Teams) | Throwaway takes, no-install guests | Audio quality rides the connection; treat as backup-grade only |
For which browser studio to actually use, I've compared the main three in Riverside vs Zencastr vs SquadCast, and rounded up the genuinely usable no-cost options in free podcast recording software that's actually usable. One note that matters for tool choice: Descript acquired SquadCast and folded it into its ecosystem (Descript, August 2023), so if you already edit in Descript, that path stays inside one app.
Step 2: Set up your own end so the call holds together
Your job on the host side is to be the stable anchor: a wired connection, a close dynamic mic, and closed-back wired headphones so the guest's voice never leaks back into your mic and creates an echo. Wired everything. Bluetooth headphones add latency and can quietly downgrade your own mic on some systems.
A few specifics that prevent the most common host-side problems:
- Plug into Ethernet if you possibly can. Your end carries the session; a stable host connection keeps the live conversation usable even when the guest wobbles.
- Use wired, closed-back headphones, both of you. Open speakers cause echo; the platform's echo cancellation then chews up audio quality to fight it. Headphones make echo cancellation unnecessary.
- Record video at the resolution you'll actually use. If you're only making vertical clips, you don't need 4K from a shaky webcam; a clean 1080p that doesn't drop frames beats a high-res file that stutters.
- Mute notifications and close heavy apps. A Slack ping mid-sentence is a re-record, and a background video render can starve the recording app of CPU.
On gear: you do not need a $500 setup to host well. The mic, headphones, and a quiet-ish room carry most of the quality, and I've broken down what's worth buying in the best podcast mics by budget tier and the best budget podcast mic under $100. For the full remote kit, including the bare-minimum version you mail or recommend to a guest, see gear for recording remote guests properly.
Step 3: Brief your guest before they sit down (the part everyone skips)
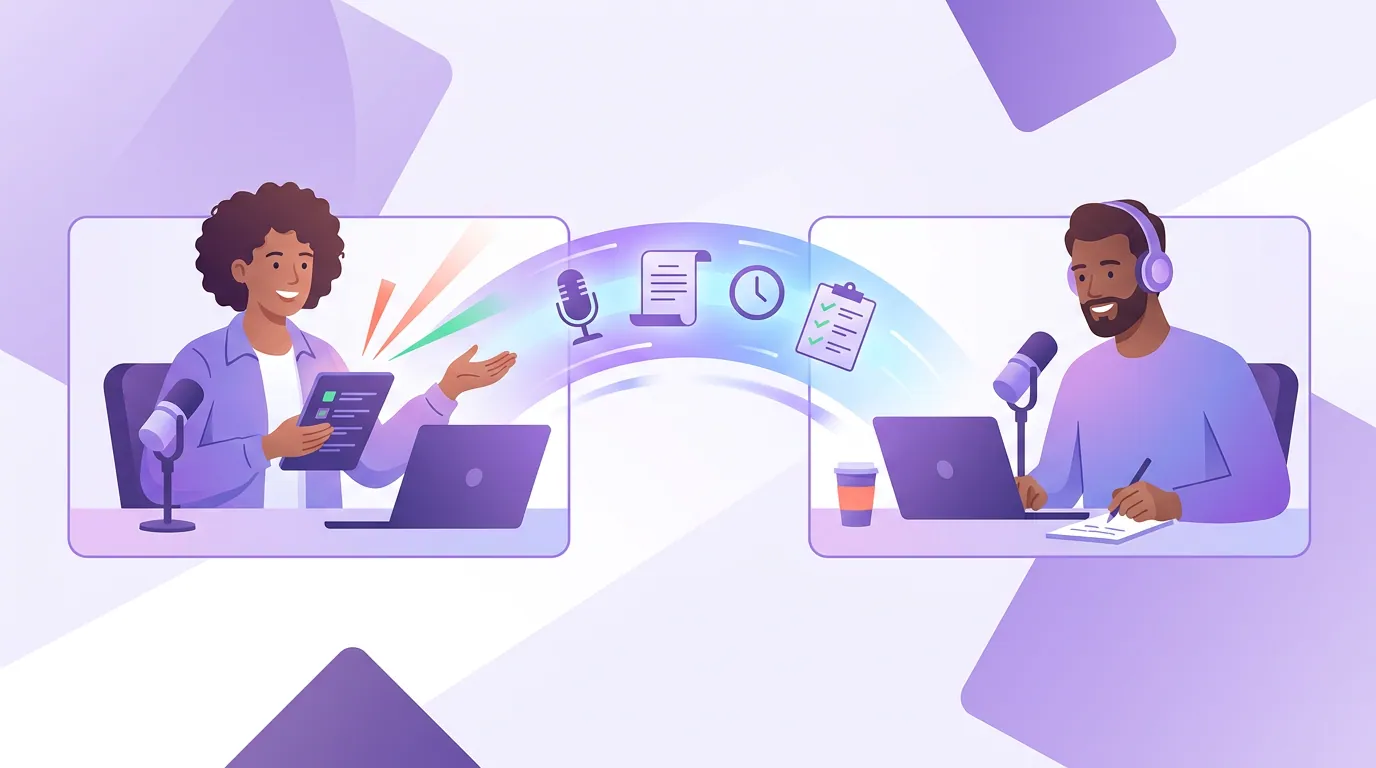
The single biggest quality lever in remote recording is the guest, and the guest is the one person you can't control during the session, so you control them before it. Most guests have never thought about their audio. Left alone, they'll join from a laptop in a kitchen with the TV on, using AirPods, into the built-in mic three feet away. A short brief, sent two days ahead, fixes every one of those before it happens.
Here's the exact message I send. It's deliberately five lines, long enough to cover what matters, short enough that a busy guest actually reads it:
Before our recording: 1. Join on a laptop or desktop (not a phone), plugged into power. 2. Wear wired headphones or earbuds, anything wired beats speakers. 3. Pick the quietest room you can, away from windows and AC. Soft stuff (rugs, a closet, a sofa) helps. 4. Sit close to your microphone, a hand-span away, not arm's length. A clip-on or USB mic is great; built-in laptop mic is the last resort. 5. Use Chrome, open the link I'll send, and grant mic/camera access when it asks.
That's it. No jargon, no gear shopping, nothing that makes a non-technical person feel they need to buy something. The headphones line alone prevents the most common ruined recording (echo), and the "sit close to the mic" line does more for perceived quality than any plugin you'll add in editing.
Step 4: Run a fallback so one bad take can't sink the episode
Always capture a second, independent copy of the audio, a phone voice memo on each side, or the platform's progressive backup, so a corrupted upload or a recorder that quietly stopped doesn't cost you the whole conversation. This is the cheapest insurance in podcasting and the step new hosts learn the hard way.
Remote recordings fail in boring, preventable ways: a browser tab gets backgrounded and the recorder pauses, an upload corrupts, a guest closes the laptop before the track finishes syncing. Good platforms now record progressively (uploading chunks during the session, not all at the end), which dramatically lowers the risk, but "lower" isn't "zero." So I run a belt-and-suspenders layer:
- On your end: start a local voice-memo or a simple recorder on your phone before you hit record in the studio. It's a flat, mono safety net, but it has saved entire episodes.
- On the guest's end (optional but ideal): if the guest is comfortable, ask them to start a voice memo on their phone too, set on the desk near them. A phone recording of the guest in a quiet room is a perfectly publishable track if the main one dies.
- At the end: do not let the guest leave until you see both tracks fully uploaded. Say it out loud: "Give it a sec to finish saving before you close the tab." Tracks lost at the finish line are the most common avoidable failure.
Step 5: Sound-check, then record, a two-minute routine
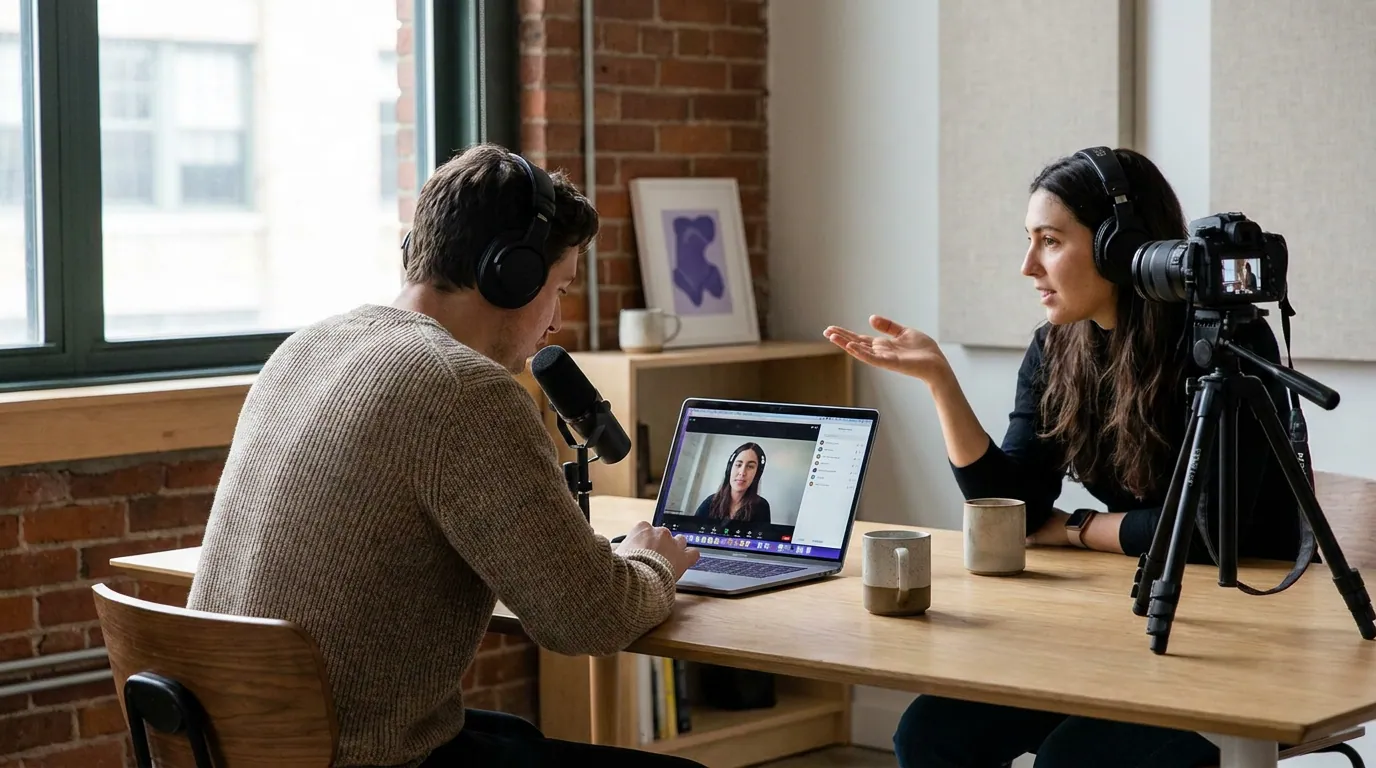
Spend the first two minutes of every session on a sound check, because problems you catch now are free and problems you find in editing are not. Have the guest say a few sentences at speaking volume while you listen on headphones for echo, room noise, mic distance, and clipping. Fix what you hear before you start for real.
Run through this each time:
- Levels: ask for a normal-volume sentence and watch the meter. Aim for healthy peaks that don't slam the top. Too quiet is easier to fix than clipped.
- Echo check: if you hear yourself bouncing back, the guest is on speakers, get them into headphones. This is non-negotiable.
- Distance: if they sound distant, "scoot a little closer to the mic" usually solves it instantly.
- Noise sweep: listen for a fridge hum, a fan, traffic, kids. Ask them to kill what they can; note the rest so you know what to expect.
- The throwaway minute: record sixty seconds of small talk and play it back. It relaxes a nervous guest and confirms the recording is genuinely capturing.
Once it sounds right, hit record, confirm both the studio and your fallback are running, and start the conversation. You've now removed almost every way a remote recording goes wrong.
How I'd choose, in one paragraph
If you record interviews you intend to publish, default to a double-ender on a browser studio, brief every guest with the five lines above, run a phone-recorder fallback on at least your side, and don't let the guest close the tab until both tracks have uploaded. Reserve call capture for guests who genuinely can't open a recorder, and treat that audio as backup-grade, not your main track. That's the entire playbook; the gear and the specific platform are details you can swap without breaking it.
How I tested and what I'm basing this on
This playbook comes from setting up remote recording rigs across budgets from $150 to $5,000 and running interview sessions with guests who range from full studios to a phone in a spare bedroom. The double-ender-first rule, the five-line brief, and the fallback layer are the three things that consistently separated a usable guest track from a re-record, across guests, connections, and platforms.
Where I name a tool's behavior (local recording, progressive upload, SquadCast joining Descript), it reflects how these platforms work as of mid-2026; pricing and specific limits move, so verify current plans on each vendor's page before you commit. For the head-to-head, start with the Riverside vs Zencastr vs SquadCast comparison. And once your audio is solid, the next decision is editing, podcast editing software for total beginners covers where to take the files next.