
How to Get Good Podcast Audio at Home


Good home podcast audio comes from three things, in this order: a small soft room, getting close to the mic, and only then a decent microphone. Hang a blanket behind you, sit a fist's width off-axis from the mic, kill background hum, and set a sensible level. That clears most of what makes home recordings sound amateur, before you spend a dollar.
The trap most beginners fall into is buying the mic first and the room never. It's backwards. The gap between a $150 and a $1,500 setup is smaller than the gap between bad mic technique in a noisy room and good technique in a treated one (a framing from our equipment cost research). So this guide ranks the fixes by audible improvement per dollar, not by what's fun to buy. Most of the top of the list is free.
Why the room beats the mic
The single biggest reason home recordings sound "homemade" is reverb, the slapback of your voice bouncing off bare walls, a desk, and a window. A microphone faithfully captures all of it, which is why an expensive mic in a hard room often sounds worse than a cheap one in a soft room. It picks up the echo in higher fidelity.
You can't fix bad reverb in editing. Noise reduction can shave off a hum or a fan; it cannot un-bounce sound that's already smeared across the recording. That's why every fix below starts with the space, not the signal chain. Get the room right and even a phone mic sounds passable. Get the room wrong and nothing rescues it.
Step 1: Pick and soften the room (free)
Choose the smallest, softest room you have. A bedroom with a bed, curtains, a rug, and a full closet is already a decent vocal booth. A kitchen, a bathroom, or an empty home office with hardwood and bare walls is the worst case, hard, parallel surfaces are what create reverb.
Then add soft mass around where you record:
- Hang a thick blanket or duvet on the wall behind you and, ideally, on the wall you face. Most reflections come off the surface directly behind the mic.
- Record near soft stuff, a bookshelf full of books, a couch, hanging clothes. A walk-in closet packed with clothing is the cheapest "studio" that exists.
- Throw a rug down if the floor is hard. Bare floors bounce sound straight back up.
- Avoid recording in front of a window or a blank wall. If you must, drape a blanket over it during the take.
A quick test: clap once and listen. If you hear a sharp ring or echo, the room needs more soft mass. When the clap sounds flat and dead, you're in good shape. This is the highest-impact change you'll make, and it costs nothing.
Step 2: Fix your mic technique (free)
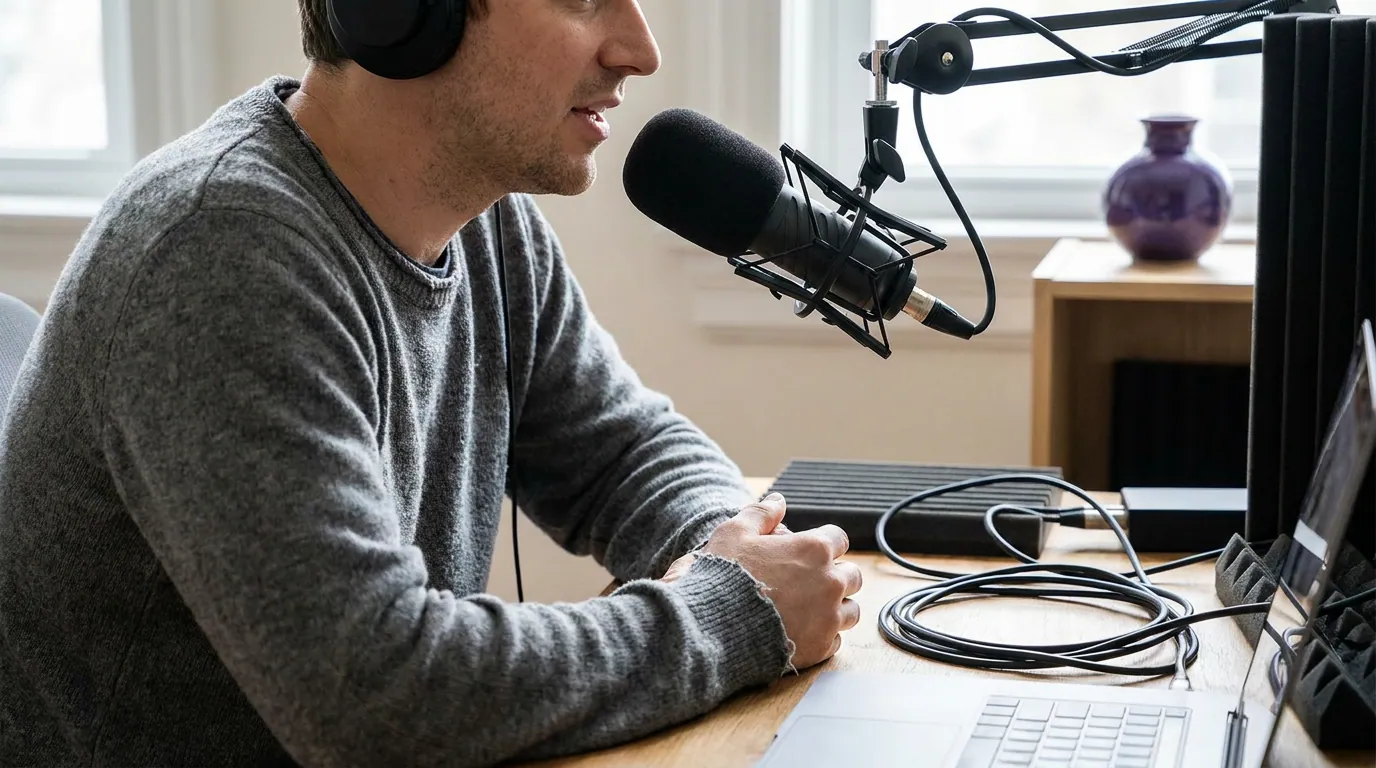
How you speak into the mic matters as much as the mic itself. Three rules cover most of it.
- Distance: about a fist's width (4–8 inches) from the mic. Too far and you record more room than voice; too close and you boom and pop. A consistent distance is what keeps your volume even across an episode.
- Angle: speak slightly off-axis. Aim your mouth just past the mic rather than straight into it. This keeps plosives, the bursts of air from "p" and "b" sounds, from punching the capsule.
- Stay still. If you lean in and out while you talk, your volume swings and the recording sounds restless. Set your distance and hold it.
Step 3: Hunt down background noise (free)
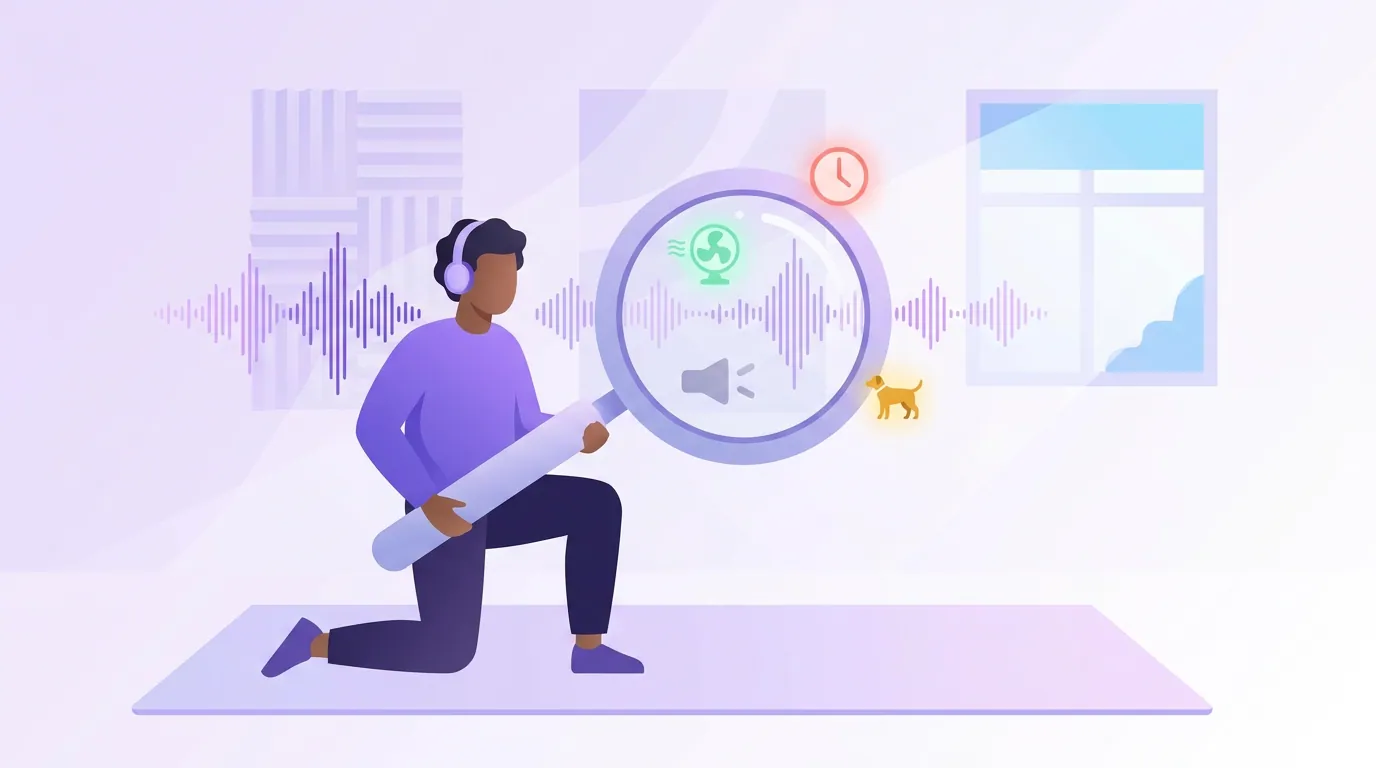
Before you record, walk the room and listen for what you've stopped noticing. The usual suspects:
- HVAC and fans, turn off the AC, heater, and any standing fan for the take. A low hum is the most common ruiner of otherwise-clean audio.
- Fridge and appliances, record in a room away from the kitchen if you can.
- Computer fans, a laptop spinning up under load sits right next to your mic. Close heavy apps; if it's loud, move the machine.
- Phones and notifications, flight mode, and silence anything on the desk that buzzes.
- The outside world, record at the quietest time of day. Traffic and lawnmowers come through windows that look closed.
A consistent, quiet noise floor is worth more than software cleanup later, because aggressive noise reduction leaves your voice sounding processed and underwater. Prevent the noise; don't patch it.
Step 4: Set your levels (free)
Record so your loudest moments peak around −6 dB and never hit 0 (which clips and distorts permanently). If your recording app shows a meter, talk at your normal energy and set the gain so the peaks land in the upper-middle, with headroom to spare.
When you export, target around −16 LUFS for mono and −14 LUFS for stereo, the loudness standard most podcast platforms expect. Recording too quietly and boosting later raises the noise floor with the voice; recording too hot clips. Get it right at the source.
Step 5: The cheap gear that's actually worth it
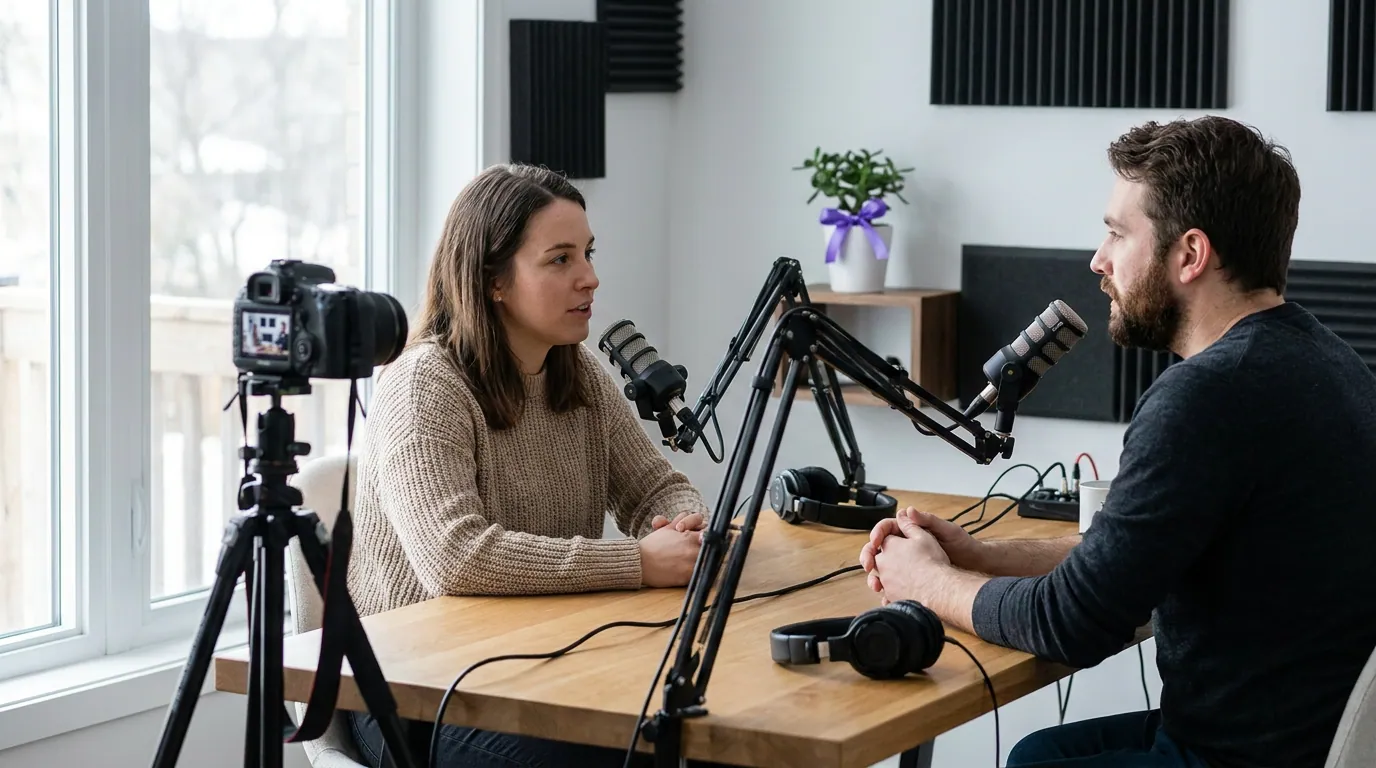
Only after the room and technique are sorted does gear earn its place. In order of value:
- A pop filter or foam windscreen (~$10). Stops plosives at the source. The cheapest meaningful upgrade there is.
- A USB microphone ($70–100). A dynamic USB mic like the Samson Q2U (~$70) or a RODE PodMic-class pick rejects room sound better than a condenser and forgives an untreated space. Mic budgets run roughly $50–400 for podcasting (Ausha), but you do not need the top of that range to sound good. Our guide to the best podcast mic under $100 covers the picks that handle real rooms.
- A boom arm or simple stand. Keeps the mic at a fixed distance and off the desk, so keyboard taps and bumps don't transmit up the stand.
Notice what's not near the top: acoustic foam. Thin foam tiles do little for the low-mid reverb that actually muddies voices; a hung duvet does more for less. If you want to invest in the room, dense moving blankets or real acoustic panels behind and in front of you beat foam, but they're a step-five purchase, not a starting point. For the full ladder from budget to pro, see best podcast mics by budget tier.
Common mistakes when recording at home
Most home-audio problems come from skipping the unglamorous steps, not from cheap gear.
- Buying a mic before fixing the room. A great mic in a bare room records great reverb. Soften the space first.
- Sitting too far from the mic. Backing off to "sound natural" just records more room. Get close and hold it.
- Trusting software to fix everything. Noise reduction patches hum; it can't remove echo, and overused it makes voices sound robotic.
- Recording with the AC on. That faint hum you tune out is the first thing listeners hear. Kill it for the take.
- Ignoring levels until export. Clipped audio is unrecoverable, and quiet-then-boosted audio brings up the hiss. Set gain before you start.
- Treating a big empty room as a studio. Big and bare is the worst case. Small and soft wins. Plan the space before you plan the episode, our note on planning before you record keeps the whole session tight.
FAQ
How do I record good podcast audio without buying anything?
Pick your smallest, softest room, hang a blanket on the wall behind you, sit a fist's width off-axis from the mic, turn off fans and AC, and set your level so peaks stay below 0. That sequence fixes most home-audio problems before any purchase, see how to start a podcast for free.
Do I need to soundproof my room to podcast at home?
No. Soundproofing (blocking outside noise) is expensive and rarely necessary. What you want is sound treatment, adding soft mass so your voice doesn't echo. A blanket on the wall, a rug, soft furniture, or recording inside a clothes-packed closet does the job for free or near it.
Is a closet really good for recording a podcast?
Yes, surprisingly. A walk-in closet full of hanging clothes is dense soft mass on every side, which kills reverb better than most foam panels. It's cramped and warm, but it's the cheapest acoustically-treated space most people already own. Many professional voiceover artists record in one.
What microphone should I start with for home recording?
A dynamic USB mic in the $70–100 range, like the Samson Q2U, handles untreated rooms well because it rejects more background and room sound than a condenser. Mic budgets for podcasting run roughly $50–400 (Ausha), but the entry tier is plenty. Buy the mic after you've fixed the room, not before.
Can I fix bad room acoustics in editing?
Mostly no. Editing can reduce steady hum and even out volume, but it can't remove the reverb of a bare room, that echo is baked into the recording. This is why the room fix comes first and matters most. Prevent the problem at the source; don't try to patch it afterward.
How loud should my podcast recording be?
Aim for peaks around −6 dB while recording (never hitting 0, which clips), then export at about −16 LUFS for mono or −14 LUFS for stereo, the loudness most podcast platforms target. Setting gain correctly at the source beats boosting a quiet file later, which only raises the background hiss along with your voice.