
The $500 Podcast Kit That Sounds Pro


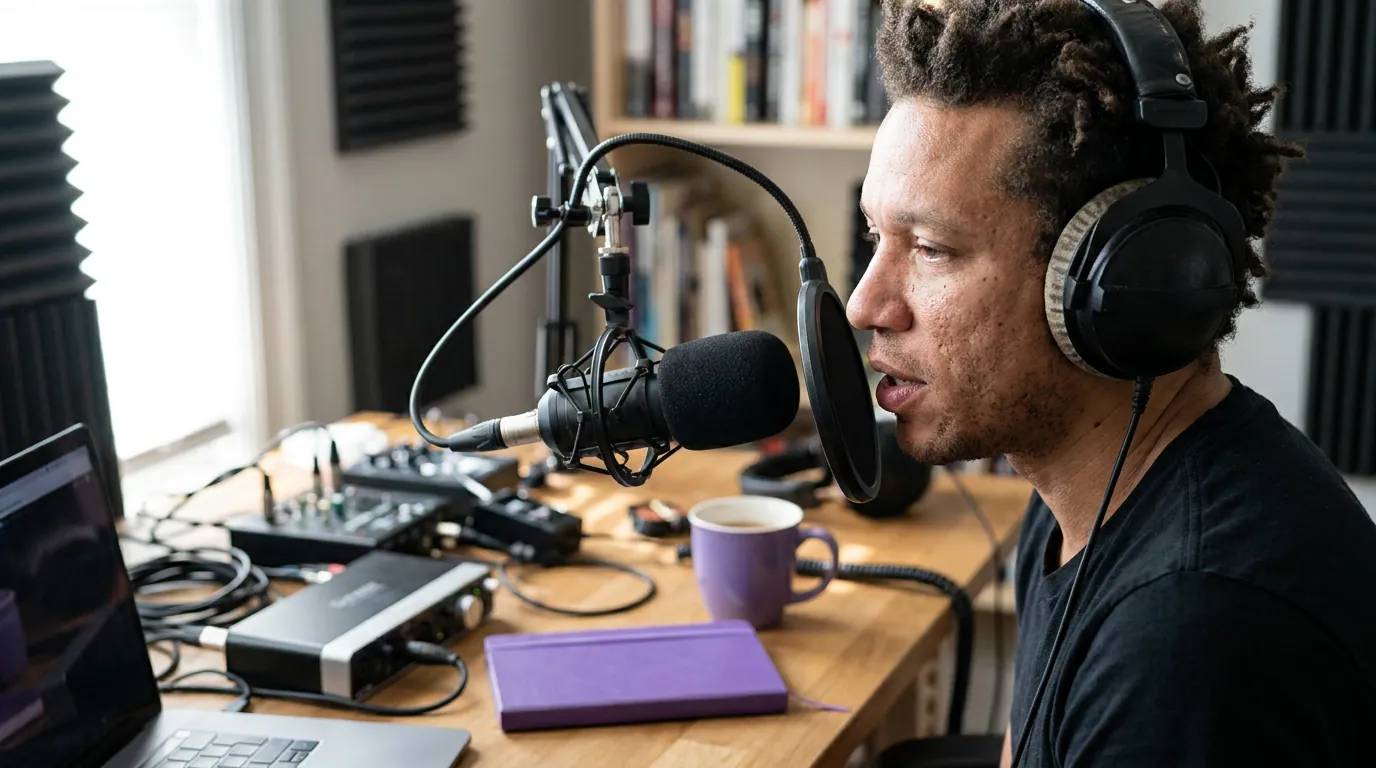
For about $500 you can build a podcast rig that sounds genuinely professional: a Shure MV7+ hybrid mic (~$254–$279), a Rode PSA1 boom arm (~$99), Audio-Technica ATH-M40x monitoring headphones (~$99), and basic acoustic treatment (~$35–45). That set covers the four things that actually shape your sound, with nothing left over for gear that won't change what listeners hear. Prices below are street prices verified June 2026.
The verdict, up front
$500 is the value sweet spot for podcast audio, and it is not a coincidence. Below it, you are choosing what to do without. Above it, you start paying real money for gains a listener on AirPods will never notice. The build that hits the sweet spot is not "one expensive thing plus scraps", it spends across four categories, because your sound is the product of all four, not just the mic.
Here is the whole kit, with what each part buys you and the verified June 2026 street price.
| Item | What it buys you | Street price (Jun 2026) |
|---|---|---|
| Shure MV7+ (hybrid USB-C/XLR mic) | Broadcast-style voice, plug into a laptop now, an interface later | ~$254–$279 |
| Rode PSA1 boom arm | Mic at mouth height, off the desk, hands free | ~$99 |
| Audio-Technica ATH-M40x | Flat monitoring headphones, hear problems before listeners do | ~$99 |
| Acoustic foam (spot treatment) | Kills the echo that makes home recordings sound "small" | ~$35–45 |
| Total | A complete, no-gaps rig | ~$487–$522 |
Sources for prices: Shure and Best Buy for the MV7+; Rode for the PSA1; Audio-Technica and SoundGuys for the M40x.
If you only read this far: buy those four things, in those proportions, and stop. The rest of this article defends every line of that spend and shows where you can flex it.
Why $500 is the sweet spot, not $1,500
Podcast gear gives you a steep early return that flattens hard. The jump from a phone earbud mic to a real dynamic mic is night and day. The jump from a $500 rig to a $1,500 rig is real but small, and it lands mostly on people who already know what to listen for.
Ausha's cost breakdown prices a hobby gear setup at $100–$350 and a full professional rig at $1,500–$5,000, with single mics running $50–$400 and headphones $25–$600. A $500 build lands above the hobby band and far below the pro one, the part of the curve where you have already bought every gain a normal listener can hear, and the next dollar buys diminishing comfort, not better audio.
There is a more important caveat, and it is the one most gear lists skip: the gap between a $150 and a $1,500 setup is smaller than the gap between bad mic technique in a noisy room and good technique in a treated one. Buy the $500 kit, learn to talk close to the mic, and treat one corner of your room, and you will beat a podcaster with twice the budget and a bare echoey office. That is why this build spends on a boom arm and foam instead of a fancier mic, technique and room are where the real money hides.
How the $500 splits
Most "podcast kit" lists are really mic lists with a tripod thrown in. This one spreads the budget across the four things that change your sound, in roughly these proportions.
Now the line items, each with the honest case for and against.
1. Microphone, Shure MV7+ (~$254–$279)
The MV7+ is the anchor, and it earns it. It is a dynamic mic, which means it rejects room noise far better than a condenser, the right choice for an untreated or semi-treated home space. It has both USB-C and XLR outputs, so you can plug straight into a laptop today and move to an audio interface later without buying a new mic. The Podcast Host's review pegs it at around $279 on Amazon; Best Buy has run it as low as ~$254.
What you are paying for over a $70 mic: a warmer, broadcast-style tone closer to Shure's legendary SM7B, onboard DSP (auto-leveling, a denoiser, a digital pop filter), and a built-in headphone jack for zero-latency monitoring over USB.
The honest con. The MV7+'s USB and XLR sides do not sound identical, the USB path runs through processing the XLR path skips. So "future-proof" is true in spirit but not literal: when you eventually move to an interface, expect to re-dial your sound. If that bothers you, a hybrid mic with true output parity like the Samson Q2U keeps the two sides matched, and frees up budget, at the cost of the MV7+'s richer voicing. For most people starting at this tier, the MV7+'s sound and onboard features are worth it. If you want to see the full ladder, our mics-by-budget-tier guide lays out the $50 / $150 / $400 / $500+ steps.
2. Boom arm, Rode PSA1 (~$99)
This is the line item beginners cut first and regret fastest. A boom arm puts the mic at mouth height, angled correctly, off the desk, which means no thumps from your keyboard, no slouching down to a tabletop stand, and consistent distance take to take. Consistent distance is most of what makes a recording sound "even."
The Rode PSA1 runs about $99 and holds broadcast-style mics up to 2.4 lb with over 30 inches of reach. The pricier PSA1+ (~$129) adds spring damping and tidier cable management; nice, not necessary. The con: at $99 the standard PSA1's springs can sag slightly with a heavy mic over time and need a tension tweak. Minor. A $25 arm will be looser and noisier; this is the spot to buy once.
3. Headphones, Audio-Technica ATH-M40x (~$99)
You monitor while you record so you catch problems, a buzz, a plosive, clipping, in the moment instead of in the edit. The ATH-M40x is a closed-back studio monitor with a flatter, more honest response than its more famous sibling the M50x. SoundGuys' review calls it stellar for the money and notably more neutral than the bass-boosted M50x, and flat is exactly what you want for podcasting, because you are listening for truth, not enjoyment.
Street price hovers around $79–$99 depending on sales. The con: the pads are pleather and get warm on long sessions, and the soundstage is narrow, fine for a talking voice, less ideal if you also mix music. For a deeper look at why recording and editing want different cans, see headphones for editing vs recording, which covers the closed-back-vs-open-back trade-off and when one pair can do both.
4. Room treatment, acoustic foam, spot-treated (~$35–45)
The cheapest line and, dollar for dollar, the one that changes your sound the most. A bare room bounces your voice off hard walls and back into the mic as echo, the "recording in a bathroom" sound that instantly reads as amateur. You do not need to cover the room. You need to kill the first reflections: the walls and surfaces directly around the mic.
A 2-inch acoustic foam set runs roughly $35–45 for enough tiles to spot-treat the corner you record in. Place them in a loose checkerboard on the wall behind and beside the mic, plus the wall you face. The honest caveat: foam absorbs mid and high frequencies but does little for low-end boom, and "soundproofing" foam does not actually block sound from entering or leaving the room (that needs mass, not foam). For voice clarity in a small room, spot-treated foam is the right $40. If you have a closet full of clothes, recording in it is a free upgrade that beats bad foam.
Three ways to spend the same $500
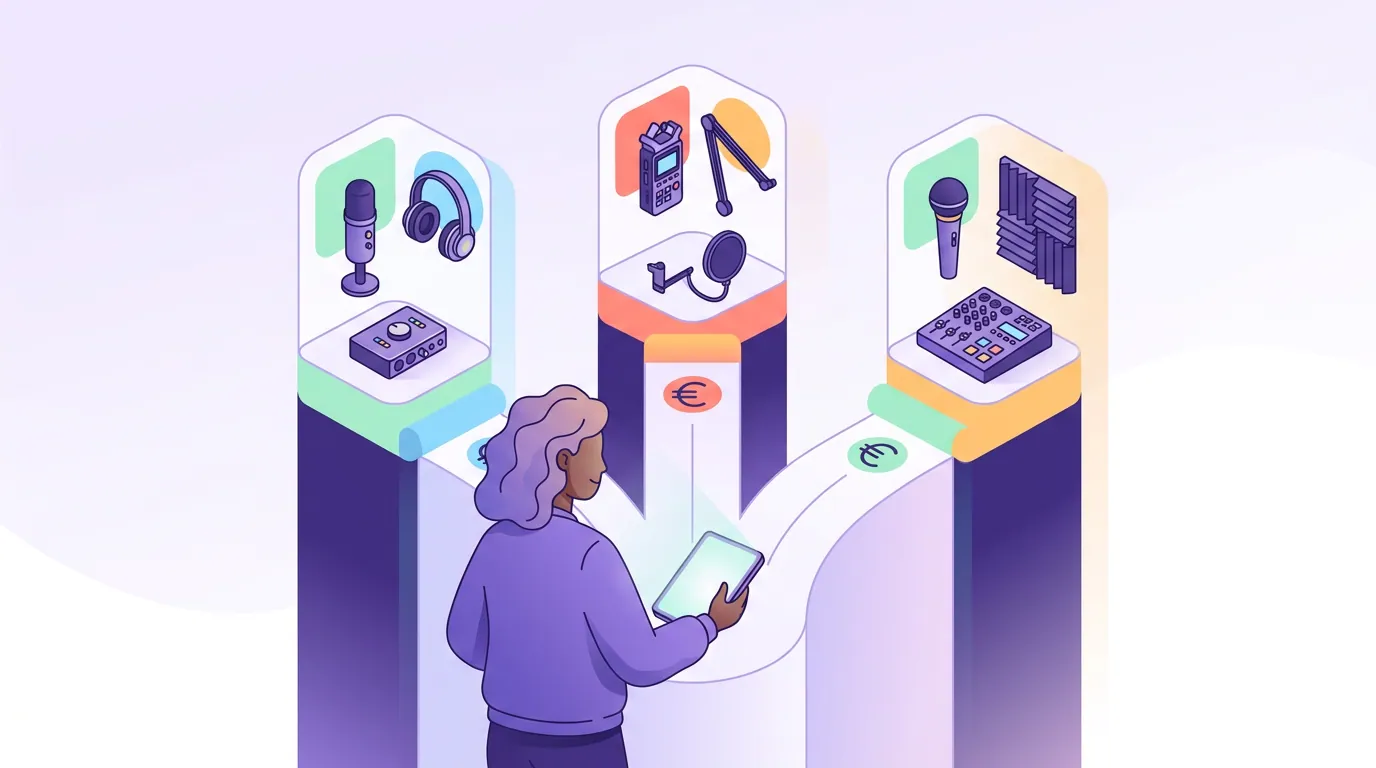
The build above is the default. But "under $500" should bend to where your show is headed. Here are three versions of the same budget.
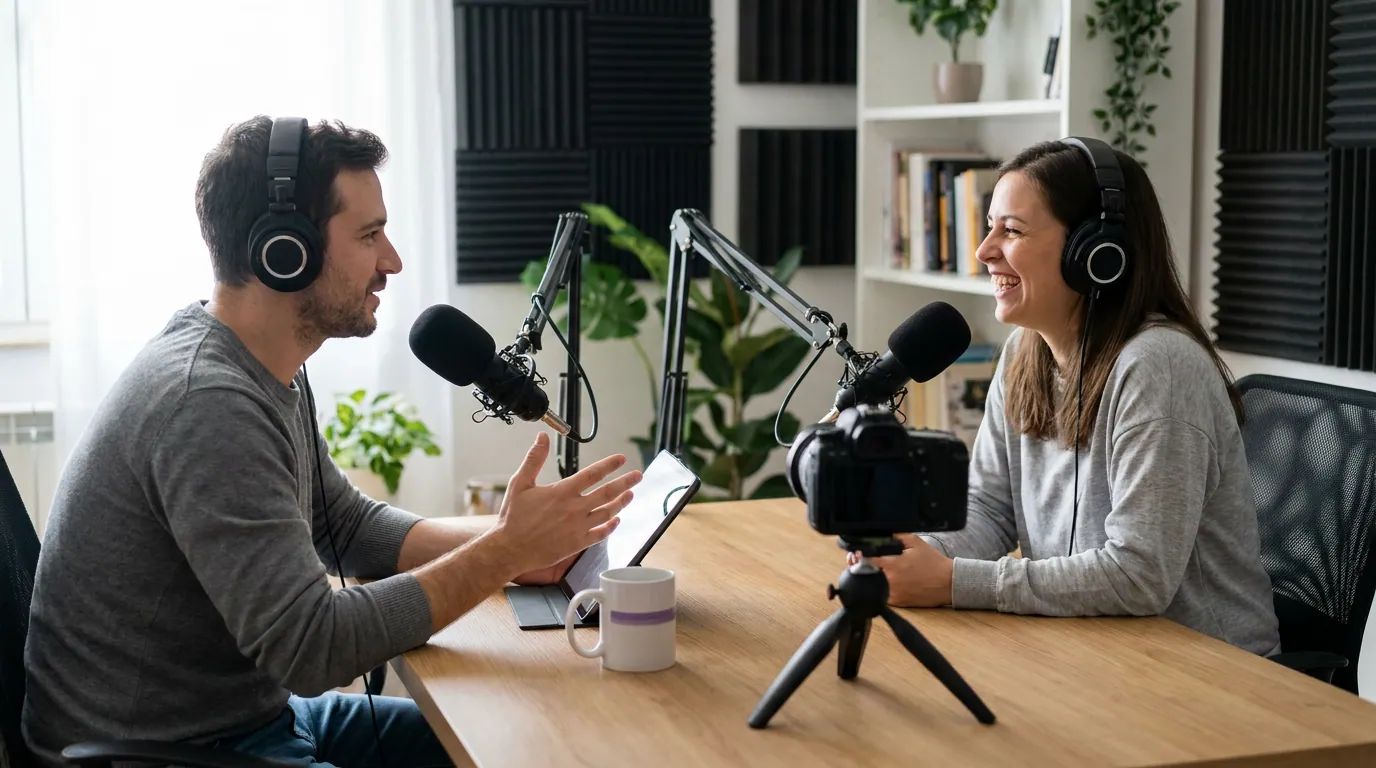
- Planning a co-host? Skip the single premium mic. Buy two Samson Q2U mics (~$70 each) and a Focusrite Scarlett 2i2 4th Gen interface (~$190 street, $220 list) so two people can sit at one machine. Add a single arm and foam and you land near ~$470–$500. Two decent mics beat one great mic the moment a guest sits down.
- Solo and laptop-bound? Run the default MV7+ build over USB and never touch an interface. The onboard DSP is doing the interface's job. This is the path most new solo shows should take.
- Solo and you will stay solo? Spend the mic budget up, a pure XLR mic plus the Scarlett interface, and skip the onboard processing you do not need. You will fuss more and sound marginally better. Read USB vs XLR before you commit, because the convenience tax of XLR is real.
What this kit deliberately leaves out
Honesty means naming what $500 does not buy, so you are not surprised.
- No camera or lighting. This is an audio build. Video podcasting changes the math entirely; budget separately for a webcam or mirrorless and a light.
- No mixer or RodeCaster. A dedicated production console (the RodeCaster Pro II and its rivals) starts where this budget ends. You do not need one to start, and many established shows never buy one.
- No backup recorder or second monitor. Reliability and comfort upgrades, worth it later, not now.
- No premium editing software. Free tools (Audacity, the free tier of most DAWs) are genuinely fine for a talking-voice podcast. Spend on a subscription only when the free tool is the thing slowing you down.
The point of the mid tier is that it sounds pro without pretending to be a studio. Get the four core pieces right, and your bottleneck becomes your ideas and your consistency, which is exactly where it should be.
How I judged this build
This is not a spec-sheet copy job. The kit was assembled against four criteria, in this order of weight:
- Audible difference per dollar. Each item had to clear a bar a normal listener could hear, not just a measurement. That is why foam beat a fancier mic for the last $40.
- No wasted spend. Nothing in the build duplicates what another piece already does. The MV7+'s onboard DSP replaces a separate interface for the USB path, so the default build does not buy one.
- A clean upgrade path. Every piece either grows with you (the hybrid mic, the arm) or is cheap enough to replace guilt-free (the foam).
- Verified current price. Every dollar figure was checked against manufacturer and major-retailer listings in June 2026. SaaS and gear prices move; re-check before you buy, and watch for the frequent sub-MSRP sales on the MV7+ and M40x.
FAQ
Can you really get pro-sounding podcast audio for under $500?
Yes, for audio. A dynamic hybrid mic, a boom arm, monitoring headphones, and basic room treatment cover everything a listener hears, and that set lands around $487–$522 at June 2026 street prices. What $500 does not cover is video, a mixing console, or a backup rig. For voice that sounds professional, it is enough.
Do I need an audio interface at this budget?
Not if your mic has a USB output. The Shure MV7+ plugs straight into a laptop and does its own processing, so a separate interface is redundant for a solo USB setup. You only need one if you go pure-XLR or run two or more mics into one computer, the co-host version of the build.
Should I spend more on the mic or the room?
Split it. The single biggest amateur-sounding flaw is room echo, and ~$40 of foam fixes more of it than a $200 mic upgrade would. Once the room is spot-treated and your mic technique is close, the mic itself is the smaller variable. Treat the corner first, then buy the best mic the remaining budget allows.
Is the Shure MV7+ better than two cheaper mics?
It depends on guests. One MV7+ sounds richer than one Samson Q2U, but two Q2U mics plus an interface let a co-host or in-person guest sound just as good as you, and one great mic cannot do that. Match the mic count to your format before you optimize a single mic's tone.
What's the cheapest thing I can skip to hit exactly $500?
The boom arm, temporarily. A solid desk stand and good mic discipline will hold you for a few episodes, freeing ~$99. But add the arm soon, consistent mic distance is most of what makes a recording sound even, and it is the upgrade hosts say they should have bought first.