
Podcast Equipment for Beginners: What You Need


To start a podcast you need exactly one thing that sounds good and one place to record it: a microphone close to your mouth, in a quiet room, into free software. Everything else, interface, mixer, second mic, camera, is a fix for a specific problem you may not have yet. Buy gear when you can name the problem it solves, not before.
That is the rule this whole guide runs on. Most beginner gear lists hand you a shopping cart and let you sort out the rest. This one works backwards: it names the three audio problems beginners actually hit, sorts gear into three tiers that each fix one of them, and tells you when to stop. If you cannot hear the problem a tier fixes, you do not need that tier. Spend the saved money on getting episodes out instead.
What podcast equipment do beginners actually need?
A beginner needs a dynamic microphone, closed-back headphones to monitor, and free recording software on the computer you own. That is a publishable setup. The microphone is the only part a listener can hear, so it gets most of your budget; the rest is utility. A camera, an audio interface, and a mixer are later upgrades, not starting requirements.
The reason to keep it this small is that the room matters more than the gear. The gap between a $150 and a $1,500 setup is smaller than the gap between bad mic technique in a noisy room and good technique in a treated one (Ausha). A cheap mic six inches from your mouth in a carpeted bedroom beats an expensive one across a hard-floored kitchen. Gear cannot buy its way out of a bad room, so do not try.
For context on costs, Ausha estimates a hobby launch runs $100–$350 in one-time equipment, with mics alone spanning $50–$400 and a full professional rig reaching $1,500–$5,000 (Ausha). The tiers below sit at the bottom of that band on purpose. You can publish from any of them.
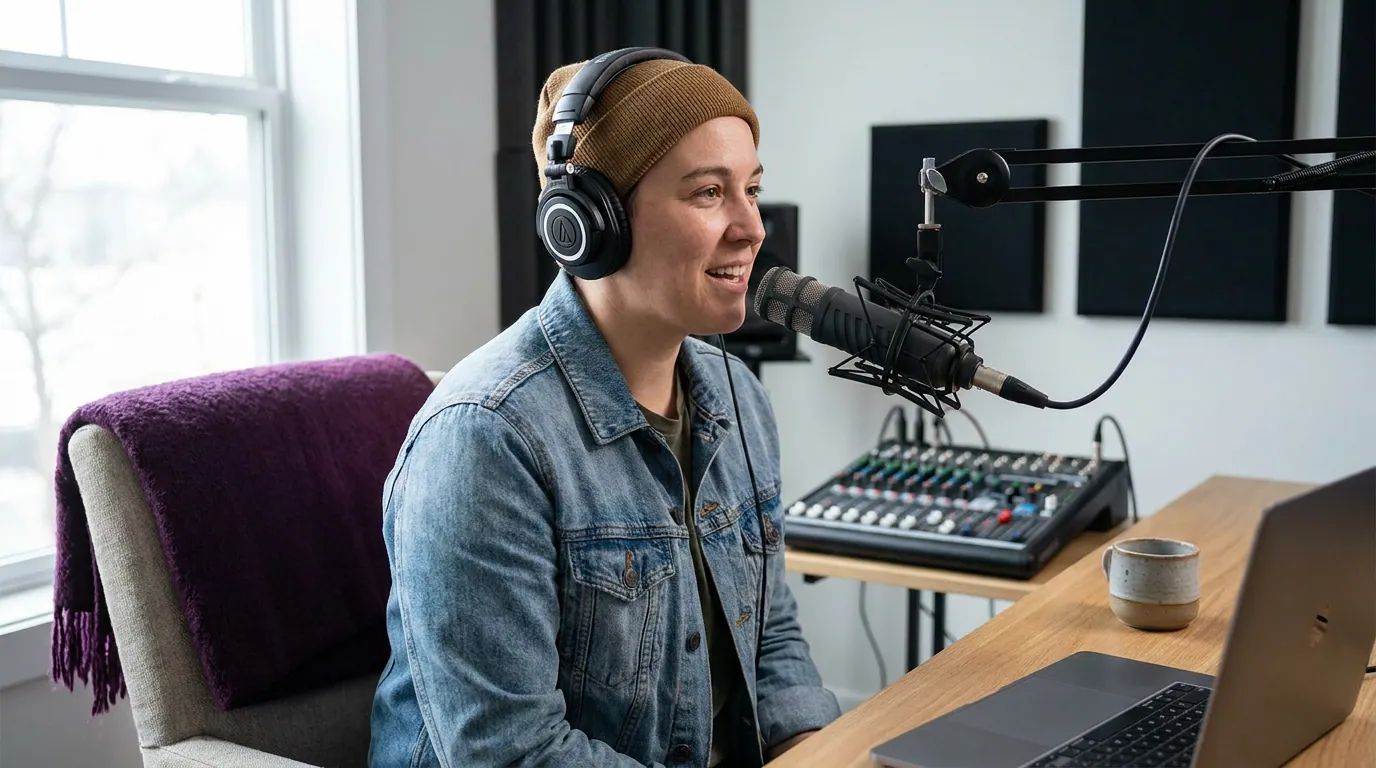
The rule: diagnose the problem, then buy the fix
Before the tiers, internalize the decision rule, because it saves you the most money. Listen back to a test recording on your phone and ask which problem you actually hear. Each problem maps to exactly one upgrade. If you do not hear the problem, skip the upgrade.
Notice the most common problem, echo, has a free fix. No microphone removes a room. Now the three tiers.
Tier 1, Phone-only (free): when you have nothing to test yet
A phone you already own is a real podcast mic for one job: proving you will actually publish before you spend a cent. The problem it fixes is uncertainty, you do not yet know if you will record episode two. Roughly 47% of podcasts stop at three episodes or fewer Amplifi Media, so the smartest first purchase is no purchase at all.
What you need: your phone, the free Voice Memos (iPhone) or a recorder app (Android), and the wired earbuds in the box.
How to make it not sound like a phone call:
- Hold the phone roughly a hand's width from your mouth, close, slightly off to the side so you do not breathe straight onto the mic.
- Record in the smallest soft room you have. A closet of hanging clothes is the best free vocal booth in your home; the fabric kills echo.
- Turn off the fridge-loud stuff: fans, AC, anything that hums. The phone mic cannot reject it the way a dynamic mic can.
- Record a one-minute test, listen on headphones, and ask the diagnostic question above.
The honest limit: a phone mic picks up the whole room, so if your space is echoey or noisy, no technique fully saves it. That is the signal to move up, not to buy a $300 mic and keep the bad room. If you want a full no-spend launch path, our guide to starting a podcast for free covers hosting and distribution at zero cost too.
Tier 2, One good mic (~$90–130): the upgrade that fixes "tinny and far away"
This is the tier that actually changes how you sound, and for most beginners it is the only tier they ever need. The problem it fixes is the thin, distant, room-filled quality of a phone or laptop mic. A dynamic microphone solves it two ways at once: it sits inches from your mouth, and it rejects most of the room behind it.
What's in the tier:
| Item | Pick | Price (mid-2026) | Fixes |
|---|---|---|---|
| Microphone (USB + XLR) | Samson Q2U | ~$70 | Tinny, distant voice |
| Pop filter | dual-layer mesh | ~$10 | "P" and "b" pops |
| Headphones (closed-back) | Audio-Technica ATH-M20x | ~$59 | Catching hum/clipping |
| Recording software | Audacity | $0 | Cutting and exporting |
The Samson Q2U is the workhorse here, at roughly $70 with a desk stand, foam windscreen, and both cables in the box (The Podcast Host). It is a dynamic mic, which is the whole point: dynamics pick up far less room noise than condensers, which is exactly what you want in an untreated home. It also carries both USB and XLR outputs, so it plugs into your laptop today and into an interface the day you move to Tier 3. Nothing in this tier becomes landfill.
Close-miked dynamics like the Q2U pop on hard "p" and "b" sounds, that is physics, not a flaw in this particular mic, which is why the ~$10 pop filter is non-optional, not a nicety. Closed-back headphones like the Audio-Technica ATH-M20x (around $59, Sweetwater) let you catch a hum or a clip while you record instead of after. Closed-back matters because open headphones leak audio that your mic re-records. Audacity records, cuts, and exports an MP3 for nothing.
If you want to weigh the Q2U against its rivals at this price, our roundup of budget mics under $100, tested by use case compares them directly. For most solo shows, this tier is the finish line.
Tier 3, Two-person setup (~$350–450): the upgrade that fixes "I can't hear my co-host"
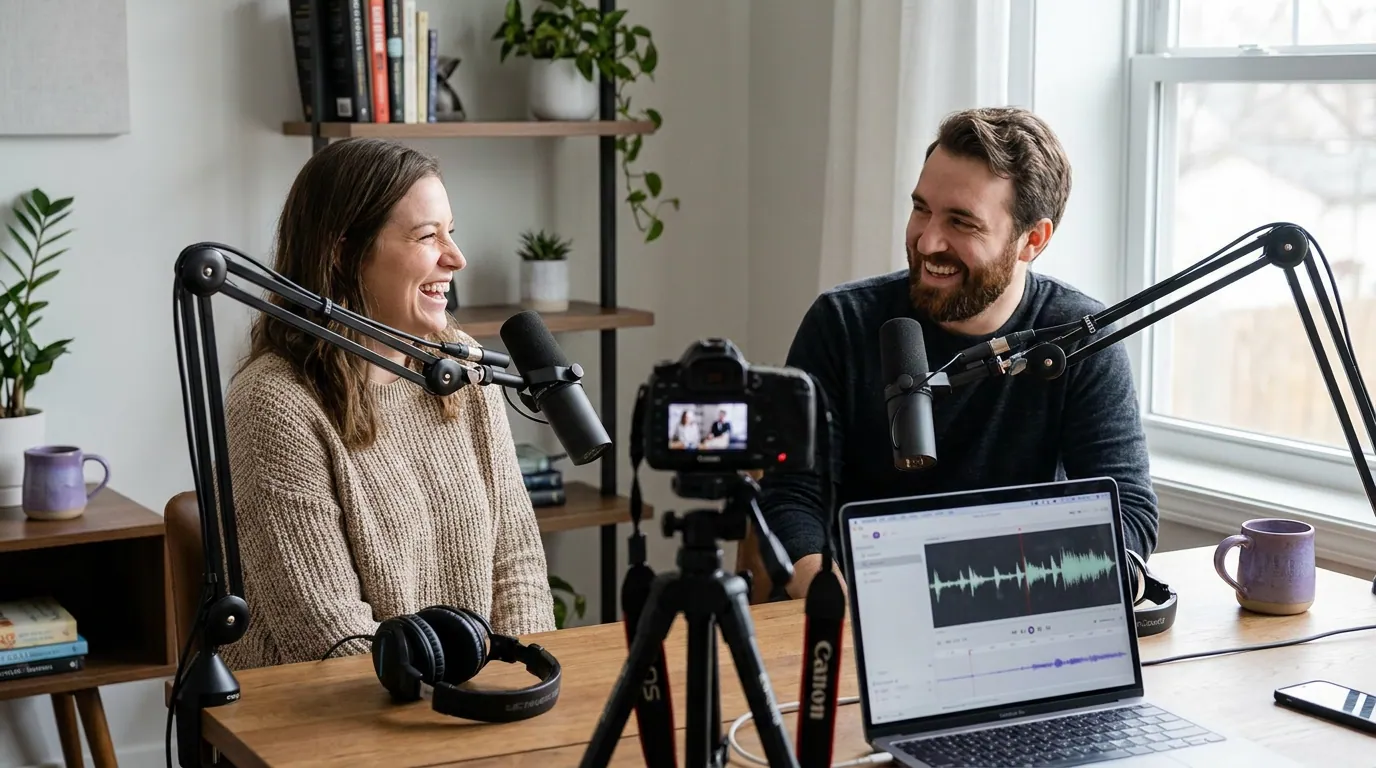
Add this tier only when a second person sits at the same table and one mic stops being enough. A single USB mic records one input, so two voices on it means one of you is always off-axis and quiet. The fix is two microphones into one audio interface, and an interface needs XLR mics, which is exactly why the Q2U's second connector was worth having.
What's in the tier:
- Two XLR mics. Keep your existing Q2U and add a second (or step up to a pair of RODE PodMics, about $99 each, Sweetwater, a popular step up that reviewers rate near the pricier Shure MV7, Bamby Media). Two matched mics keep both voices at the same tone.
- An audio interface with two mic inputs. A Focusrite Scarlett 2i2 (4th Gen, around $190–220, Sweetwater) takes two XLR mics into one USB cable, with its Auto Gain and Clip Safe handling levels so you do not blow a take.
- A second pair of closed-back headphones so your co-host can monitor too.
What this tier buys you that Tier 2 cannot: each voice lands on its own track, so you can fix one person's levels without touching the other's, and you can edit out a cough from one mic alone. That separation is the entire reason to spend here.
Common beginner mistakes (and the fix)
These five waste the most money and the most recordings. Each has a one-line fix.
- Buying a condenser mic for an untreated room. Condensers are sensitive and pull in every echo and hum. In a normal home, a dynamic mic is the right call, save the condenser for a treated room. (More on this in dynamic vs condenser.)
- Spending on the mic, ignoring the room. A $300 mic in an echoey kitchen sounds worse than a $70 mic in a closet. Treat the space first; it is the cheapest, most audible change you can make.
- Sitting too far from the mic. Distance is the number-one reason home audio sounds thin and roomy. Get within a fist's width and most "bad mic" complaints disappear.
- Skipping the pop filter. On a Q2U especially, plosives pop hard. A $10 filter fixes a problem no amount of editing fully cleans up.
- Buying for the show you imagine, not the one you have. No interface, mixer, or second mic until a real second person is at the table. Plan the show before you buy the rig, our guide to planning a podcast before you record helps you decide format first, gear second.
Do you need a camera to start a podcast?
Not to start. A camera serves discovery, not the core listening experience, and audio is the part listeners will not forgive being bad. Publish and grow on audio first; you can repurpose audio episodes into short vertical clips long before you own a camera. Add video when you have a consistent show and a reason to be on YouTube.
When you do add video, your webcam or phone is fine at the start, the same "fix the problem you have" rule applies. Most beginners overspend on a camera while ignoring the audio that actually decides whether someone keeps listening.
Frequently asked questions
What is the best mic for starting a podcast?
For most beginners, a dynamic USB/XLR mic like the Samson Q2U (around $70) is the best starting mic. It rejects room noise, plugs straight into a laptop by USB now, and into an audio interface by XLR later, so it survives every upgrade instead of becoming a spare (The Podcast Host).
How much does beginner podcast equipment cost?
A publishable one-mic setup runs about $90–130 (mic, pop filter, closed-back headphones, free software). A two-person in-person rig runs about $350–450 with two mics and an interface. Phone-only is free. Both paid tiers sit at the low end of Ausha's $100–$350 hobby-launch range (Ausha).
See how much it really costs to start a podcast for the full breakdown including hosting.
Do you need an audio interface for a beginner podcast?
No. A USB microphone is your interface, it converts your voice to digital and plugs into a laptop. You only need a separate XLR interface when you add a second in-person mic or want a cleaner two-track recording, which is the Tier 3 upgrade, not a starting requirement.
Can you start a podcast with just your phone?
Yes, for your first test episodes. Held a hand's width away in a small soft room with the fans off, a modern phone records usable audio. Its limit is that it captures the whole room, so an echoey or noisy space is the cue to move to a dynamic mic, not to keep the bad room and buy a pricier phone.
How do I record two people in the same room?
Two XLR mics into one audio interface (such as a Focusrite Scarlett 2i2, Sweetwater) gives each voice its own track. If your co-host is remote instead, skip the interface entirely and have each person record locally on their own mic, then line the files up in editing.
Pick the lowest tier that fixes the problem you can actually hear, then record three episodes before you spend another dollar. Once your format is set, the step-by-step launch plan walks you from a recorded file to a live show.