
Recording a Video Podcast With a Remote Guest


To record a video podcast with a remote guest, have each side record its own camera locally and combine the two files afterward, don't rely on the streamed video call. Use a browser studio that captures both video files at full quality, send a short video brief before the session, and verify both files finish uploading before anyone closes the tab.
That one choice, local files versus the streamed call, sets the ceiling on how your episode looks, and nothing you do later raises it. A streamed video call compresses hard and turns to blocky mush the instant someone's Wi-Fi dips, and that compression is baked into the file forever. A locally recorded camera file keeps writing at full resolution no matter what the connection does. For audio you can sometimes get away with the call; for video, the difference is the entire difference between "looks like a webcam from 2014" and "looks like a show."
This is the playbook for the visual side specifically: the local-versus-streamed decision, the seven-line brief that fixes a non-technical guest's frame before it exists, and the sync steps that keep two cameras from drifting apart.
Why local recording matters more for video than for audio
Video punishes a bad connection in a way audio doesn't. A dropped audio packet is a word you re-record; a dropped video frame is a frozen face or a smear of compression blocks for the rest of the episode. Because video is roughly an order of magnitude heavier than audio, it's the first thing a live call sacrifices when bandwidth tightens, your guest's camera quietly drops to potato quality and you don't notice until you open the file.
That matters because more of your audience now expects to watch, not just listen. 53% of new US weekly listeners say they prefer to watch a podcast, up from 30% in April 2022 (Backlinko). If they're watching, the picture is the product, and the picture quality is decided at record time, not in editing.
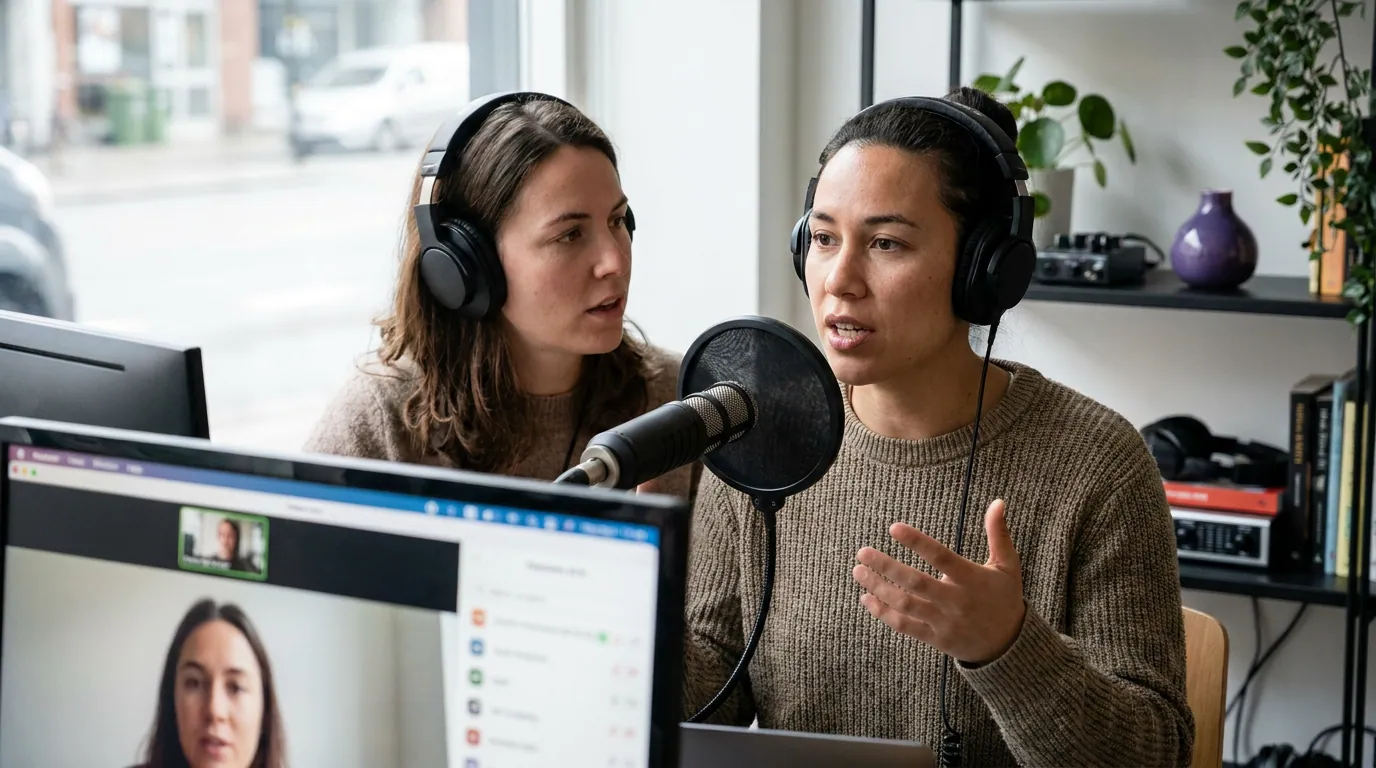
Local recording sidesteps all of it. When each camera writes its own file to its own disk, the internet only affects what you see live; the saved footage stays at full resolution regardless. Browser studios like Riverside and SquadCast (now part of Descript) are built around this: the guest clicks a link, their camera records locally in the background, and the high-quality file uploads when you're done. The same local-first logic governs the audio side, which I cover in how to record a podcast with remote guests, this guide is its visual companion.
Step 1: Choose your video recording method
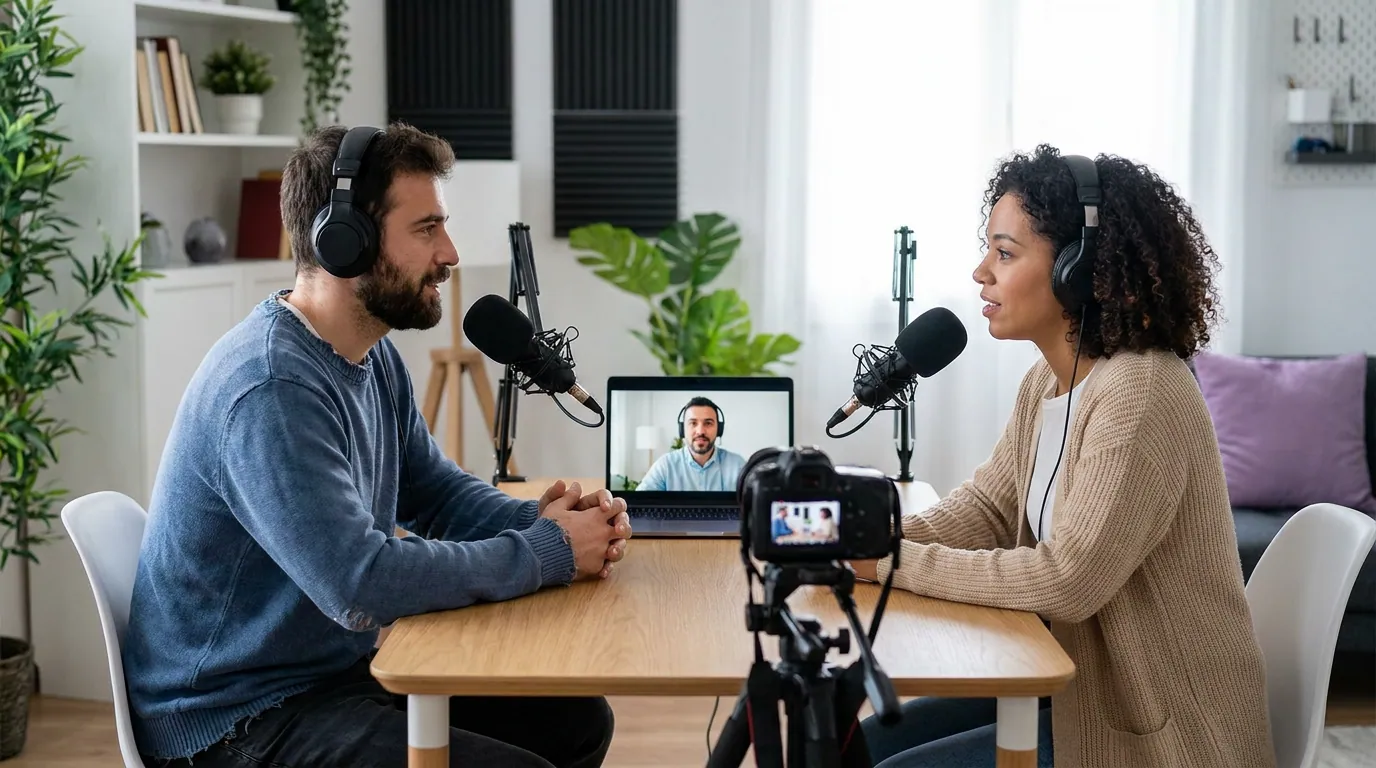
Record each side's camera locally and sync the two files afterward; capture the streamed call only when the guest genuinely can't open a studio. The decision rule above settles it in one question. The reason local wins for video is resilience, and a second, free bonus: two independent camera files give you two angles, which is what makes a remote interview cut like a real multi-camera show instead of a flat split-screen.
| Method | Best for | The honest trade-off |
|---|---|---|
| Local files (browser studio) | Any episode you'll publish | Guest must stay in the tab; full-res video means longer uploads |
| Local files (separate apps) | Pro guests with their own cameras | Each side records solo; you collect and align files manually |
| Streamed call capture | Throwaway takes, no-install guests | Picture quality rides the connection; treat as backup-grade |
One thing to decide before you record: whether you actually need two clean angles or one is fine. I walk through that trade-off in single vs multi-camera podcast setups, for most remote shows, two webcam files recorded locally already give you everything a basic multi-cam edit needs.
Step 2: Set up your own camera before you worry about the guest's
Get your own frame right first: camera at eye level, lit from the front, framed head-and-shoulders with a little room above your head. Your end is the half you fully control, so make it the reference the guest's frame has to match. A laptop webcam propped on a stack of books to reach eye level beats an expensive camera pointing up your nose.
The non-negotiables for a clean host frame:
- Camera at eye level. A webcam below your chin gives everyone a view up your nose and a double chin. Raise it until the lens sits at or just above your eyeline.
- Light on your face, not behind it. Face a window or a soft lamp. A window behind you turns your face into a silhouette no edit can recover. The single biggest free upgrade to any remote frame.
- Frame head-and-shoulders. Eyes about a third down from the top, a sliver of headroom, not a vast ceiling. The full reasoning is in framing and composition for a talking-head podcast.
- Record at the resolution you'll publish. If you only make vertical clips, a steady 1080p that never drops frames beats a 4K stream that stutters. Match the file to the output, not to your camera's maximum.
If you want to go beyond a single lamp, three-point lighting for a video podcast is the next step, but front light plus a clean frame already puts you ahead of most remote shows. The full beginner walkthrough lives in filming a video podcast for the first time.

Step 3: Send the guest a video brief before they sit down
The guest's frame is the one you can't fix in editing and can't control during the session, so you control it before. Audio briefs tell a guest to wear headphones and sit close to the mic. A video brief adds the four things that decide whether their picture is usable: camera height, light direction, framing, and background. Send it two days ahead, keep it plain, and never make a non-technical person feel they have to buy anything.
Here's the exact message I send. It's seven lines, the audio essentials plus the video ones a webcam guest never thinks about:
Before our recording: 1. Join on a laptop or desktop (not a phone), plugged into power, on Chrome. 2. Raise your camera to eye level, prop the laptop on some books so the lens is at your eyes, not below your chin. 3. Face a window or a lamp. Put the light in front of you; never sit with a bright window behind you. 4. Sit so your head and shoulders fill the frame, about an arm's length back, with a little space above your head. 5. Tidy whatever's behind you, a plain wall or a bookshelf is perfect; skip the doorway and the laundry. 6. Wear wired headphones or earbuds so my voice doesn't echo into your mic. 7. Pick the quietest room you can and grant camera/mic access when the link asks.
Lines 2 and 3 alone, eye-level camera, light in front, do more for how a guest looks than any camera they could buy. None of it costs a cent; it's all about where they sit and what's already in the room.
Step 4: Sound-check the picture, run a fallback, then verify uploads
Spend the first two minutes checking the frame, not just the levels, and keep a second copy of everything. Video failures are quiet, a guest's camera silently drops to 480p, a recording tab gets backgrounded and pauses, a file corrupts on upload, and you usually find out only when you open the project. A short routine catches most of it.
- Check the picture, not only the meters. Look at the guest's live frame: eyes lit, camera at eye level, head-and-shoulders, nothing blown-out behind them. Fix it now while it's free.
- Confirm both cameras are recording locally. Watch for the studio's recording indicator on each side. A guest whose local recorder never armed gives you only the low-res streamed copy.
- Run a fallback. Many studios record progressively (uploading chunks during the session), which lowers risk a lot, but not to zero. A local screen recording on your end is cheap insurance.
- Verify uploads before anyone leaves. Say it out loud: "Give it a minute to finish saving before you close the tab." Footage lost at the finish line is the most common avoidable failure.
Common mistakes (and the fix)
- Relying on the streamed call for video. A recorded Zoom or Meet call bakes every Wi-Fi stutter into the picture permanently. Fix: record local files in a studio; keep the call recording only as a backup.
- A window behind the guest. Backlight turns the face into a shadow no editor can rescue. Fix: line 3 of the brief, light in front, never behind.
- The camera below the chin. The up-the-nose webcam angle reads as amateur instantly. Fix: tell the guest to raise the laptop to eye level; it's the cheapest visual upgrade there is.
- Letting the guest leave before uploads finish. A closed tab can strand a half-uploaded file. Fix: keep them on the line until you see both files complete.
- Mismatched frame rates between the two cameras. Different recording frame rates make the two files drift out of sync over a long episode. Fix: set both sides to the same frame rate (the studio usually handles this), and sync to the audio waveform, not by eye.