
Reflection Filters and Portable Vocal Booths, Honestly Rated


A reflection filter or portable vocal booth is a foam-and-composite shield that mounts behind or around your microphone to absorb some room echo. It helps in a bare room, but less than the marketing implies: it guards the back of the mic, while the reflections that muddy your voice come from beside and behind you. For most renters, an absorber behind your chair plus close mic technique does more, for less.
That is the honest version, and it is the one that saves you money. Below, I rate the five shield types you will actually find for sale, by how much echo they remove in practice, not by spec sheet, and then show you the closet-and-blanket booth that quietly beats most $50 filters. If you are still choosing the mic itself, start with the best podcast mics by budget tier; a shield can't rescue the wrong microphone.
What does a reflection filter actually do?
It absorbs sound hitting the rear and sides of your microphone and catches some of your direct voice before it bounces back off the room. That keeps a little ambience out of the recording. It does not soundproof, and it cannot make a hard room sound treated. As Sound on Sound's Hugh Robjohns puts it, these devices "aren't a magical cure-all and can't instantly turn a bad-sounding room into a good one" (Sound on Sound).
Here is the part nobody selling them leads with. Podcasters use cardioid mics, which are most sensitive toward the speaker and only slightly less so at the sides. So the mic picks up "any sound reflected from rear and side walls that bounces back over the shoulders and around the performer" (Sound on Sound). A filter behind the mic does nothing about those. The single most important area to treat is directly behind and to the sides of you, and that is the one place a mic-mounted shield can't reach.
The second limit is physics, not brand. These shields are thin and light, so they mostly absorb high frequencies. The boom and boxiness of a small room lives in the low-mids, and a light shield barely touches it. Sound on Sound's comparison of ten screens is blunt about a lightweight enclosure: "its lack of mass means that it is only effective at high frequencies." The Real Traps booth in the same test screened reflections better than the rest "mainly because of its size" (Sound on Sound). Mass and area win. There is no shortcut around that.
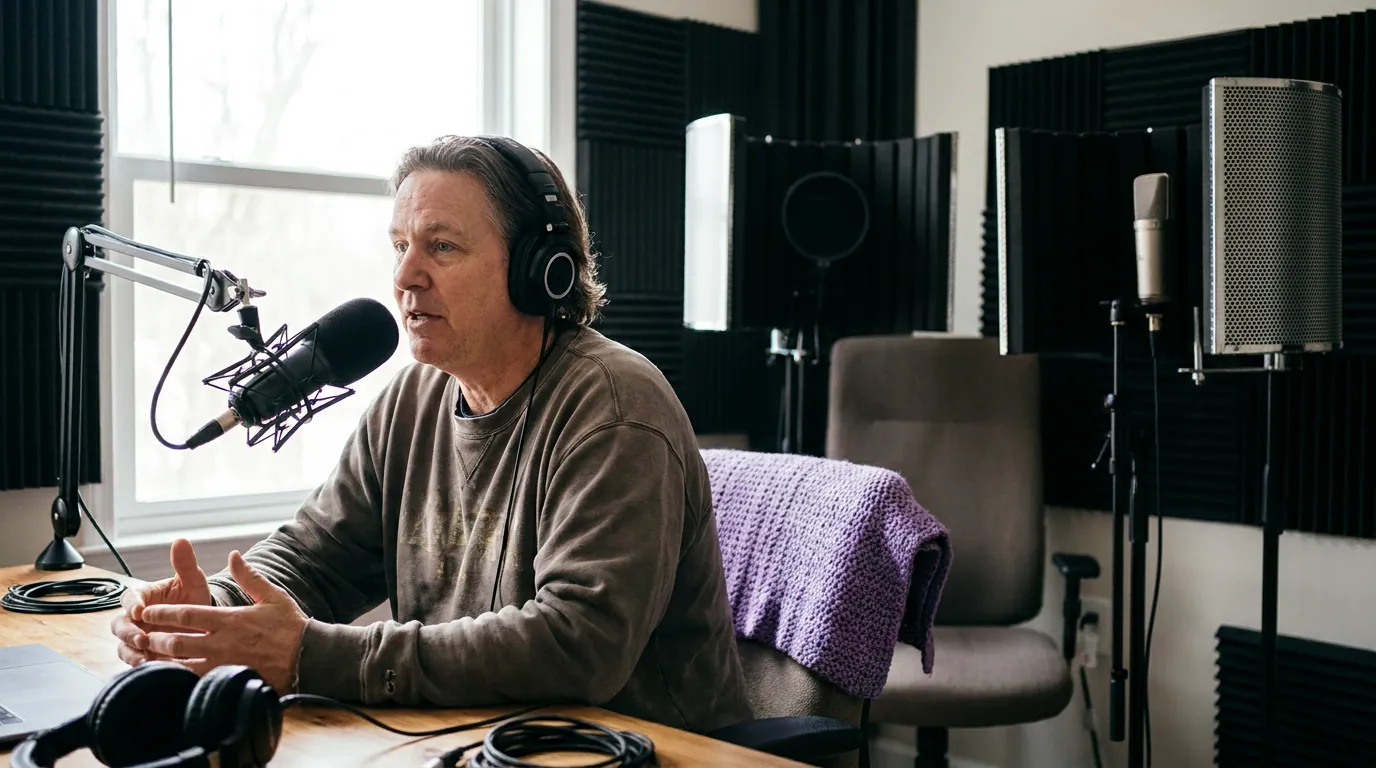
The honest verdict, up front
If you record in one fixed spot, skip the shield and treat the wall behind you and beside you. If you move your setup around, a shared flat, a hotel, a dorm desk you fold away, a reflection filter or portable booth is a reasonable, packable improvement over a bare mic, as long as you use it close and don't expect miracles. And if you want the single most cost-effective dry-up, build a blanket booth (last section). For the same money as a mid shield, it usually wins.
For most podcasters, the order of spend that actually pays off is: good cardioid mic, used close → an absorber behind your chair → a shield only if you can't keep a fixed spot. The mic comes first because reflection problems shrink dramatically when the mic is close to your mouth and the gain is low, the budget-mic guide covers which dynamics reject the room best.
The five shield types, rated
I am grouping by category, because within each one the differences are small and the price spread is wide. Ratings below are my read of review consensus and the physics, not a single controlled test, your room changes everything.
Comparison at a glance
| Type | Approx. price (new, 2026) | Best for |
|---|---|---|
| Budget panel shield (Monoprice, Neewer, Aokeo) | $30–60 | The "is this even worth it" tester; renters on a tight budget |
| Mid panel filter (sE RF-X) | ~$100–130 | A proven filter at half the premium price |
| Premium panel filter (Aston Halo) | ~$200–230 | Worst rooms, ceiling/floor reflections, lowest coloration |
| Mic-encapsulating ball (Kaotica Eyeball) | ~$165–199 | A "small booth" sound for a fixed close-mic voice |
| Big portable booth | $150–400 | The most actual dry-up of any portable option |
1. Budget panel shield, Monoprice, Neewer, Aokeo ($30–60)
The folding metal-and-foam panels you see all over Amazon. They clamp to a mic stand and curve a strip of foam around the back of the mic.
What's good: Cheap enough to be a rounding error, and they genuinely take the edge off a harsh, slappy room. The Monoprice Stage Right shield folds for storage and uses a vented metal back plate that adds a little mass (Monoprice). For testing whether you even like recording in a "drier" sound, they are fine.
What's not: The foam is thin, so the dry-up is modest and high-frequency only. Build quality is hit-or-miss, flimsy clamps that sag under a heavy mic are a common complaint. You are paying for "slightly better than nothing," and that is roughly what you get.
Get it if: You want to spend the least possible to hear what a shield does before committing.
2. Mid panel filter, sE Electronics RF-X (~$100–130)
The RF-X borrows the layered design of sE's industry-standard Reflexion Filter and sells for a fraction of it. Four layers, vented composite, wool, an air gap, foam, aim to absorb evenly without coloring your voice (sE Electronics).
What's good: A real step up from the $40 shields in build and even absorption. Reviewers consistently say it punches above its price and gets close to filters costing twice as much. The mount is sturdier, so it won't droop a dynamic mic.
What's not: It is still a single curved panel behind the mic, with the same fundamental limits, open top and bottom, weak in the low-mids, and blind to the wall behind you. At ~$120 you are near the price of materials for a much more effective blanket booth.
Get it if: You want a proven, name-brand filter and value tidy gear over maximum dry-up.
3. Premium panel filter, Aston Halo (~$200–230)
The Halo is the high end of the panel category. Sound on Sound measures it at "about 25% larger than the sE Electronics Reflexion Filter," and its shell-like shape wraps around the mic on all sides except the lower-centre edge, so it catches more off-axis reflections than a flat panel (Sound on Sound). It is molded from acoustic PET felt, 70% recycled plastic, which absorbs more evenly than the foam in cheaper shields (Sound on Sound).
What's good: That bigger, wrap-around shell tackles reflections a flat panel misses, and the PET felt colors the voice less than thin foam. Sound on Sound calls it light enough to mount easily despite the size and says it "sets a new bar for personal vocal booths" (Sound on Sound). If you record in a genuinely bad square room and want one packable device, this is the strongest panel.
What's not: The price. At ~$220 it costs more than a serviceable mic. It is also bulky, Sound on Sound flags that it can't be folded away and needs storage space (Sound on Sound). And it is still the best version of an approach that works on the wrong side of the mic: a bigger shell behind your microphone does nothing about the wall behind you.
Get it if: You record out and about in untreated rooms, want one premium device, and the budget is there.
4. Mic-encapsulating ball, Kaotica Eyeball (~$165–199)
A foam sphere you slide over the capsule, with a built-in pop filter. Instead of sitting behind the mic, it wraps it. Sound on Sound's testing found the foam attenuates off-axis sound and reflections "to a significant degree," with more coverage at the sides than a flat screen (Sound on Sound).
What's good: It produces a noticeably "small-booth" dry sound in a messy room, and covers above, below and to the sides where a panel doesn't.
What's not: It runs into the same mass limit as every light foam device, Sound on Sound's screen comparison notes a lightweight enclosure "is only effective at high frequencies," so it won't fix low-mid boom (Sound on Sound). Wrapping the capsule also adds a slight tonal change and forces a close, fixed mic position. For conversational podcasting where you move and gesture, that fixed position is a real constraint.
Get it if: You record a solo voice, very close, in one position, and like the tight "ball" sound.
5. Big portable booth (~$150–400)
The largest portable option, multi-panel folding enclosures and the RealTraps-style booths that wrap a much bigger absorber around you and the mic.
What's good: Size and mass are what move the needle, and these have both. Sound on Sound's testing found a full portable booth screened room reflections better than the small devices "mainly because of its size" (Sound on Sound). This is the most effective category here.
What's not: Bulk, weight and price. At this size and cost, you are within reach of building permanent treatment, which performs better and disappears into the room. "Portable" stops being an advantage when it takes ten minutes to set up.
Get it if: You need real isolation but genuinely cannot leave anything assembled.

How I rated these
I weighted four things, in this order: how much room sound the option actually removes (size and mass first), how little it colors your voice, whether it suits a renter who can't drill or leave gear out, and price for the result. I did not run a single controlled measurement across all five, your room's size, shape and surfaces swing results more than any product choice, so a lab number from my room would mislead you. Instead I leaned on Sound on Sound's measured comparisons of ten screens and its individual reviews of the Halo and Eyeball, named inline so you can check each one, plus the unchanging physics: thin and light catches highs, big and heavy catches more.
The bias to watch in every shield review, including the glowing ones: most are recorded close, in a fixed position, by someone who already knows mic technique. Move around, sit back, or talk with your hands across a two-hour interview, and the benefit shrinks fast.
The cheaper fix that beats most shields
Treat the area behind and beside you, get close to the mic, and you will outperform a $50 filter for less. This is not a downgrade, it is what the shield is trying and failing to do, done from the right side of the microphone.
A few concrete moves, cheapest first:
- Get close and turn the gain down. A cardioid mic four to six inches from your mouth, with low gain, captures far less room than the same mic at arm's length. This is free and it is the biggest single win.
- Put an absorber behind your chair. Even a thick duvet on a stand or door behind you "will make much more of an improvement" than a filter, per Sound on Sound (Sound on Sound). That is the wall the mic hears most.
- Build a blanket booth. Drape heavy moving blankets around and behind you. In acoustics, mass is king, heavy packing blankets absorb a broader range than thin foam, including some low-mids a shield can't touch (Sound on Sound). For the price of a mid panel filter, a stand and two moving blankets dry a room more.
- Record in a closet or a small, soft space. Smaller rooms have less reverb, and a clothes-packed closet is already half-treated. Avoid recording near windows and mirrors, glass is very reflective.
- Rearrange what you own. Bookshelves, a sofa, thick curtains and a rug placed around the mic do real work. Strategic use of soft furnishings you already have can get you most of the way to a treated room.
A reflection filter can sit on top of any of these and help a little more. It just shouldn't be the first thing you buy. The mic still matters most, so if you're still choosing one, the budget mic guide ranks the dynamics that reject an untreated room best.
Frequently asked questions
Does a reflection filter actually reduce echo?
Partly. It absorbs high-frequency reflections hitting the back and sides of the mic and keeps some of your voice from escaping into the room. It will not remove low-mid boom, and it cannot touch reflections off the wall behind you, where most muddiness starts (Sound on Sound). Expect a small improvement, not a transformation.
Is a portable vocal booth worth it for podcasting?
If you record in a fixed spot, no, treat the room instead, for less. If you record in different places and can't leave gear out, a booth or filter is a reasonable packable improvement, with bigger devices doing more because size and mass drive results (Sound on Sound). Buy for portability, not for the dry-up a fixed-room treatment would give you cheaper.
Reflection filter vs Kaotica Eyeball, which is better?
Different shapes for different needs. A panel filter sits behind the mic and keeps your voice more open; the Eyeball wraps the mic for a tighter "small-booth" sound, attenuating off-axis reflections "to a significant degree" but adding a slight tonal change and forcing a close, fixed position (Sound on Sound). For conversational podcasting where you move, a panel is usually friendlier. For a solo voice in one spot, the ball goes drier.
Will a $50 shield fix a boomy, echoey room?
No. Cheap shields are thin and light, so they only catch high frequencies, the boom and boxiness in a small room live in the low-mids that a $50 filter barely touches. Sound on Sound's screen comparison says it plainly: a lightweight enclosure "is only effective at high frequencies" (Sound on Sound). To fix boom you need mass and area: heavy blankets, a small soft space, or real treatment behind you.
Do I still need a pop filter if I have a reflection filter?
Often yes. Some encapsulating designs like the Eyeball build one in, but most panel filters do nothing for plosives. If you're popping your "p" sounds, you need a pop filter or windscreen as well. The USB-vs-XLR choice can also change your accessory needs, the USB vs XLR guide covers what each setup expects.
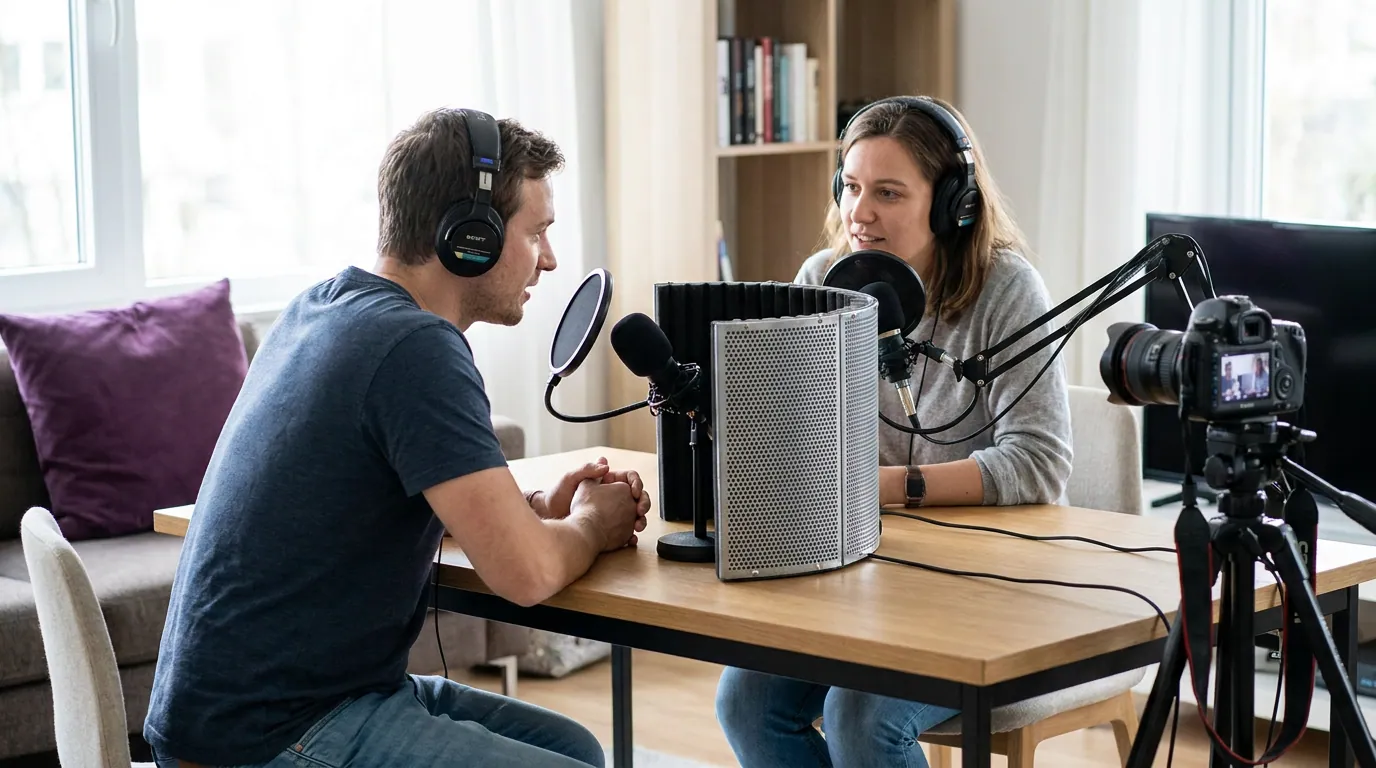
The short version
A reflection filter or portable vocal booth is a real tool with a narrow job: a packable, modest dry-up for people who can't keep a fixed, treated spot. It guards the back of the mic, works mostly on high frequencies, and ignores the wall behind you. If you record in one place, your money does more behind your chair and in your mic technique than on any shield. If you move around, buy by size, bigger removes more, and keep your expectations honest.
Whichever you choose, the win is the same: cleaner audio, captured close. Once the recording is clean, planning the episode itself is the next lever, the repeatable episode structure and the scripting-vs-outlining guide cover that. And a hybrid USB/XLR mic, like the ones in the dual USB/XLR roundup, lets your rig grow without a second purchase.