
A $1,500 Video Podcast Studio, Itemized


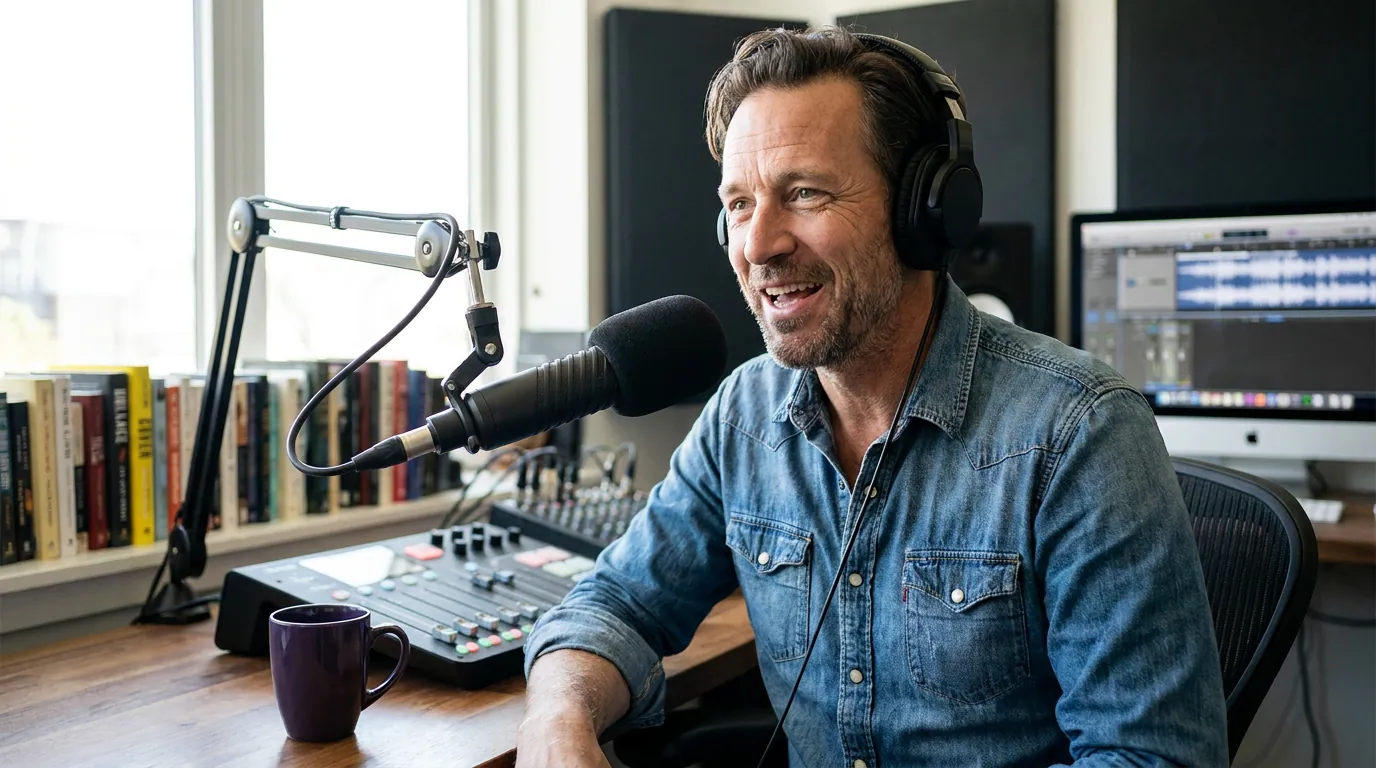
A $1,500 budget buys a genuinely good two-host video podcast studio, if you spend it in the right order. The build below totals $1,495 at mid-2026 street prices: two XLR mics, an interface, a used mirrorless camera, one soft light, and real acoustic treatment. The single biggest decision is buying the camera used so audio and room still get funded. Skip that, and you end up with great video of bad-sounding audio.
This is not a wishlist. It is a bill of materials, allocated by impact: how much each dollar changes what a listener hears and a viewer sees. The mic chain and the room get protected first, because audio is what makes people stay. The camera gets a large but used-market slice, because video is what makes people find you. Everything else is sized to finish the job, not to look impressive in a photo.
What does a $1,500 podcast studio actually buy?
A $1,500 studio buys broadcast-clean audio for two people and clip-ready 4K video in a treated spare room. You get real XLR microphones, a proper interface, a used interchangeable-lens camera, one controllable light, and enough panels to kill the echo. What it does not buy: a second camera, a hardware mixer, or soundproofing.
The line that should govern this whole budget comes from how podcast costs actually scale. The gap between a $150 and a $1,500 setup is smaller than the gap between bad mic technique in an echoey room and good technique in a treated one. You are not paying $1,500 to sound 10× better than a $150 rig. You are paying it to remove the four things that mark a show as amateur on video: room echo, dim flat lighting, a soft tinny camera, and one shared mic picking up both hosts and the desk.
The full bill of materials
Here is the complete kit. Every price is a verified mid-2026 street price from the retailer linked in that section, not a list price. Swap suggestions follow the table for tighter budgets and for solo hosts.
| Category | What to buy | Price |
|---|---|---|
| Mic chain | 2× RODE PodMic (XLR) | $198 |
| Audio interface | Focusrite Scarlett 2i2 (4th Gen) | $148 |
| Boom arms | 2× desk-clamp arms | $80 |
| Cables + pop filters | 2× XLR, 2× pop filters | $40 |
| Headphones | 1× closed-back monitoring pair | $50 |
| Camera | Used Sony a6400 body (MPB) | $689 |
| Lighting | 2-light LED panel/softbox kit | $130 |
| Acoustic treatment | 2× broadband panels + 2× corner bass traps | $160 |
| Total | $1,495 |
That leaves a few dollars of headroom for shipping or a memory card. If you already own headphones or a desk arm, redirect that money to a third acoustic panel, it will do more than anything else you could add.
Audio: $516 of the budget, and the part listeners judge first (mics, interface, arms, cables, headphones)
Audio is roughly a third of the spend because audio is the entire product for anyone who listens in the car, on a run, or with the screen off, which is still how most podcast consumption happens. People forgive a soft picture. They quit a harsh, echoey, uneven recording within seconds.
Two RODE PodMic microphones, $198. The PodMic is the budget XLR favorite at around $99 each (Sweetwater, B&H), with an all-metal body and internal shock mounting that rival mics costing three times as much, per The Greatest Song's review. It is a dynamic mic, so it rejects room sound far better than a condenser, exactly what you want before your room is fully treated. Two mics, not one: a shared mic picks up both voices at different levels plus the desk, and you can never fix that in editing. If you are still deciding between connector types, the case for dynamic XLR over USB at this tier is laid out in our guide to USB versus XLR mics and when to switch.
Focusrite Scarlett 2i2 (4th Gen) interface, $148. Two XLR mics need two inputs. The 4th Gen Scarlett 2i2 starts around $148 (Sweetwater; Focusrite) and adds two features that matter for beginners: Auto Gain sets your levels for you, and Clip Safe pulls the gain back automatically if you are about to distort a take. For a two-host show, those two features alone save more bad recordings than any plugin.
Boom arms, cables, pop filters, headphones, $170. Two desk-clamp boom arms ($80) get the mics off the desk and close to each mouth, which is the single cheapest way to improve perceived quality, distance is everything with a dynamic mic. Two XLR cables and two pop filters run about $40. One closed-back headphone pair ($50) lets whoever is engineering hear problems live. You only need one pair to start; add the second when budget allows.
The honest budget swap: replace the two PodMics with two Samson Q2U mics at about $70 each. The Q2U ships with a stand, both cables, and a windscreen in the box (Buzzsprout review), and it runs USB or XLR. Going USB on two Q2Us lets you skip the interface entirely and save roughly $148, at the cost of slightly fiddlier two-host USB recording. We break down that exact trade-off in hybrid USB/XLR mics that grow with your show.
Camera: $689, the largest single line, and why it is used (camera)
The camera is the biggest line item because video is now how new audiences find podcasts, and a used body is how you afford a real one. YouTube reported more than 1 billion monthly podcast viewers in early 2025 (Variety, February 2025), and clips cut from that video are what travel on social. A webcam can start you; an interchangeable-lens camera is what makes clips look like a show rather than a meeting.
Used Sony a6400 body, $689. A clean used a6400 body runs $689 to $789 at MPB and $814 to $864 at KEH (PhotographyTalk's 2026 used-buying guide; MPB's a6400 listings). It shoots 4K with reliable face and eye autofocus, and it has a fully articulating screen so you can frame yourself. Buying used through a graded reseller like MPB or KEH gets you a warranty; buying new at this quality would eat the lighting and treatment budget whole.
The a6400's one real weakness is honest to name: no in-body stabilization. For a camera bolted to a tripod on a desk, which is every podcast, that weakness does not apply. Stabilization only matters if you move the camera, and you won't. Buy the cheapest grade the reseller will sell you a clean image of; cosmetic wear on a body you'll never carry is free money.
Why shoot 4K when most clips publish at 1080p? Because a 4K frame lets you crop a single wide two-shot into separate sharp vertical clips of each host, one camera doing the work of three. That is the lever that makes the camera spend pay back across every platform.
Lighting: $130, the cheapest fix that makes a camera look expensive (lighting)
Lighting is the most underrated $130 in the build. A used a6400 under bad light looks like a webcam; the same camera under one soft key light looks like a studio. You can make thousands of dollars of apparent camera upgrade with a single well-placed light, which is why lighting beats jumping to the next camera tier.
2-light LED panel or softbox kit, $130. A two-light kit with stands gives you a key light (your main light, off to one side) and a fill (a softer light on the other side to lift the shadow). Bi-color panels with a CRI of 95 or higher render skin tones honestly; cheaper low-CRI lights make everyone look slightly ill. The reason lighting beats spending the same money on a better camera body: a soft, controllable key changes how a face reads on every frame, while a sensor upgrade you can barely see in a 1080p clip does not. If you record near a window, a single panel as fill plus daylight can be enough, but a window's color and brightness shift through the day, so owning your light keeps episodes consistent.
Acoustic treatment: $160, the line item people cut and regret (treatment)
Treatment is the slice newcomers delete first and notice missing on every episode. An untreated spare room adds a hollow, boxy echo that no plugin fully removes, and it is the clearest amateur tell after a shared mic. Dynamic mics like the PodMic help, but they do not fix a reflective room on their own.
2 broadband panels + 2 corner bass traps, $160. A fabric-wrapped broadband panel at 2 inches thick reaches an NRC near 1.00 across speech frequencies, while typical acoustic foam lands around 0.25–0.50 and falls off below 250 Hz, the bass region where room boom lives (Acoustic Design Works on NRC ratings). For brand options at this tier, Production-Expert's 2026 treatment roundup is a good starting list. The proven budget split: put half your treatment money into corner bass traps and half into panels at your first-reflection points (the spots on the side walls where sound bounces from your mouth to the mic). Two panels plus two corner traps is the minimum that makes a small room sound deliberately treated rather than damped.
A caveat the cheaper guides skip: do not buy foam-only. Thin foam tames highs but leaves bass untouched, which can make a room sound boomy because the highs that masked the bass are gone. Broadband panels and corner traps cover a much wider frequency range and hold up for years; cheap foam yellows, sags, and crumbles far sooner. The $160 here is the highest-return money in the build per dollar, even though it is the least photogenic.
How we allocated the budget (the impact-first method)
We sized each line by one question: how much does this dollar change what a listener hears or a viewer sees? That rule produces a different shape than a typical gear list, which tends to overspend on the camera and starve the room.
- Protect audio capture first. Two mics before one fancy mic; an interface that prevents clipping before any plugin. Bad capture cannot be repaired.
- Fund the room before the picture. Treatment is invisible in a photo and obvious in every episode. It is cheaper than a camera upgrade and does more for perceived quality.
- Buy the camera used, at the largest slice the budget can spare. Video is the discovery engine, so it earns the biggest line, but the used market is how you afford a real body without raiding audio.
- Light the camera you bought. One soft key plus fill turns a mid camera into a studio look for $130.
- Spend nothing on what you won't notice. No mixer, no second camera, no soundproofing. Those are real-budget items, not first-studio ones.
This is the difference between a $1,500 studio that sounds and looks $1,500 and one that sounds like a $200 webcam in a tile bathroom. For scale: Ausha's cost breakdown puts a hobby setup at $100–$350 in one-time gear and a professional one at $500–$5,000+ upfront. This $1,495 build sits at the bottom of that professional band, buying a real mic chain and a used 4K camera, then spending nothing on the mixer-and-second-camera extras that push the upper figures. For the mic chain specifically, our best podcast mics by budget tier guide shows where the audible jumps actually are, and the best budget mic under $100 covers the floor below this build.
What to skip at this budget (and add later)
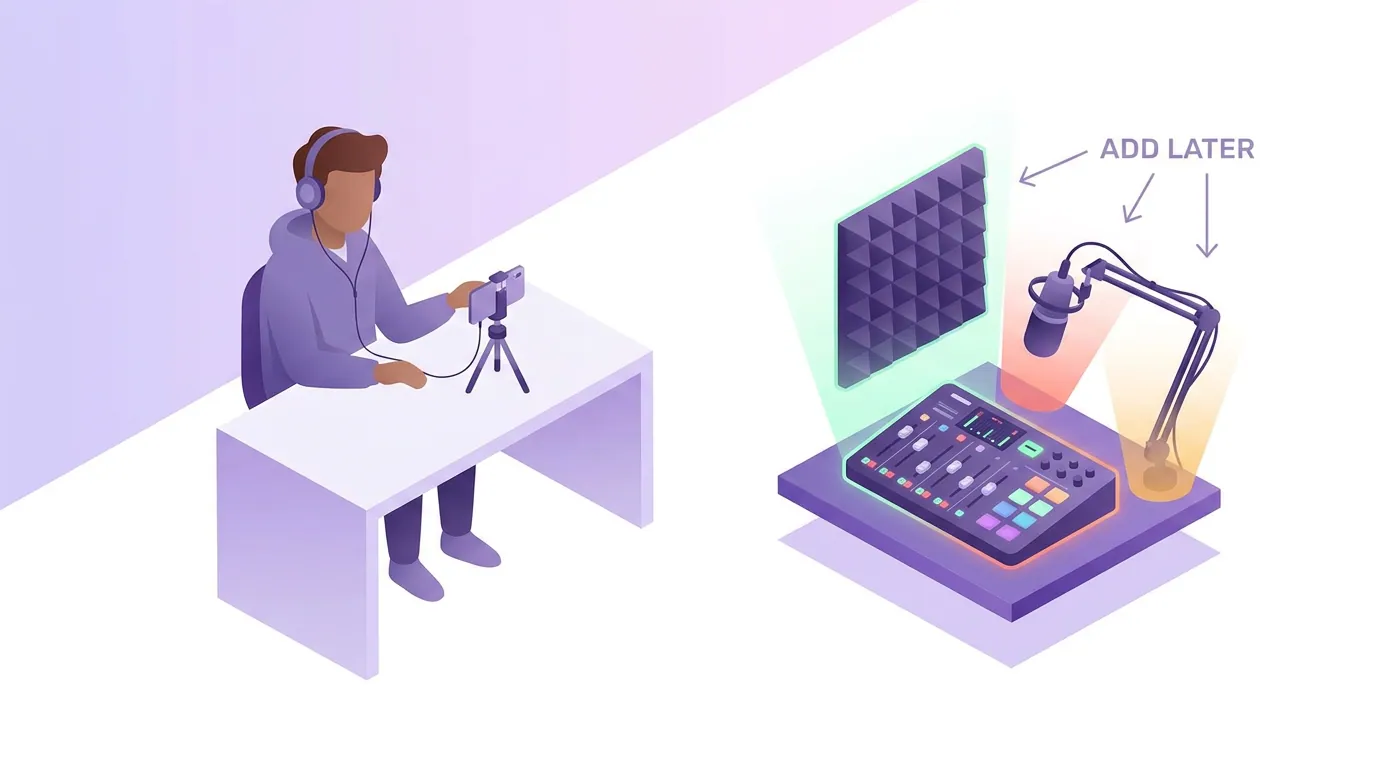
Three things tempt every first-time buyer and none of them belongs in a $1,500 video studio.
A hardware mixer or production console. A device like the RODECaster is excellent and unnecessary on day one. Your interface plus software does everything a beginner needs. A mixer is a real-budget upgrade once you are recording weekly and want live sound shaping.
A second camera. One 4K body that you crop into multiple vertical clips beats two cheap cameras you have to sync and switch. Add a second angle when your edit time, not your budget, becomes the bottleneck.
Soundproofing. Treatment changes how your room sounds; soundproofing stops sound leaving or entering, costs many times more, and most home studios never need it. If a neighbor is the problem, record at quieter hours before you spend a dollar on isolation.
What to add first when you have more money: a second pair of headphones, a third and fourth acoustic panel, then a second camera angle. In that order.
Solo host? Rebalance like this
If you record alone, you do not need two mics or the two-input justification for the interface. Reallocate: one RODE PodMic ($99), keep or downgrade to a USB mic and skip the interface (saving ~$148), then move that money into a better camera grade or a third light. A solo creator can put a clean used a6400 or a small step up, two lights, and three acoustic panels on the same $1,500 and end up with a sharper-looking single-host set. The allocation rule does not change, audio and room first, camera big, lighting cheap-and-high-impact, only the headcount does.
Frequently asked questions
Is $1,500 enough for a professional-looking video podcast?
Yes, for a two-host show in a spare room. $1,500 covers two XLR mics, an interface, a used 4K mirrorless camera, one soft light, and real acoustic treatment, the five things that separate a studio look and sound from a webcam-in-an-echoey-room one. It does not cover a second camera, a hardware mixer, or soundproofing, which are later upgrades.
Should I spend more on the mic or the camera?
Fund both, but protect the mic chain first. Audio is what makes listeners stay and is the entire product for people who listen rather than watch; bad capture cannot be repaired later. The camera gets the larger dollar slice in this build only because buying it used makes that affordable without starving audio or the room.
Do I really need acoustic treatment, or can software fix it?
You need treatment. Noise-reduction and reverb-removal software helps but cannot fully remove room echo, and aggressive processing makes voices sound underwater. Two broadband panels and two corner bass traps for about $160 do more for perceived quality per dollar than any other line in this build, which is exactly why beginners regret cutting it.
Can I build this for less than $1,500?
Yes. Swap the two RODE PodMics for two Samson Q2U mics (~$70 each) running USB and skip the interface to save roughly $148 (Buzzsprout), and choose a more-worn used camera grade. That can bring the same five-category build closer to $1,100 with a modest hit to audio polish and connectivity.
What about editing and publishing, is that extra cost?
Editing software starts free (DaVinci Resolve, Audacity) and most clip tools have a free tier, so you can publish without adding to the gear budget. Plan your episode structure before you record to cut editing time, our repeatable episode structure and the scripting versus outlining guide both reduce how much you have to fix in post.