
Recording Software Mistakes That Ruin Episodes


Most ruined episodes aren't lost at the mic. They're lost at the settings screen, before anyone says a word. Five software mistakes account for nearly every "we have to re-record" disaster: clipped levels, no backup track, auto-gain left on, a mono-vs-stereo mix-up, and a sample-rate mismatch. Three of the five are fixable after the fact. Two are not. Here is each one, the exact setting to change, and whether you can save the file if it already happened.
This matters more for new shows than anyone admits. Nearly half of all podcasts never make it past their first three episodes (Command Linux, 2025), and a brutal early re-record, two hours of work gone because a checkbox was wrong, is exactly the kind of friction that ends a show in month one. The fix costs nothing: attention to five settings, once, before you press record.
The five mistakes, ranked by how badly they bite
Here is the whole catalog in one view: what the mistake sounds like, the setting that causes it, and whether the episode survives. Read the table, then jump to the ones that apply to your setup.
| Mistake (what it sounds like) | The setting behind it | Recoverable after recording? |
|---|---|---|
| Clipping / distortion on peaks | Input gain too high; no headroom | Partly, light clips only, never fully |
| No backup track (file corrupts / drops) | Local-recording toggle off | No, the audio simply isn't there |
| Pumping, breathing, uneven volume | Auto-gain / AGC left on | Hard, bakes in level changes |
| One side silent / hollow mono "phasing" | Mono source saved as stereo, or vice versa | Yes, usually a clean fix |
| Robotic pitch, sync drift over a long file | Sample-rate mismatch (44.1 vs 48 kHz) | Yes if files are intact; messy if not |
1. Clipping: input gain set too high
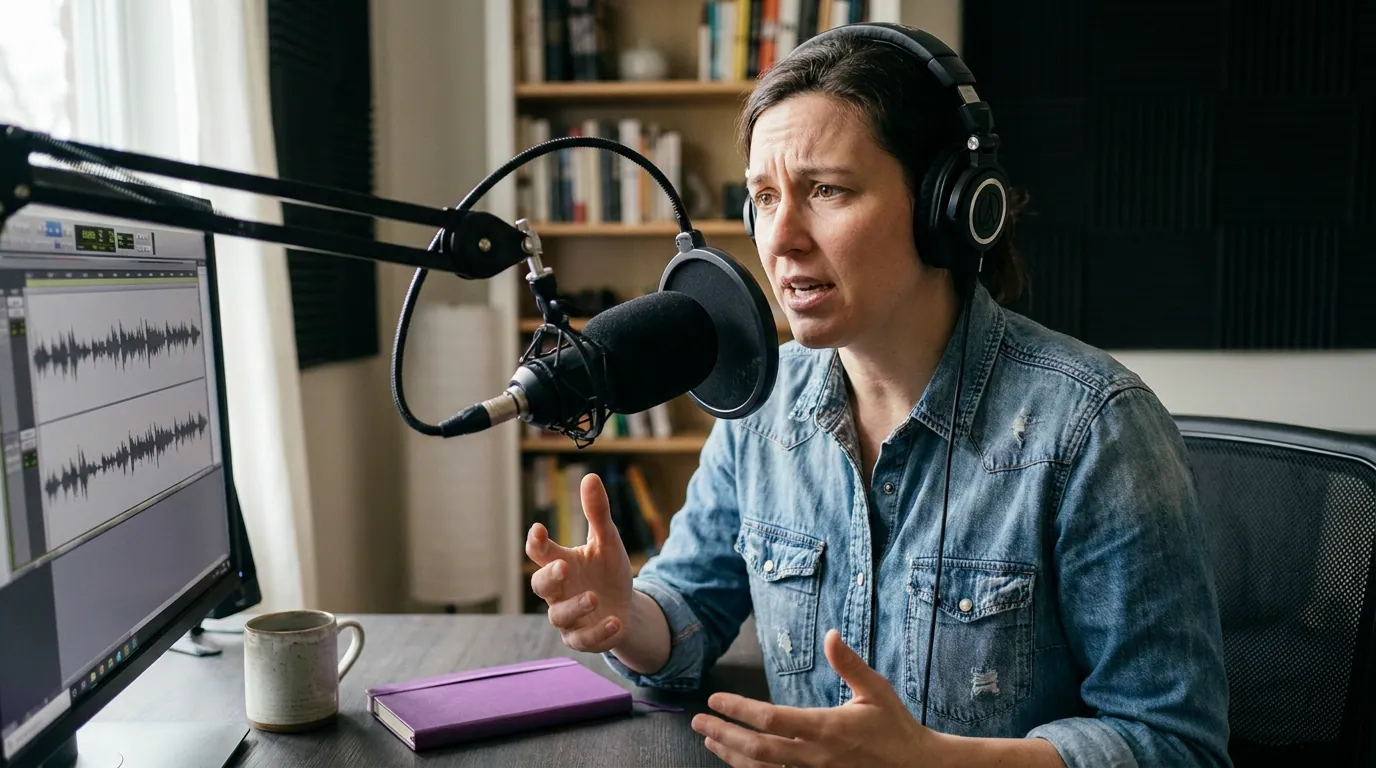
What ruins the episode: Your input level is so high that the loudest moments, a laugh, a raised voice, a guest leaning in, hit the digital ceiling (0 dBFS) and get chopped flat. That flat-topped waveform is permanent distortion, not loudness you can turn down later. Once a sample is recorded at the ceiling, the audio above it never existed.
The exact setting to change: Set your input/gain so normal speech peaks land between roughly -18 and -6 dBFS, with the loudest moments never crossing about -3 dBFS. In an XLR setup that's the gain knob on your interface or mixer; in a USB mic it's the input slider in your OS sound settings or inside the recording app. Watch the meter while your guest does their loudest natural sentence, not their quiet "testing, one two."
If it already happened: Light clipping (a few isolated peaks) can be partly repaired with a de-clip / clip-restoration tool, Audacity has Clip Fix, and Adobe's tools can rebuild mild damage. It never fully restores the original. Hard, sustained clipping is gone; reconstruction guesses at samples that were never captured, and it sounds like it. Recover what you can, then accept the lesson: leave headroom.
2. No backup track: the local-recording toggle was off
What ruins the episode: You recorded a remote interview over Zoom, Riverside, or Zencastr, the conversation was great, and then the upload failed, the cloud render glitched, or one side's internet hiccuped, and you discover the only copy was the compressed, dropout-riddled call stream. There's no clean master to fall back on because the local, per-speaker recording was never switched on.
The exact setting to change: Use a tool that records separate local tracks per speaker, and confirm the toggle is on before you start. Riverside and Zencastr record locally in the browser by default and upload after; verify each participant shows "recording locally" and let those uploads finish before anyone closes the tab. If you're recording over a generic video-call app, turn on local recording for every participant or have each person record their own audio in a local app as insurance. Our comparison of Riverside, Zencastr, and SquadCast breaks down how each handles local capture.
If it already happened: This is the one with no rescue. If the per-speaker audio was never written to disk, it does not exist, no plugin invents it. The compressed call recording is all you have, and it's usually unusable for anything but a transcript. The fix is entirely preventative, which is exactly why it deserves the top spot on your pre-record checklist.
3. Auto-gain (AGC) left on
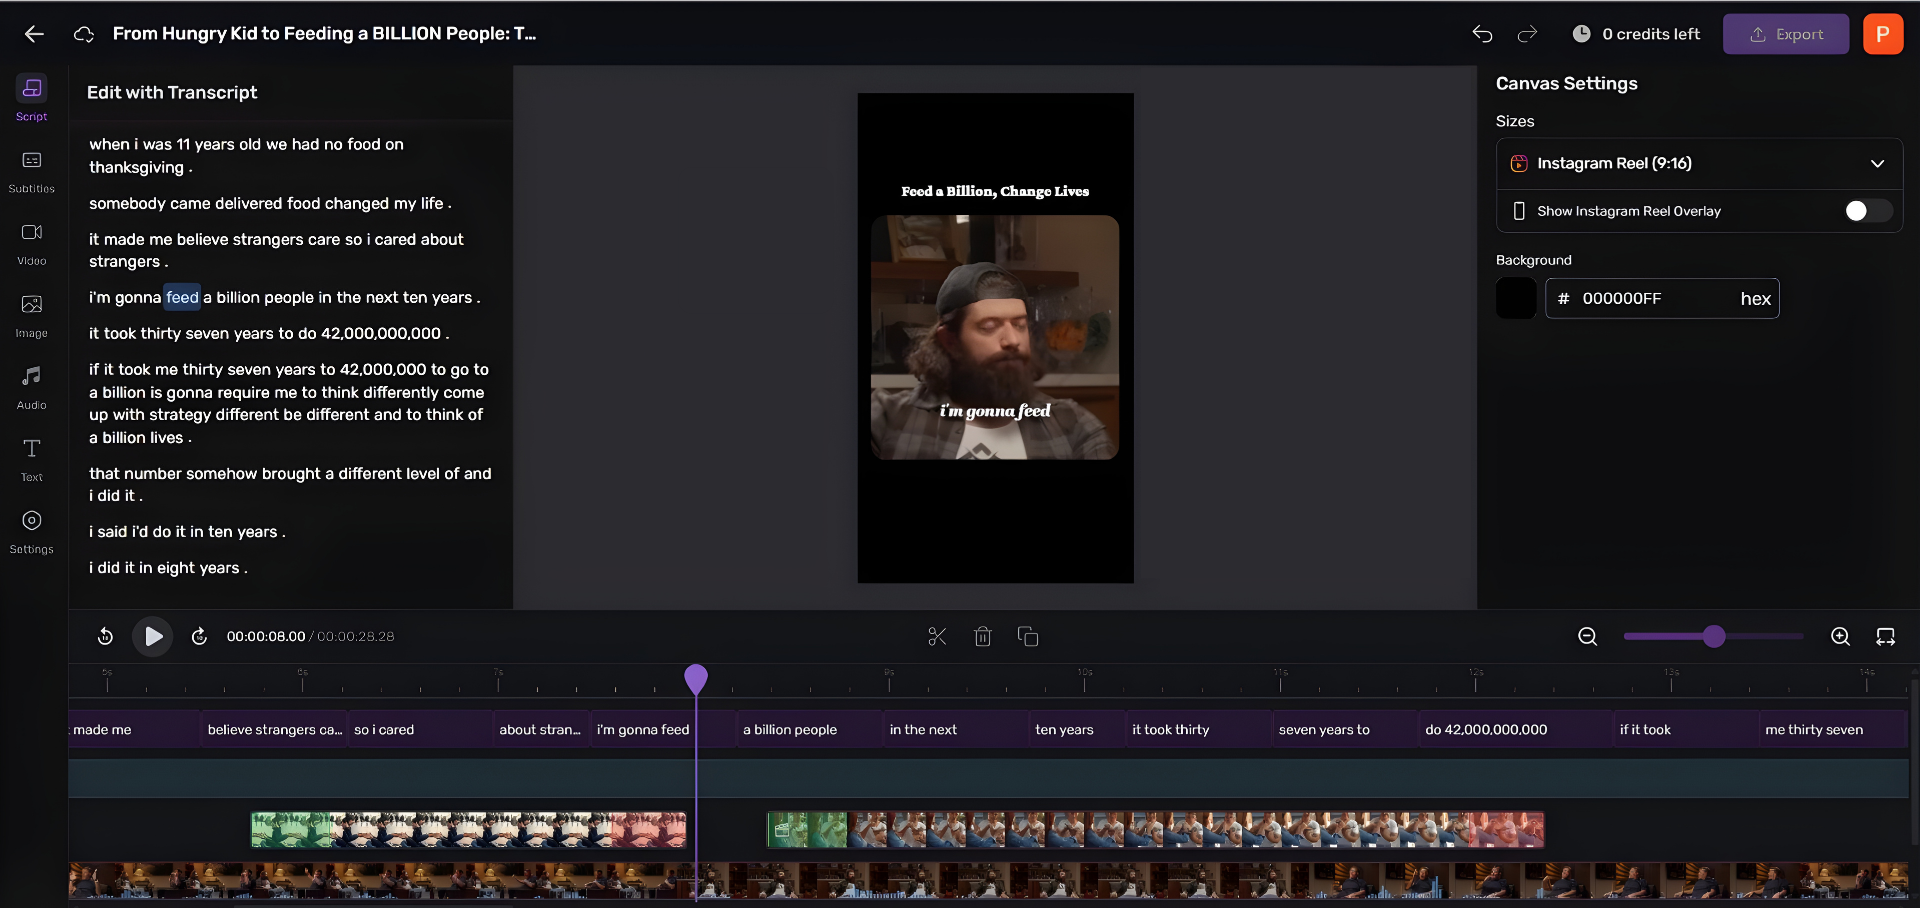
What ruins the episode: Auto-gain, sometimes labeled AGC, "automatic level," or "adjust microphone settings automatically", constantly retunes your input volume during recording. It boosts quiet moments (so room hum and breaths swell up between sentences) and ducks loud ones, producing a pumping, breathing texture that never sits still. Worse, it interferes with the levels of two people on one channel, so a quiet guest gets shoved up exactly when the host pauses.
The exact setting to change: Turn auto-gain off and set your level manually (see mistake #1). On Windows it hides in Sound > Recording > your mic > Properties > Levels and in the device's own software; on macOS, uncheck "Automatically adjust microphone settings" in your conferencing app and in System Settings. Many call apps re-enable noise suppression and auto-gain by default after updates, so re-check it before important recordings. If you genuinely need dynamic control, a real compressor applied knowingly in editing beats a hidden AGC fighting you live.
If it already happened: This is hard to undo cleanly. AGC bakes its level changes into the file; there's no toggle to reverse them. You can tame the symptoms, a gentle de-noiser for the swelled-up room tone, careful manual volume automation to flatten the pumping, but you can't reconstruct the original steady level. Budget real editing time, and disable it for the next recording. For where to invest that editing time, see our guide to podcast editing software for beginners.
4. Mono vs stereo mix-up
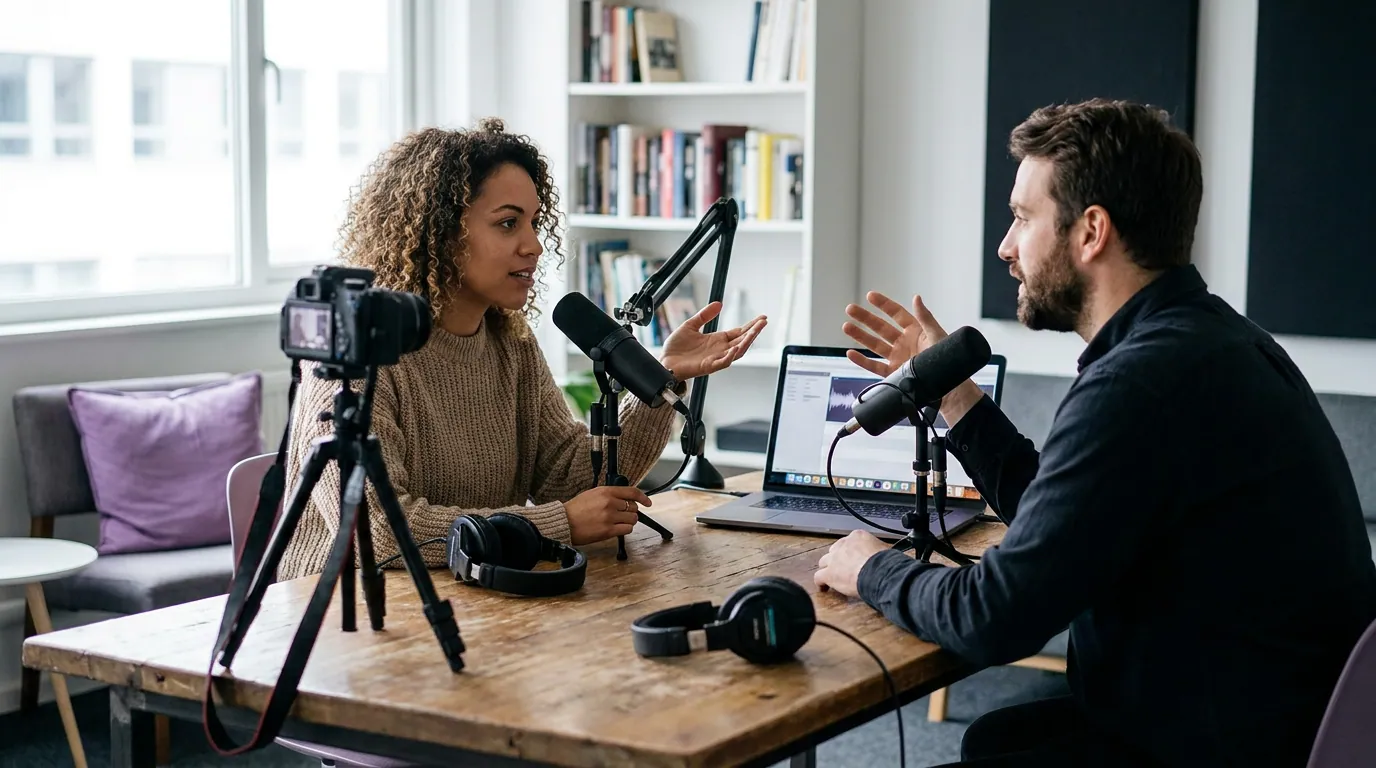
What ruins the episode: Two flavors, both annoying. A single mic captured as stereo can put your voice in only one ear (the other channel silent) or create a hollow, "phasey" sound when summed. A two-mic setup saved as a single mono mix glues both hosts onto one track, so you can never edit one voice without the other. New hosts hit this constantly because the default channel setting rarely matches the actual mic count.
The exact setting to change: Match the channel setting to your sources. One mic = mono. Two or more mics where you want independent control = multitrack (one mono track per mic), not a single stereo file. In your recording app, set the input channels deliberately rather than trusting the default. For remote shows, the per-speaker local tracks from mistake #2 solve this automatically, each voice arrives on its own mono file. A good mic in the right channel mode beats an expensive one in the wrong one; if you're still choosing gear, our best podcast mics by budget tier and the best budget mic under $100 cover the sensible picks.
If it already happened: Usually a clean fix. A mono source wrongly saved as stereo can be collapsed to mono or have the dead channel duplicated across both, a one-click operation in any editor. A "one voice in one ear" file just needs the live channel copied to both. The hard case is two voices fused into a single mono mix you wish were split: AI stem separation can attempt it, but it's lossy. The lesson is to record multitrack so you never need to un-mix.
5. Sample-rate mismatch (44.1 vs 48 kHz)
What ruins the episode: Your mic records at one sample rate (say 48 kHz, the video standard) but your software, or a second device, is set to another (44.1 kHz, the audio-CD standard). The result is audio that plays back at the wrong speed, slightly chipmunked or slowed, with pitch shifted, or, on long remote recordings, two tracks that drift gradually out of sync until a one-hour interview ends seconds apart. It's subtle at the start and obvious by the end.
The exact setting to change: Pick one sample rate and set it everywhere, the OS sound settings, the interface/mic driver, and the recording app. 48 kHz is the safe default if any video is involved (most video podcasts and any clip you'll cut for social), and it's fine for audio-only too; just be consistent. Confirm every participant in a remote recording is on the same rate. Set 16-bit or 24-bit depth and leave it; depth mismatches are far less destructive than rate mismatches.
If it already happened: Recoverable if your files are intact. A file recorded at 48 kHz but tagged 44.1 can be reinterpreted at the correct rate to restore pitch and speed, most editors let you set the project rate or re-import at the right one. Gradual sync drift between two long tracks is fixable but tedious: align the start, then nudge or time-stretch one track to match the end. Get the rate right up front and you skip all of it.
How we sorted these
This isn't a "top tools" roundup, it's a failure catalog. The ranking on the chart reflects two things: how often each mistake shows up in real new-podcaster recordings, and how much of the episode survives once it's happened. We weighted unrecoverable mistakes (no backup track, hard clipping) above the annoying-but-fixable ones (mono/stereo, sample rate), because a setting that can erase an episode deserves more of your attention than one you can correct in five minutes.
Every fix above is the actual menu path or knob, not "check your settings." Where a step depends on your OS, both Windows and macOS are named. Where a problem is genuinely unrecoverable, we say so plainly instead of selling false hope. If you're still choosing a recorder, start with our free podcast recording software shortlist and, for Apple users, the best podcast software for Mac.
The 90-second pre-record checklist
Run this before every recording. It is faster than reading this sentence twice and it prevents four of the five mistakes outright.
- Levels: say your loudest natural line, confirm peaks sit between -18 and -6 dBFS, never touching the top.
- Backup: confirm local, per-speaker recording is on and shows "recording" for everyone.
- Auto-gain: off, in both the OS and the call app.
- Channels: one mic = mono; multiple mics = multitrack, not a single stereo file.
- Sample rate: everyone and every device on 48 kHz.
- Record 30 seconds, stop, listen back on headphones. This one habit catches almost everything the other five miss.
That last step is the cheapest insurance in podcasting. A 30-second test-and-listen has saved more episodes than any plugin.
Frequently asked questions
What sample rate should I record a podcast at? Record at 48 kHz with 24-bit depth, and set the same rate everywhere, OS, mic driver, and app. 48 kHz is the video standard, so it's the safe choice if you'll ever cut clips for YouTube or social; it's perfectly fine for audio-only shows too. The mistake isn't choosing 44.1 vs 48, it's mixing them across devices.
Can you fix a clipped podcast recording? Partly, and only for light clipping. De-clip tools (Audacity's Clip Fix, Adobe's restoration) can rebuild a few isolated peaks, but they're guessing at samples that were never recorded. Hard, sustained clipping is unrecoverable. The real fix is preventative: leave headroom so peaks stay below about -3 dBFS.
Why does one side of my podcast sound silent or hollow? You almost certainly recorded a single mono mic as a stereo file, so your voice landed in one channel and the other is empty, or the two channels are slightly out of phase, which sounds hollow when summed. Fix it by collapsing to mono or copying the live channel to both. Record one mic as mono to avoid it entirely.
Is auto-gain bad for podcasts? For multi-person or quality-focused recording, yes. Auto-gain (AGC) constantly retunes your level mid-recording, swelling room noise in pauses and pumping on loud moments, and the changes bake into the file. Turn it off and set levels manually; if you need dynamic control, apply a compressor deliberately in editing instead.
Do I really need a backup track for remote interviews? Yes, it's the only mistake on this list with zero recovery path. If a call drops, a render fails, or someone's internet stutters and you have no local per-speaker track, the clean audio simply doesn't exist. Use a tool that records locally per speaker, confirm it's on, and let the uploads finish before anyone closes the tab.