
Simple Lighting So You Look Good on a Video Podcast


Good lighting for a video podcast is one bright, soft light in front of you, slightly above eye level, with nothing brighter behind your head. That's the whole rule. Face a window during the day, or put one cheap light just behind your laptop and a touch higher than your eyes, then kill any lamp or window behind you. Do that and you look better than most guests, including some who spent hundreds on gear and aimed it wrong.
The reason to bother goes past vanity. When you can see that you look sharp and clear on the preview, you stop fidgeting with the camera and start paying attention to the conversation. Bad light does the opposite: you catch yourself looking grey and shadowed, you tense up, and the nerves leak into your voice. Light is the cheapest confidence trick on this list. It's also the one viewers notice first.
It matters more every year, too. 53% of new US weekly listeners now say they prefer to watch a podcast, up from 30% in April 2022 (Backlinko). The host's camera is pointed at you, and the best three seconds of what it captures get cut into a vertical clip and posted to a feed. You want to be lit well in that clip.
Why does lighting make you look, and feel, more confident?
Lighting earns its keep twice. On screen, a bright, soft, front-facing source fills in the shadows under your brows and chin, which is what makes a face look open, awake, and trustworthy instead of tired or shifty. Off screen, seeing yourself look that way in the preview settles the nerves, you stop monitoring your image and start listening to the host.
That second effect is the one people skip. Most on-camera anxiety is a feedback loop: you glance at your own thumbnail, you don't like the grey, blotchy version staring back, and the discomfort tightens your shoulders and your voice. Fix the picture and you cut the loop at its source. It pairs with the rest of the first-time guest confidence routine and a quick vocal warm-up before you hit record, light loosens the face, the warm-up loosens the voice.
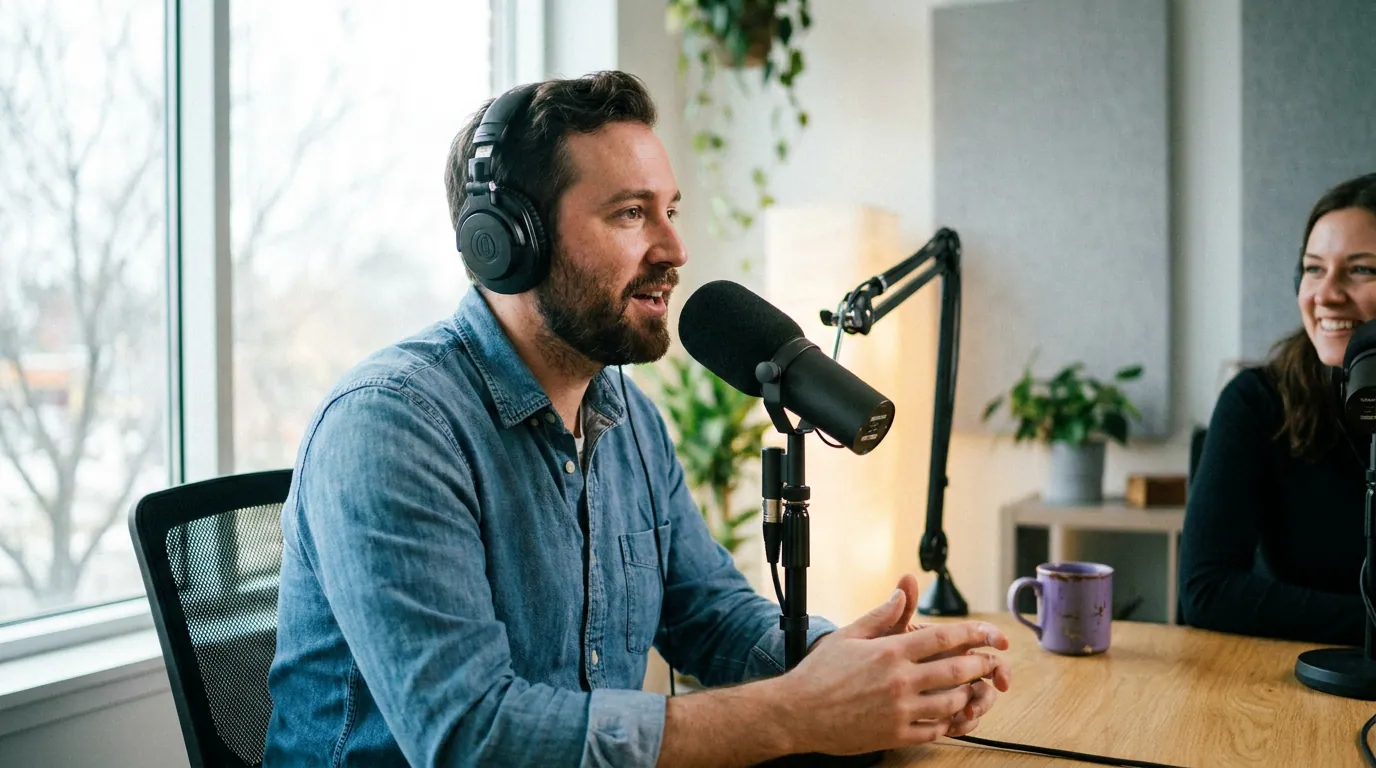
What is the simplest lighting setup that works?
One soft light, in front, a little above eye level, and nothing brighter behind you. Place a single source roughly where your camera is, raise it so it sits a touch higher than your eyes and angles slightly down, then make sure no window or lamp is glowing behind your head. If a window is the source, face it. If it's behind you, you become a silhouette.
Three principles do almost all the work, in this order of importance:
- Light comes from the front. The source belongs on your side of the desk, near the camera, pointing at your face. Side light carves harsh shadows across half your face; back light turns you into a shadow puppet.
- Soft beats bright. A big, diffused source (a window, a light through a sheet, a panel with a frosted cover) wraps around your features. A bare bulb or a small LED throws hard, unflattering shadows and shine.
- Kill competing light behind you. One bright source in front reads clean. A second bright source behind your head, the classic "open window at my back", confuses the camera, dims your face, and washes out the background.
The zero-budget version: face a window
If you record during the day, you already own a studio-grade key light. A large window throws big, soft, even light, exactly what flatters a face. The only rule is direction: sit facing the window, not with it behind you. Pull your desk so the glass is in front of you or just off to one side, and your face gets that clean daylight wrap for free.
A few specifics that turn "near a window" into "lit well":
- Face it or 45 it. Straight-on daylight is flat and friendly. Turning 30–45 degrees off the window adds a little gentle shadow on the far side of your face, which looks more dimensional. Either works; backlit does not.
- Soften harsh sun. Direct midday sun is hard and creates hot spots. A thin white curtain or even a bedsheet over the window diffuses it into the soft light you actually want.
- Watch the clock. Daylight shifts. A recording that starts at 4 p.m. can go dim and orange by 5:30. If your episode runs long or starts late, plan a backup lamp before the window quits on you.
- Turn off the mismatched bulbs. A warm yellow lamp fighting cool blue daylight makes your skin look patchy on camera. During the day, lean on the window and switch competing lamps off.

The one-light upgrade (under $30)
When the window won't cooperate, you record at night, or your room faces a wall, one inexpensive light solves it. You don't need a kit. A single small LED panel or a ring light, placed near the camera and raised slightly above your eyeline, gives you the same front-and-high soft light a window does, on demand.
What to look for, and what to skip:
- Get diffusion, not just brightness. A panel with a frosted cover or a softbox sleeve beats a raw cluster of LEDs. Soft is the whole point; a bright bare light just trades darkness for glare.
- Above eye level, angled down. Light from below ("uplight") looks like a campfire ghost story. Lift the light so it's a little higher than your eyes and tilt it down toward your face.
- Off-axis a touch. Dead-center light flattens you. Nudge it 15–30 degrees to one side of the camera for a hint of shape. If the shadow on the far side gets too deep, bounce some light back with a sheet of white foam board, or stand a cheap second lamp on the opposite side to soften it.
- Skip the ring-light-in-glasses problem. Ring lights are convenient but throw a perfect circle into eyeglasses. If you wear glasses, a rectangular panel placed slightly high and off-axis is the safer pick. More on that trap below.
The three traps that wreck most guests
Most bad-looking guests aren't poorly equipped. They've fallen into one of three predictable traps, and each has a fast fix.
Trap 1, The under-lit face
By far the most common: a guest sitting in a dim room or backlit by a window, so the camera shows a grey, shadowed face with no detail. Webcams and phone cameras handle low light badly, they crank up the gain, and you get a noisy, dull, slightly anxious-looking image. The fix is simply more soft light from the front. Face a window, or add one panel near the camera. If your face still reads dark on the preview, your light isn't bright enough or it isn't in front of you.
Trap 2, Glasses glare
Light bounces off lenses and shows up as two bright rectangles where your eyes should be, and eyes are the first thing a viewer connects with. The fix is geometry: raise your light higher and move it slightly more off to the side, then tilt your head a few degrees down or to the side until the reflection slides off the lens. A ring light is the worst offender here because it throws a perfect, symmetrical circle into each lens; if you wear glasses, prefer a rectangular panel placed high and off-axis.
Trap 3, Forehead and nose shine
Bright light plus skin oil equals hot, blown-out highlights on the forehead, nose, and cheekbones, distracting on a tight crop and impossible to fix after recording. Two cheap fixes: soften and diffuse the light so it's not a hard point, and blot your face with a tissue or a matte powder right before you record. If you sweat under lights, keep the room a little cool and the light a little softer.
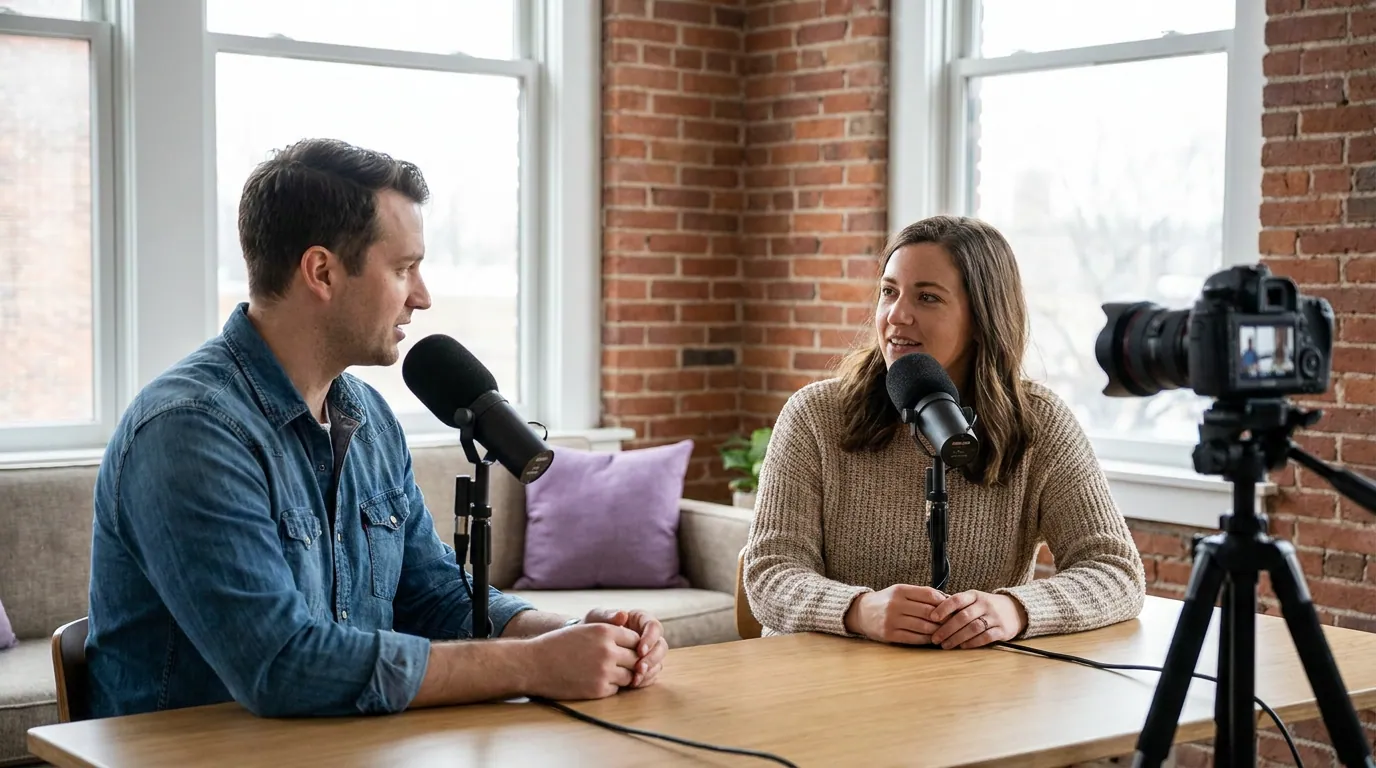
A two-minute check before the host hits record
Run this every time, after you've set up the light and before the conversation starts. It takes longer to read than to do.
- Open your camera preview and look at your own face. Is it clearly the brightest thing in frame? If the background is brighter, you're backlit, turn around or kill the light behind you.
- Check the shadows. Soft, gentle shadow under the chin is fine. A hard line down half your face means the light is too far to the side; move it toward the camera.
- Glasses on? Tilt and watch. Move your head slightly until any lens reflection slides away. Lock that position.
- Blot. One pass with a tissue across forehead and nose kills the shine before it starts.
- Match your color temperature. All-daylight or all-warm, don't mix a yellow lamp with blue daylight on the same face.
A clean preview also frees you to actually be present. Once you're not worried about looking grey, you can put your attention where it belongs, on listening, on where to look between the camera and the host's face, and on not letting filler words creep in. Hosts can help set this up, too; the host etiquette guide and the guest etiquette rules both cover getting a guest looking their best before the record light goes on.
FAQ
What is the best lighting for a video podcast guest? One bright, soft light in front of you, slightly above eye level, with nothing brighter behind your head. A window you face during the day does this for free; after dark, a single diffused LED panel or ring light near the camera does the same. Direction and softness matter more than how much gear you own.
Do I need to buy a light to look good on camera? No, if you record during the day. Sitting so you face a window gives you large, soft, flattering light at zero cost, just keep the window in front of you, not behind. Buy one inexpensive light only if you record at night or your room has no usable daylight.
Why does my face look dark or grey on my webcam? You're under-lit or backlit. Webcams handle low light poorly and turn it grey and noisy, and a bright window or lamp behind you tricks the camera into darkening your face. Add a soft light in front of you, and switch off or move whatever is glowing behind your head.
How do I stop glare on my glasses on camera? Raise your light higher and move it slightly off to the side, then tilt your head a few degrees until the reflection slides off the lens. Avoid ring lights if you wear glasses, they throw a perfect circle into each lens. A rectangular panel placed high and off-axis is easier to control.
Does lighting even matter if the podcast is mostly audio? For the audio file, no. But the filmed version is what becomes clips, and the first three seconds of a clip carry it on social (castmagic). If the show posts video clips at all, how you're lit is part of what new viewers judge in those opening seconds.