
Recording a Video Podcast Outside the Studio


To record a video podcast on location, lock your audio first: put a lavalier or shotgun mic within a hand's width of each mouth, record a backup track, and never trust the camera's built-in mic. Scout the spot for noise, light, and power before you commit. The location is the creative win; the audio is the risk you manage.
On location is where a lot of the best podcast video lives now, a guest in their workshop, a walk-and-talk, an interview at the event you both flew in for. The reward is texture you cannot build in a studio. The cost is that you give up control over sound, light, and power, and you only realize how much control you had once it is gone. This guide hands you a field kit grouped by job, a location-scout checklist to run before you say yes to a spot, and an on-the-day plan for the three places you will actually shoot: a cafe, an office, and outdoors.
Why shoot a podcast outside the studio at all?
Because the format went visual and the audience rewards a real place. More than half of new US weekly podcast listeners now prefer to watch a show, 53%, up from 30% in April 2022 (Backlinko, podcast stats), and YouTube announced more than a billion monthly podcast viewers in early 2025 (Variety). When people watch, the background does work. A guest at their own kitchen table reads as honest in a way a gray studio wall never will.
The trade is real, though, and you should name it before you pack a bag. A treated studio gives you flat light you set once and clean audio you can trust. A street, a cafe, an office you have never seen, none of those owe you anything. The whole job on location is to claw back enough of that control to make footage you can actually cut, without lugging a studio with you.
The field kit, grouped by job
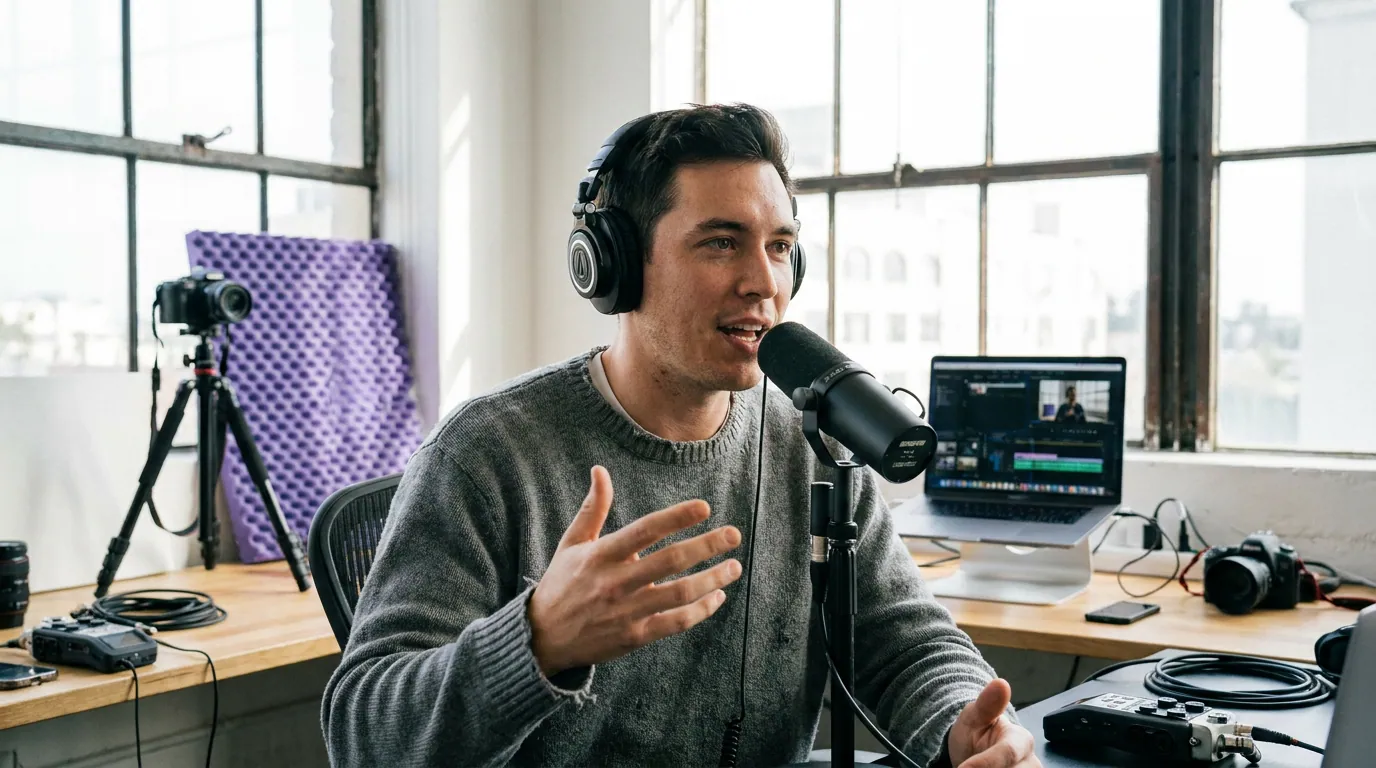
Pack by function, not by gadget. Four jobs: capture audio, capture image, keep both powered, and back everything up. The kit below fits in one shoulder bag and handles a two-person interview almost anywhere. The single most important line is the first one, on location, the microphone is the difference between usable and unusable, far more than the camera.
You do not need the studio version of any of this. A budget setup gets the job done outside; the gap between a $150 and a $1,500 rig is smaller than the gap between a mic six inches from the mouth and a mic across the table in a noisy room. If you are still choosing the mic itself, our breakdown of the best podcast mics by budget tier and the best budget podcast mic under $100 both cover lavalier and shotgun picks that travel well.
The location-scout checklist (run this before you commit)
Run this before you agree to a spot, not when you arrive to shoot. Five minutes of scouting, in person if you can, on a video call walkthrough if you cannot, saves the whole day. Score each line; if two or more fail, find another room or another time.
- Noise floor. Stand silent for thirty seconds and listen. A fridge hum, an air vent, a road, a coffee grinder, those will be on every take. Can you switch any of them off? If not, can you move away from them?
- Echo. Clap once. A hard, ringing slap means bare walls and glass; that room will sound hollow. Soft and dead is what you want. Soft furnishings, curtains, books, and people all help.
- Light direction and color. Where is the light coming from, and what color is it? A window on one side is your friend. A mix of window daylight and warm ceiling bulbs is a white-balance headache, note it now.
- Wind, if outdoors. Even a light breeze ruins a bare lavalier. Is there a wall, a corner, or a doorway you can tuck into?
- Power and a table. Is there an outlet within reach, or are you on batteries? Is there a stable surface for the camera, or are you handholding?
- Foot traffic and permission. Will people walk through the frame? In a cafe or office, do you have the manager's okay to film, and a quiet window of time?
Score it honestly. A beautiful backdrop with a screaming espresso machine is a bad location. A plain corner you can control is a good one.
On the day: the three places you'll actually shoot
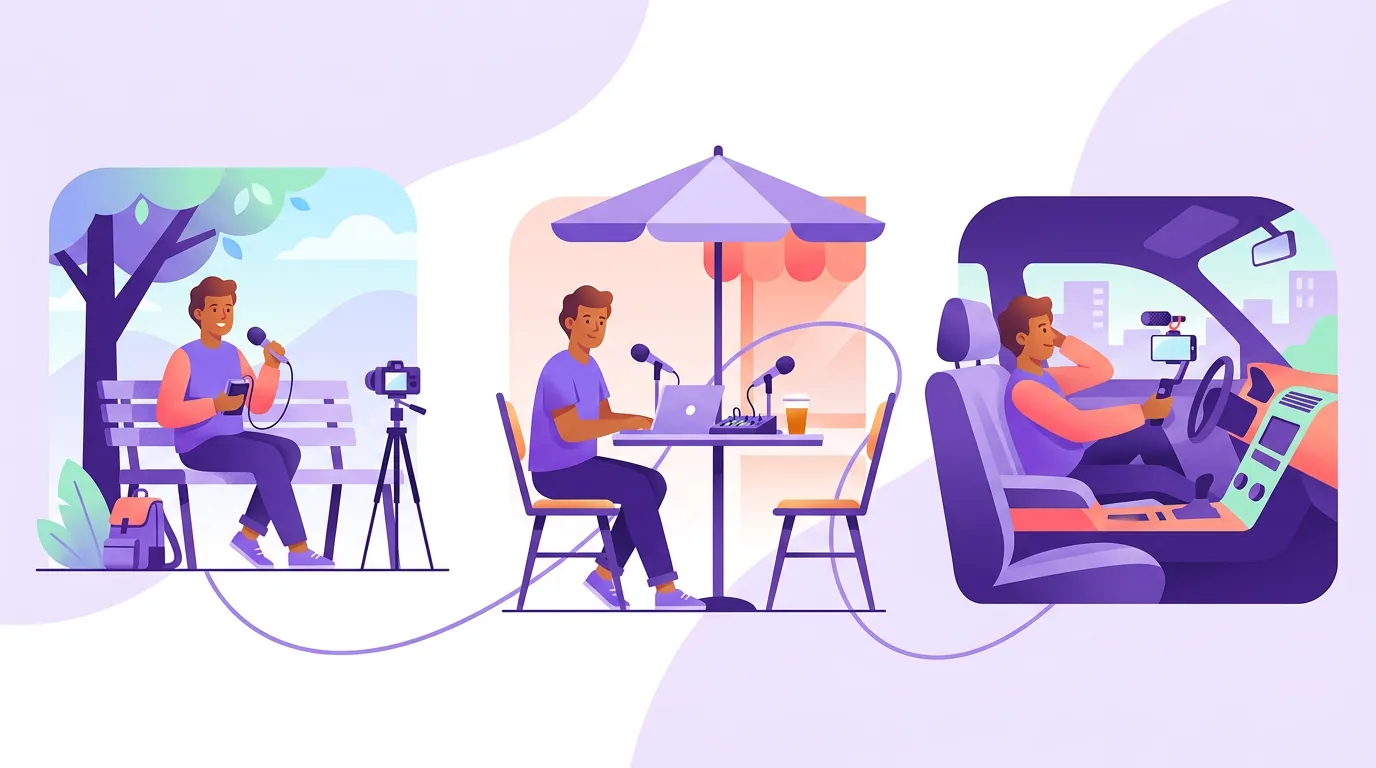
A cafe
Book the off-peak hour and ask the manager before you arrive. The dominant problem is ambient chatter plus machine bursts, the grinder, the steam wand, the blender. You cannot stop them, so you get the mic close: lavaliers clipped a hand's width below each chin, or a shotgun on a tabletop stand angled down at the speaker. Take a corner table with a wall behind you to cut reflections. Record thirty seconds of room tone with nobody talking so your editor has clean ambience to patch over gaps. Window light is usually your best light; sit so it falls across faces, not behind them.
An office or borrowed indoor room
The two enemies indoors are the HVAC hum you stop hearing after a minute and the echo off bare walls. Walk in and find the vent or AC unit; if you can switch it off for the recording, do it, and set a phone timer to switch it back on so nobody roasts. For echo, soft surfaces are the cure, pull a couch in, hang a coat on the door, record near books and curtains rather than in the glass conference room. A single small LED panel bounced off a wall fixes most flat office lighting.
Outdoors
Wind is the killer, full stop. A bare lavalier in a light breeze produces a low rumble that no amount of editing fully removes, so the furry windshield ("deadcat") on every mic is non-negotiable outdoors, not optional. Tuck into a doorway, a corner, or behind a wall to break the wind before it reaches the mic. Shoot with the sun behind the camera or use open shade, never put your subject squinting into direct sun, and never put the sun directly behind their head unless you are deliberately filling the front with an LED. Keep takes short; conditions outside change minute to minute.
Fast white-balance for found light
Found light is rarely one color. A window throws cool daylight, ceiling bulbs throw warm tungsten, and your camera's auto white balance will drift between them mid-sentence, which looks like a glitch on screen. Fix it in two moves. First, kill or favor one source: close a blind, or switch off the warm overheads and shoot by the window. One color temperature is always easier than two.
Second, set white balance manually instead of leaving it on auto. Hold a grey card (a sheet of white paper works) in the light where the speaker sits, and use the camera's custom white-balance reading, or dial the Kelvin number to match the dominant source, roughly 5600K for daylight, 3200K for warm bulbs. Lock it. A locked white balance that is slightly off beats an auto one that wanders, every time. If you can bring one light, our guide to three-point lighting for a video podcast shows how a single panel plus found light gives you control over color and shape.
Common mistakes on location (and the fix)
- Trusting the camera mic. The built-in mic on any camera or phone is fine for a backup sync track and useless as your main audio. Always run a dedicated mic close to the mouth, and record a second track in case the first fails.
- No room tone, no backup. Editors need thirty seconds of ambience to smooth cuts, and you need a redundant recording when, not if, one device glitches. A phone running a voice recorder on the table is a free safety net.
- Auto white balance left on. It drifts between mixed light sources and the color jumps mid-shot. Lock it manually.
- No power plan. Cameras and recorders die faster outdoors in cold or heat. Carry spare batteries and a power bank, and check every device's charge before you leave home, not at the location.
- Skipping the scout. Agreeing to a gorgeous backdrop next to a generator is how a whole day gets wasted. Run the checklist first.
If you are doing a multi-camera setup on location, the logistics multiply, more power, more sync, more to carry, so weigh whether you truly need it; our take on single versus multi-camera podcast setups covers when the second camera earns its place.
FAQ
Can I record a podcast on my phone on location?
Yes, and modern phones shoot good enough video for clips. The limit is audio: the phone's mic picks up the whole room, not just your voice. Pair the phone with a clip-on lavalier or a small external mic, record a backup track, and a phone-only on-location setup works fine for a starting show.
How do I deal with wind when recording outdoors?
Put a furry windshield (a "deadcat") over every microphone, foam alone is not enough outdoors. Then shelter the mic physically: stand in a doorway, behind a wall, or in a corner that breaks the breeze before it reaches the capsule. Keep the mic as close to the mouth as you can, and record short takes between gusts.
What's the minimum gear for an on-location video podcast?
A camera or recent phone, a tabletop tripod, one close mic per person (lavalier or shotgun) with a wind cover, headphones to monitor, and spare power. That fits in one bag. A hobby podcast kit runs roughly $100–$350 upfront (Ausha), and on location you lean on gear you likely already own.
How do I match light when a room has mixed window and bulb light?
Pick one source and favor it. Close the blinds and shoot by the bulbs, or switch off the bulbs and shoot by the window. Then set white balance manually, custom reading off a grey card, or dial the Kelvin to match, and lock it so the color does not drift mid-sentence.
Is on-location audio always worse than a studio?
Not always, but it is always less predictable. With close mics, a furry windshield, room tone, and a backup track, on-location audio can sound clean and feel more alive than a sterile booth. The risk is variance, not a ceiling, which is exactly why you scout and back up everything.
If this is your first time filming away from a desk, start with our first-time video podcast setup guide and the rules for framing and composition on a talking-head shoot so the footage cuts cleanly once you are back home.