
Mic Setup for a Video Podcast (Without It in Frame)


Get the mic within about a hand's width of your mouth, then decide whether to hide it or show it. The three routes are a boom arm dipping in from above or below the frame, a clipped-on lav mic, or a visible desk mic you light on purpose. Each one delivers the close, intimate sound listeners expect, the difference is the look, not the audio quality.
The conflict everyone runs into is real: the closer the mic is to your mouth, the better it sounds and the worse it tends to look in shot. A big dynamic mic eight inches from your face is exactly what your ears want and exactly what a clean, professional frame doesn't. You do not have to choose one over the other. You choose a route, and each route has a placement rule that protects the sound while controlling how much mic the camera sees.
Does mic placement matter more than the mic for a video podcast?
For most people, yes. The gap between a $150 mic and a $1,500 mic is smaller than the gap between bad mic technique in a noisy room and good technique in a treated one. A budget cardioid dynamic placed correctly beats a premium mic placed across the desk. Placement, not price, is where video podcasts actually go wrong.
This is the editorial rule we apply across our equipment guides, and it holds on camera too. Equipment cost guides put a workable podcast mic at $50–$400, and a solo show can launch for $100–$200 one-time with a budget USB mic and headphones (Ausha), so the money question is mostly settled.
It matters more for video than audio for one reason: an audio-only show can park a microphone two inches from your lips and nobody cares. The second a camera is on, every inch of distance is a tradeoff between sound and shot. That tension is the whole subject of this guide.
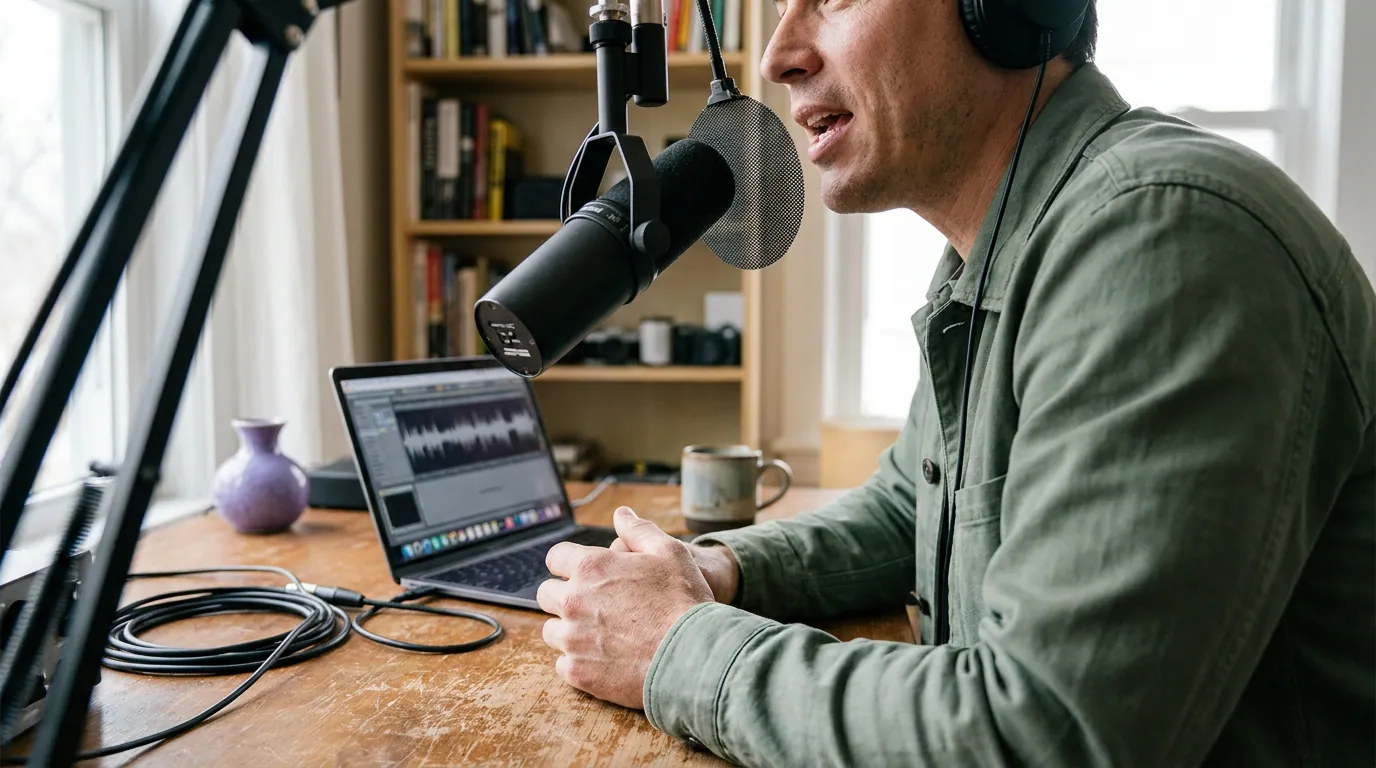
Why this is worth getting right
Video podcasts get watched, and a growing share of new listeners actively prefer to watch rather than just listen, 53% of new US weekly podcast listeners now prefer to watch a show, up from 30% in April 2022 (Backlinko). When the camera is the front door, audio that sounds like it was recorded in a hallway undoes good lighting and good framing instantly. People forgive a soft image. They click away from bad sound.
The clips compound it. Short vertical clips drive an estimated 20–40% of new audience for video shows (Podcast Studio Glasgow), and that figure comes from a production studio, so read it as directional, not a guarantee. A clip is where most strangers meet your show. Thin, roomy audio in a 20-second clip on a phone speaker is the fastest way to lose them.
The three routes: pick the look first
Decide what you want the frame to feel like, then the mic choice follows. There is no single right answer, a visible Shure-style mic reads as "real podcast" to one audience and as clutter to another. Pick the route that matches your show's identity.
Route 1, Boom arm (hide it, or let it peek in)
A dynamic mic on a boom arm is the default for seated desk shows. The arm lets you bring the mic close, six to ten inches, then position it just outside the frame, usually dipping down from above or rising from below the bottom edge. Many shows let the windscreen sit visibly at the bottom of the shot on purpose; it reads as deliberate, not accidental. Counterweight the arm so it holds position and doesn't creep into frame mid-episode.
Route 2, Lavalier (the invisible option)
A clip-on lav sits six to eight inches below the chin, on the chest. It is the one route that genuinely disappears, a tiny dot, or fully hidden under a collar. Lavs are also the answer when you stand, move, or shoot a roundtable where a desk mic per person would crowd the table. The tradeoff: a lav picks up clothing rustle and is slightly more room-sensitive than a close dynamic, so dress for it (no scarves, no jacket brushing the capsule) and keep the room reasonably quiet.
Route 3, Visible desk mic (make it the look)
Sometimes the mic is the brand. A black broadcast-style mic on a stand, framed and lit on purpose, is the visual shorthand for "this is a podcast." If that is the feel you want, lean in: choose a mic you like the look of, position it eight to ten inches from your mouth and slightly below your nose so it doesn't cover your face, and light it. For framing the rest of the shot around it, our guide to framing and composition for a talking-head podcast covers where the mic should sit relative to your eyes and the camera.
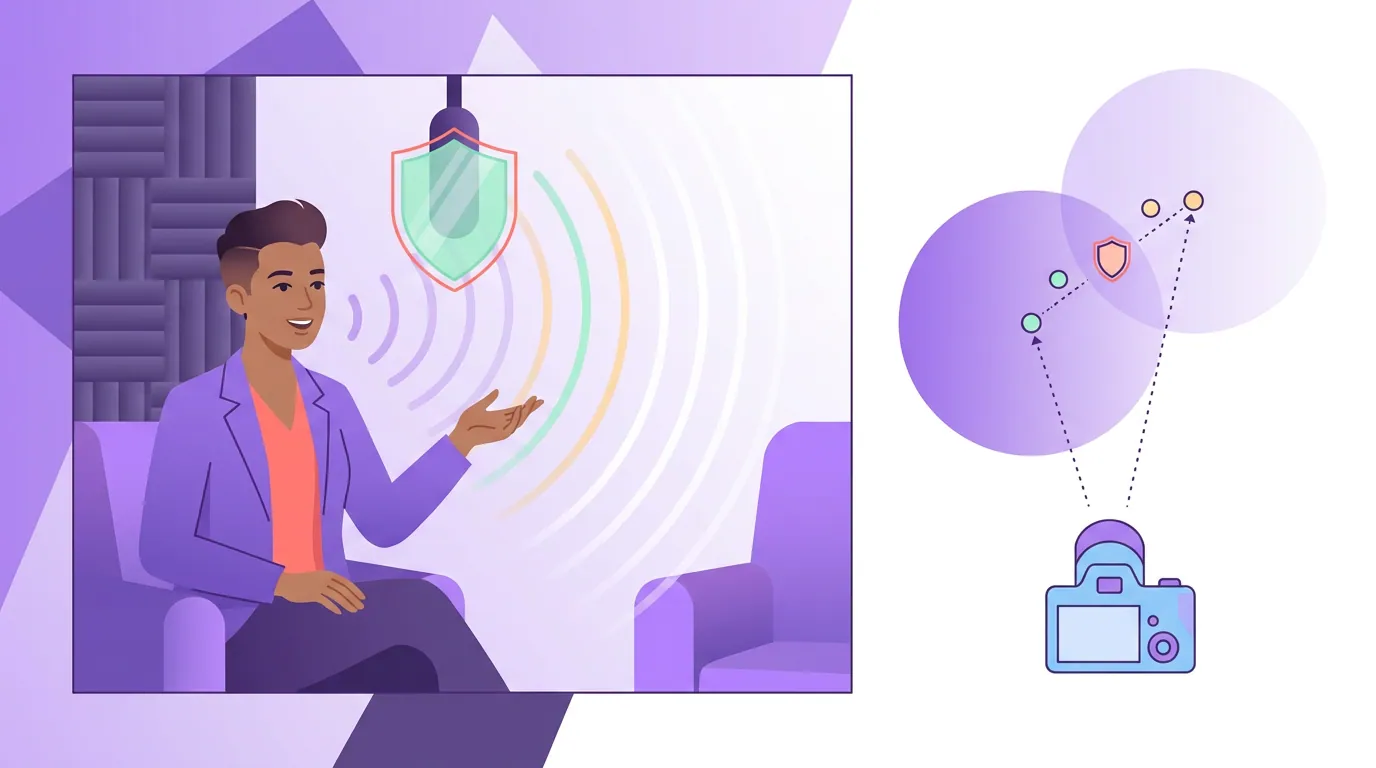
The placement distances that protect close-mic sound
"Close-mic sound" is the warm, present, intimate quality that comes from a mic being near your mouth, the sound podcast listeners are trained to expect. Move the mic too far to clean up the frame and you lose it; the voice goes thin and the room creeps in. These are the working distances for each route.
The single most useful habit is speaking slightly off-axis: aim the mic at your mouth but angled a few degrees to one side rather than dead-center. On a boom or a desk mic, that does two jobs at once, it tames the hard "p" and "b" pops, and it lets the mic body sit beside your face instead of in front of it. Closer is always warmer; if a clip sounds thin, the fix is almost always "move the mic in an inch," not "buy a better mic."
Common mistakes that wreck video-podcast audio
These five show up in nearly every first video podcast. Each has a one-line fix.
- Pulling the mic far back to clean up the frame. This trades the sound listeners want for a tidier shot. Fix: keep the mic close and use a boom or a lav to hide it instead, not distance.
- Using the camera's built-in mic. On-camera audio is hollow and full of room. Fix: a dedicated mic close to each mouth, recorded separately or into an interface.
- Pointing the mic dead-center at the mouth. You get plosive pops and the mic blocks your face. Fix: angle it a few degrees off-axis.
- Letting a boom arm drift into frame. Unweighted arms sag during a long episode. Fix: counterweight it and check the frame after you sit down, not before.
- Ignoring the room. Even a close mic hears a hard, echoey space. Fix: record somewhere soft, a rug, a sofa, a bookshelf, before spending on a better mic. Treatment beats gear here, as in our mic-by-budget guide.
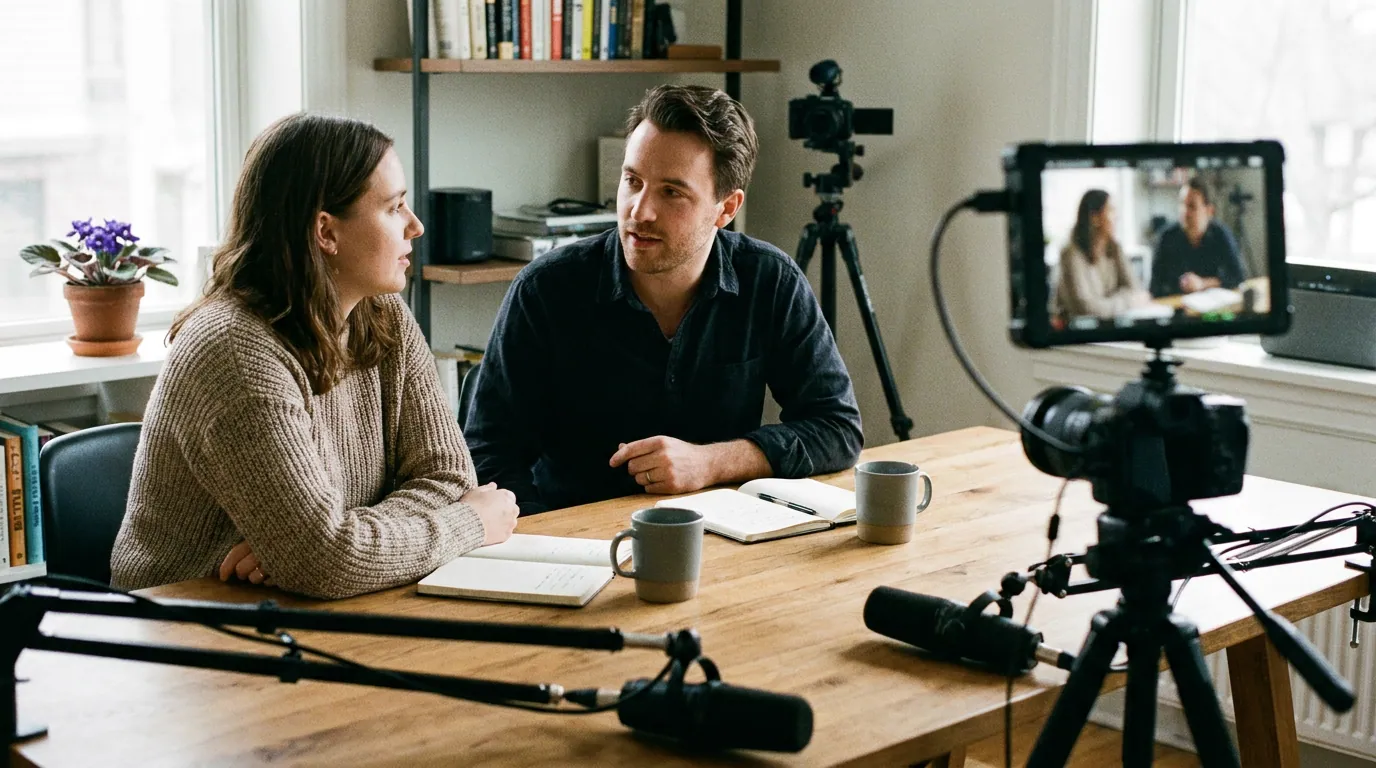
What to buy for each route
Honest, contextual gear notes. None of this needs to be expensive, a workable mic sits in the $50–$400 range (Ausha).
| Route | What works | Why |
|---|---|---|
| Boom arm | Cardioid dynamic (Samson Q2U-class ~$70, RODE PodMic ~$99) + a counterweighted arm | Dynamic rejects room; arm hides the mic |
| Lavalier | A wired or wireless clip-on lav per speaker | Invisible; consistent as you move |
| Visible desk mic | A broadcast-style dynamic you like the look of (Shure-class) on a stand | It is part of the frame, so looks matter |
For specific picks and prices, see our best podcast mics by budget tier and the best budget podcast mic under $100. If you are wiring more than one or two mics, the single vs multi-camera podcast decision usually drives how many inputs you need. And once the audio is sorted, three-point lighting for a video podcast is the next thing that separates a real show from a webcam call.
Frequently asked questions
How do I keep the mic out of the video frame? Use a boom arm and position the mic just above the top edge or just below the bottom edge of the shot, angled down or up toward your mouth from six to ten inches. Or use a clip-on lav, which is nearly invisible. The key is hiding the mic with placement, not by moving it far away.
Will hiding the mic make my podcast sound worse? No, as long as it stays close. A boom mic dipping in from the frame edge and a lav on your chest are both within close-mic range, six to ten inches, so the sound stays warm and present. You only lose quality if you hide the mic by pushing it far back, which lets the room in.
Is a visible desk mic unprofessional on camera? Not at all. A visible broadcast mic is a deliberate, recognizable podcast look and many large shows use it. The only rule is to treat it as part of the set: position it below your nose so it doesn't block your face, light it, and keep the rest of the frame clean around it.
Lav mic or boom mic for a video podcast? Boom for seated desk shows where you want the best sound and a controllable frame. Lav when you stand, move, or shoot several people at one table and a desk mic per person would crowd the shot. Lavs are nearly invisible; booms sound slightly fuller and don't pick up clothing rustle.
Do I still need a separate mic if I record on a good camera? Yes. Even strong cameras have small, distant built-in mics that sound hollow and roomy. A dedicated mic close to your mouth, boom, lav, or desk, is the single biggest audio upgrade for a video podcast, far more than any camera change. For the full first-time rig, see how to film a video podcast for the first time.
Pick the look first, keep the mic within a hand's width of your mouth, and angle it off-axis so it sounds close and clears your face. Record three episodes that exact way before you change anything, placement, not price, is what gives a video podcast the sound listeners stay for.